Painted rocks have become a delightful and accessible way to express creativity. Whether you’re a seasoned artist or just someone looking for a fun and relaxing activity, transforming simple stones into vibrant works of art can be incredibly rewarding.

These miniature canvases offer endless possibilities, allowing you to experiment with colors, patterns, and themes that resonate with your personal style.
They can be simple or intricate, whimsical or profound, making them a perfect project for all ages. As you explore the world of painted rock designs, you’ll discover how these small creations can bring a touch of joy and creativity to your everyday life.
1. Experiment with Texture
Incorporating texture into your painted rock designs can add a tactile dimension to your work. Consider using techniques like stippling, dry brushing, or layering to create different textures. This adds interest and can make the design more visually appealing and engaging.
2. Use Color Gradients
Gradients can transform a simple rock into a vibrant piece of art. By blending colors seamlessly from one hue to another, you can create a smooth transition that adds depth and dimension to your design. This technique is particularly effective for creating backgrounds or adding a sense of movement.
3. Incorporate Symbolism
Symbols have powerful meanings and can convey a lot in a small space. Consider using universal symbols or personal icons that resonate with you. This adds a layer of meaning to your painted rocks, making them not just visually appealing but also deeply personal.
Painted Rock Designs
31. Painted Owls from Frugal Fun 4 Boys

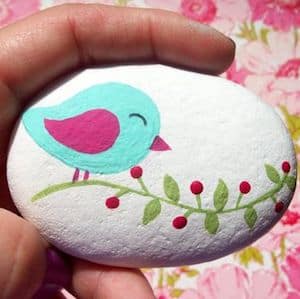
30. Bird and Branch (source unknown)
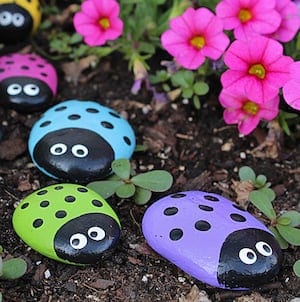
29. Ladybugs from Crafts by Amanda
28. Painted Hedgehogs from Easy Peasy Fun

27. Cute Pig from 10 Marifet

26. Bee Rocks from Easy Peasy and Fun

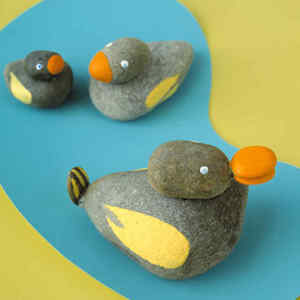
25. Duck Craft from Martha Stewart
24. Black Cats from eBay

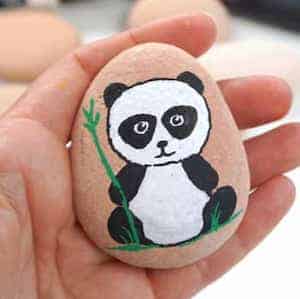
23. Panda Stone from Rock Painting 101
22. Cute Bugs from avocadoughtoast.com

21. Penguin from Lindsey Bridges Art

20. Colorful Fish Magnets from artalika.com

19. Hatching Chick from Robin Bailey (via Pinterest)

18. Mouse Stone from Martha Stewart
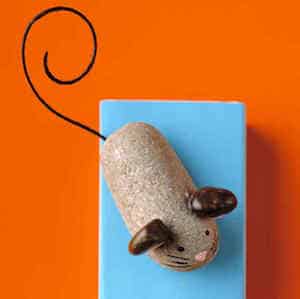
17. Frog from Pinterest

16. Caterpillar from Kitchen Fun with My 3 Sons

15. Painted Sharks from Sustain My Craft Habit

14. Rainbow Rocks from Kiwi Co.

13. Fine Detailed Stones from Funnel Cloud
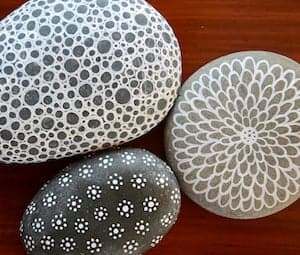
12. Mandala Stone from Colorful Crafts
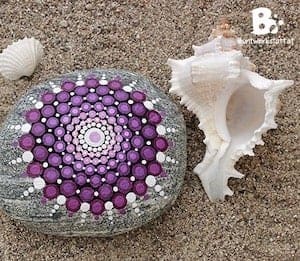
11. Pour Paint Beach Stones from Happy Hooligans

10. Chic Rocks from Frieda Theres

9. Marbled Rocks from Creative Green Living
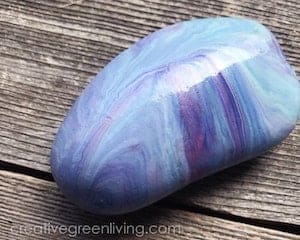
8. Galaxy Rocks from Adventures in a Box

7. Geometric Rocks from Alisa Burke

6. Puffy Paint Stones from I Love to Create
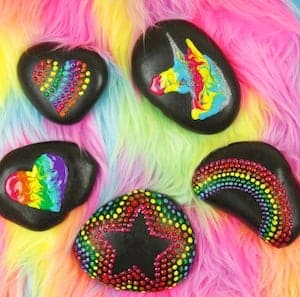
5. Mandala Hearts from Sustain My Craft Habit

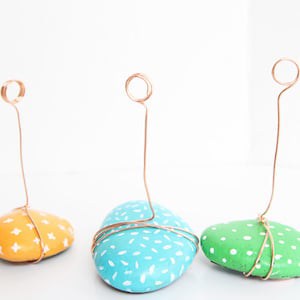
4. Photo Holder from One Little Project
3. Rock Dominoes from Repeat Crafter Me

2. Cactus Yard Art (video tutorial) from Wonderful DIY

1. Beach Themed Stones from Plaid Online

Do I need to prepare the rocks before painting?
Yes, it’s important to clean the rocks thoroughly before painting. Wash them with soap and water to remove any dirt, dust, or residue. Let them dry completely before starting your design to ensure the paint adheres properly.
How can I make sure the paint stays on the rock and doesn’t chip off?
To make your painted rock designs more durable, apply a primer before painting and a sealant after your design is complete. The sealant will protect the paint from chipping and ensure the colors stay vibrant over time.
Can I use any type of rock for painting, or are some better than others?
Smooth, flat rocks are generally the best for painting as they provide an even surface for your design. River rocks are particularly popular because of their naturally smooth texture. Rough or porous rocks can be more challenging to paint on.
How can I transfer a detailed design onto a rock?
If you want to create intricate designs, you can sketch your pattern on paper first, then use transfer paper to trace it onto the rock. Alternatively, using stencils or decals can help with more complex designs.


![19 Adorable Craft Ideas For Preschoolers [2024] To Spark Creativity 19 Adorable Craft Ideas For Preschoolers](https://exactlyhowlong.b-cdn.net/wp-content/uploads/2024/04/19-Adorable-Craft-Ideas-For-Preschoolers-1280x720.jpg)
![19 Cool Paper Crafts [2024] That'll Inspire Your Creative Side 19 Cool Paper Crafts](https://exactlyhowlong.b-cdn.net/wp-content/uploads/2024/03/19-Cool-Paper-Crafts-1280x720.jpg)


