Geometric nail art designs have become one of the most popular trends in nail fashion, captivating enthusiasts with their clean lines, bold shapes, and creative patterns. Whether you’re into minimalist triangles, bold chevrons, or intricate tessellations, geometric nail art offers endless possibilities to express your unique style. From subtle accents to vibrant and detailed patterns, geometric nail art designs are perfect for elevating your manicure game.

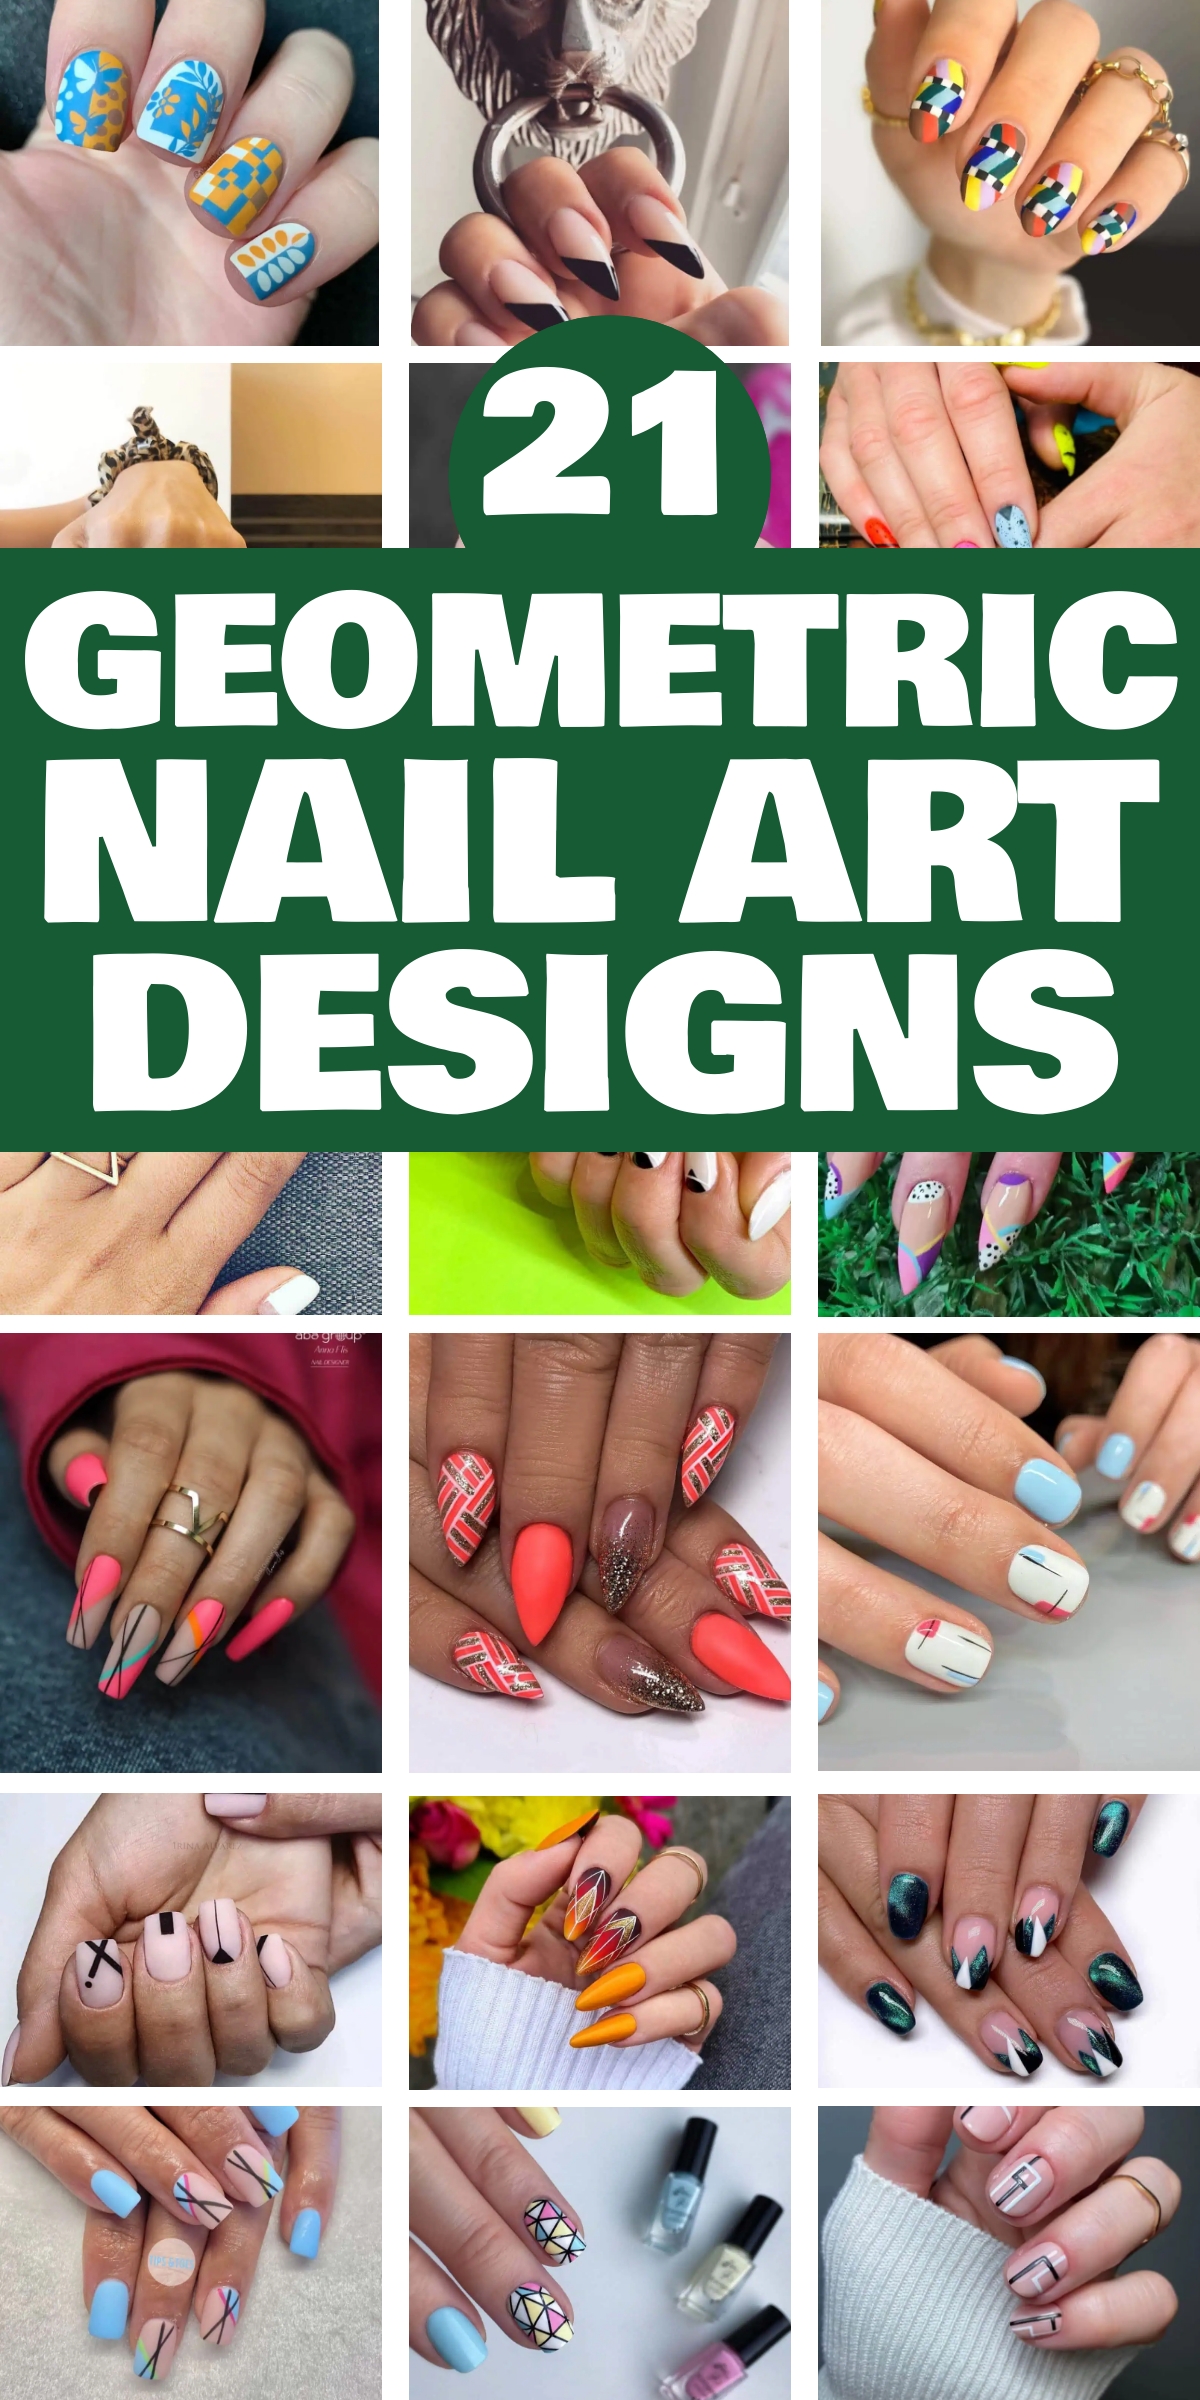
The beauty of geometric nail art designs lies in their versatility. You can mix and match shapes, play with negative space, or incorporate bold colors to make a statement. Geometric nail styles work well for casual looks, office wear, or even special occasions. Whether you prefer a simple design or a more complex creation, geometric nail art can be customized to suit your mood, outfit, and personality.
If you’re looking for inspiration, this article showcases stunning geometric nail art designs that are sure to spark your creativity. Discover how to achieve these trendy geometric nail designs using simple tools and techniques, or learn how to communicate your vision to your nail artist. Embrace the elegance and modernity of geometric nail art designs and transform your nails into mini masterpieces!
1. Embrace Negative Space: Incorporating negative space into your geometric nail art can create a modern and edgy look. By leaving portions of your nails unpainted or minimally decorated, you can make your designs stand out more dramatically. This technique not only adds a sophisticated touch but also helps balance the intricate details of geometric patterns, preventing them from looking too busy. Experiment with different shapes and lines to see how the negative space interacts with the colored sections.
2. Mix Matte and Glossy Finishes: Playing with different textures can elevate your geometric nail art. Combining matte and glossy finishes within the same design adds depth and dimension to your nails. For instance, you could use a matte top coat on certain geometric shapes while leaving other parts glossy. This contrast will catch the light differently and make your nail art more visually interesting. It’s a subtle yet effective way to add complexity to your look without overwhelming it.
3. Use Color Blocking: Color blocking involves using contrasting blocks of color to create striking designs. This technique is particularly effective in geometric nail art because it highlights the sharp lines and shapes typical of the style. Choose colors that complement each other and use tape or stencils to achieve clean, straight lines. The key is to be bold with your color choices while maintaining a harmonious overall look.
Geometric Nail Art
21. Geometric Long Coffin Nails
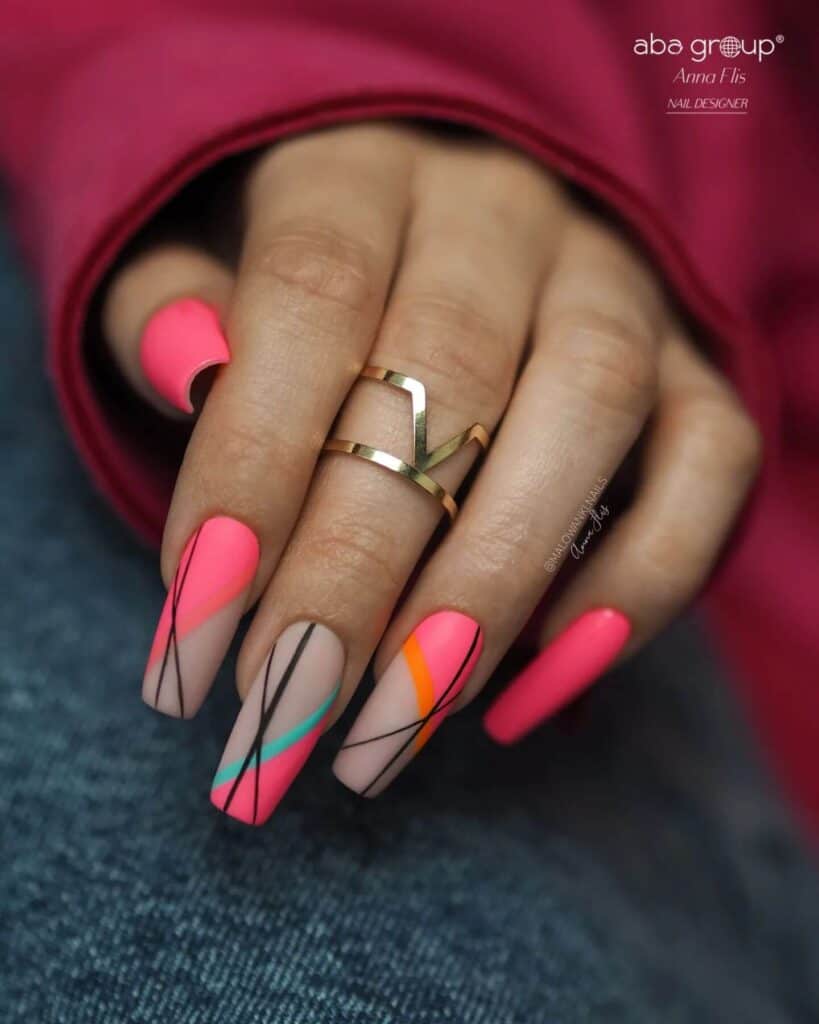
Credit: malowanki.nails
20. Geometric Stiletto Nails
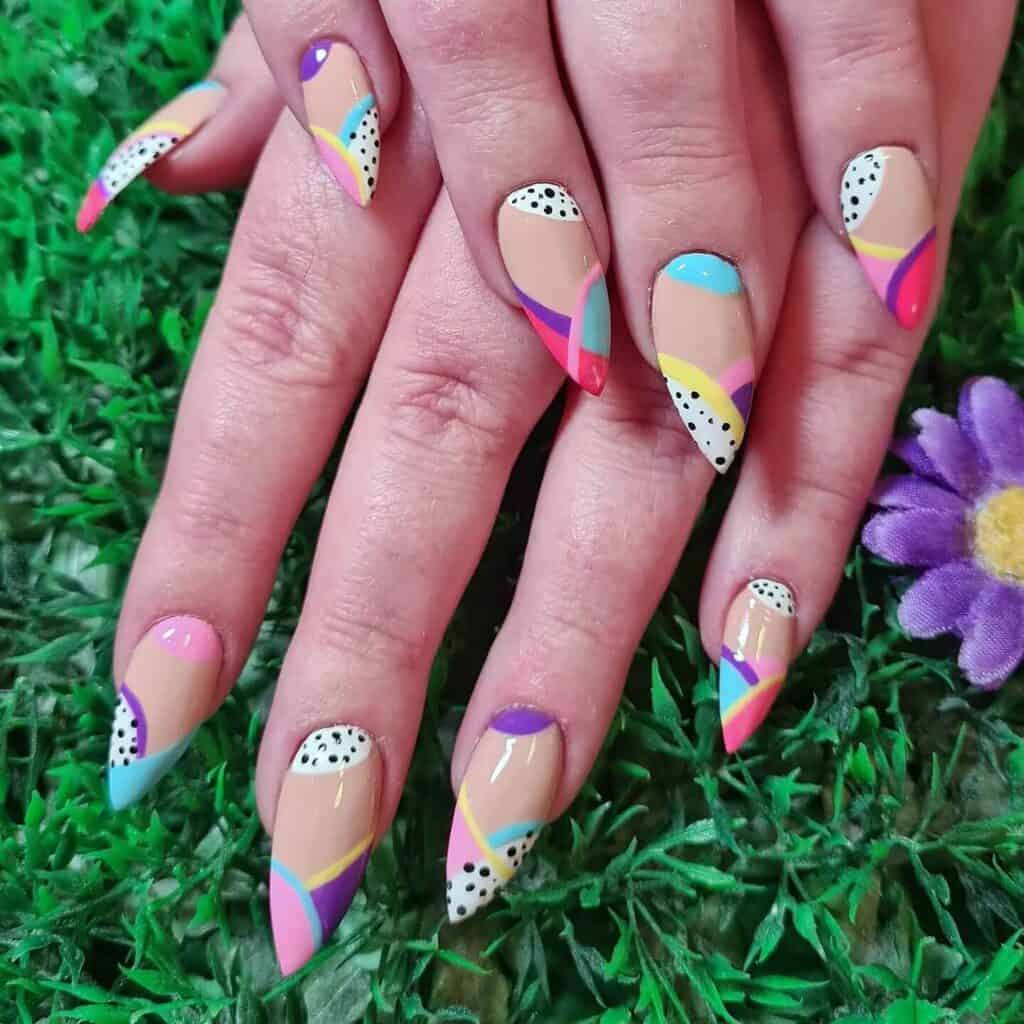
Credit: kawaiiklaws
19. Amazing Geometric Long Nail Design
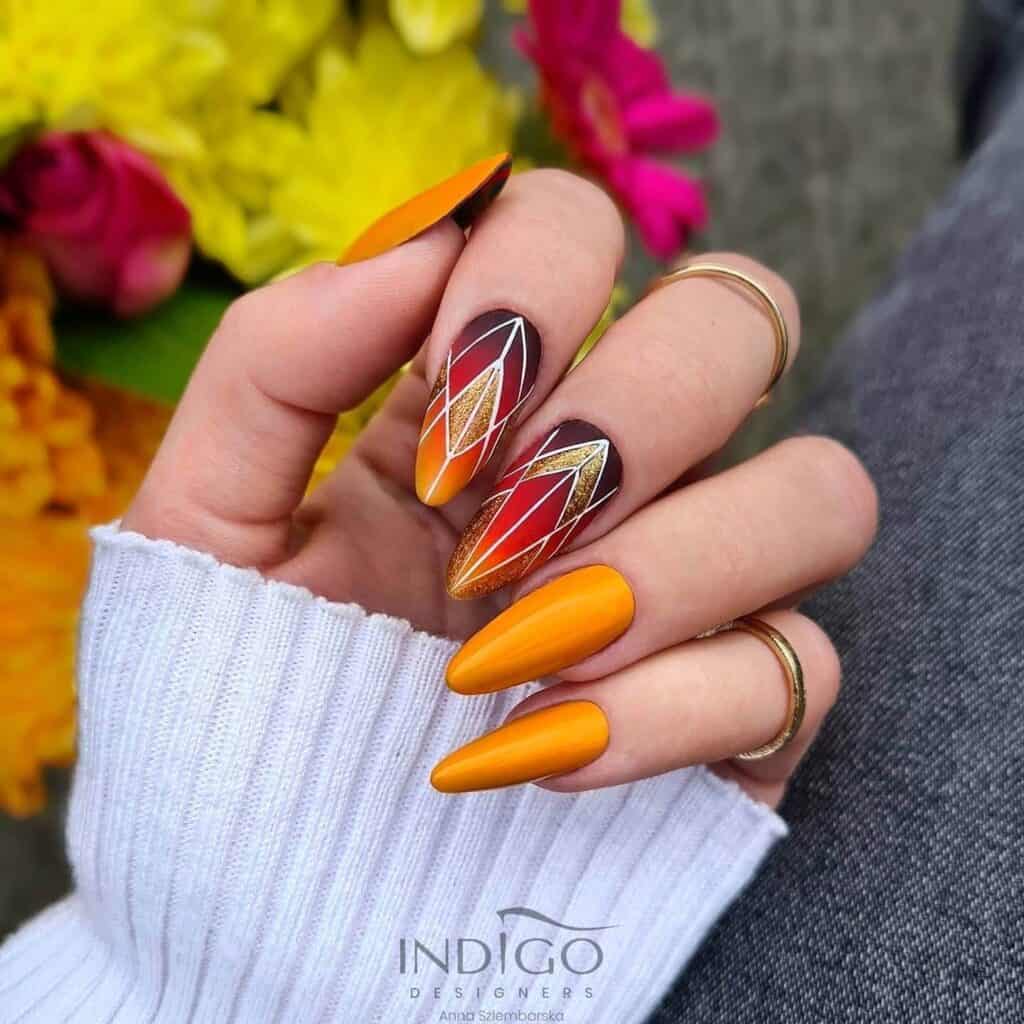
Credit: anna_szlembarska
18. Simple Geometric Shot Nail Design
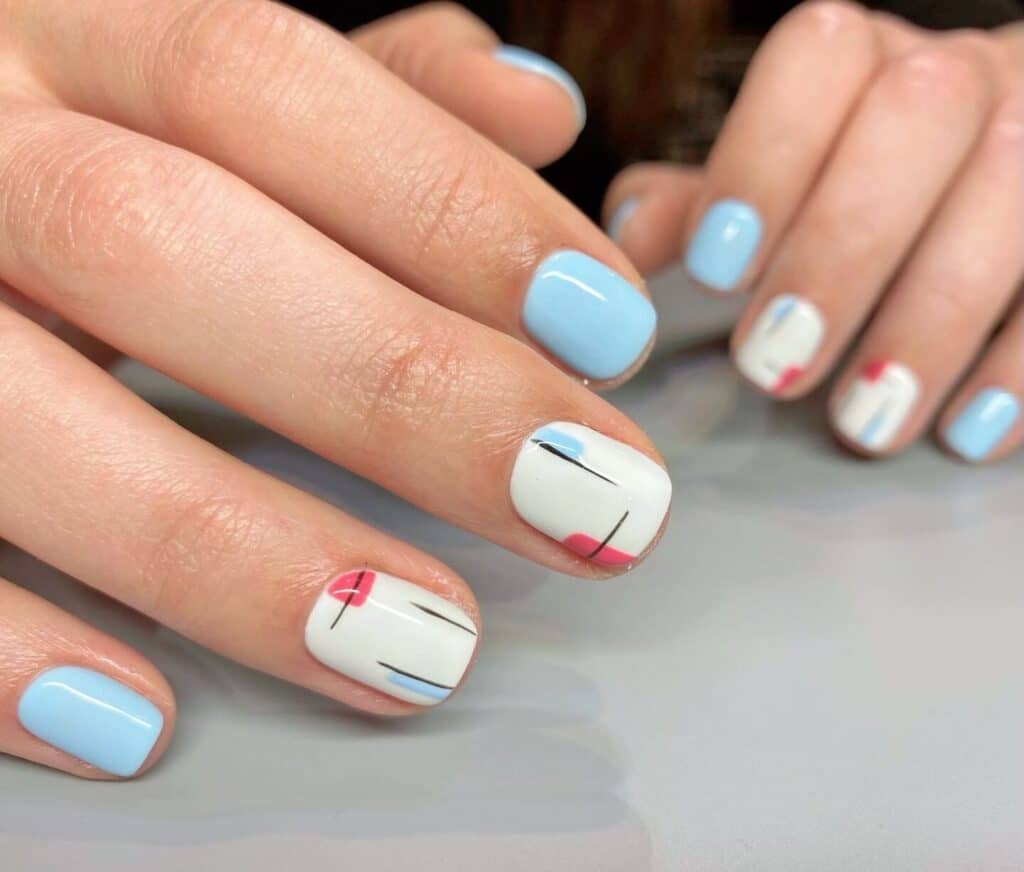
Credit: selfish_london
17. Colorful Polka Dot Geometric Stiletto Nails
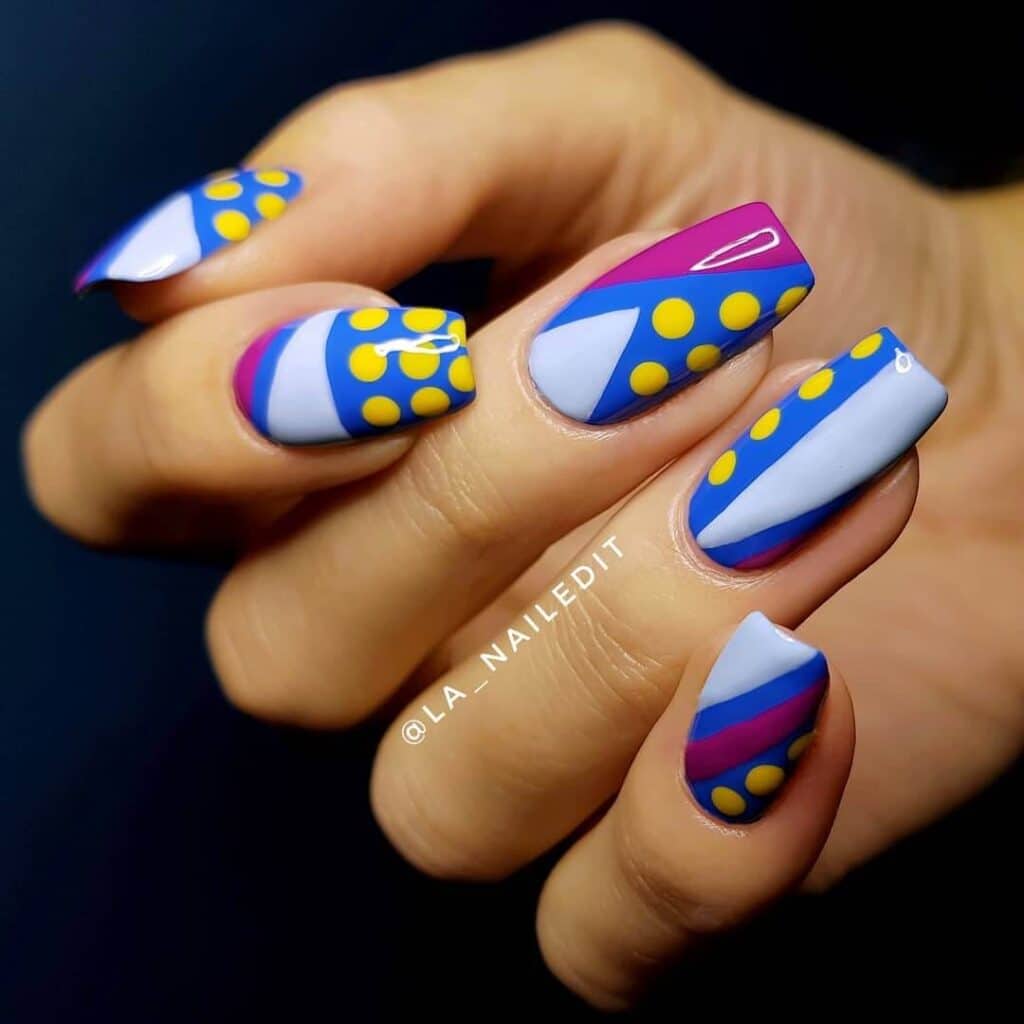
Credit: la_nailedit
16. Dark Black Color Geometric Stiletto Nails
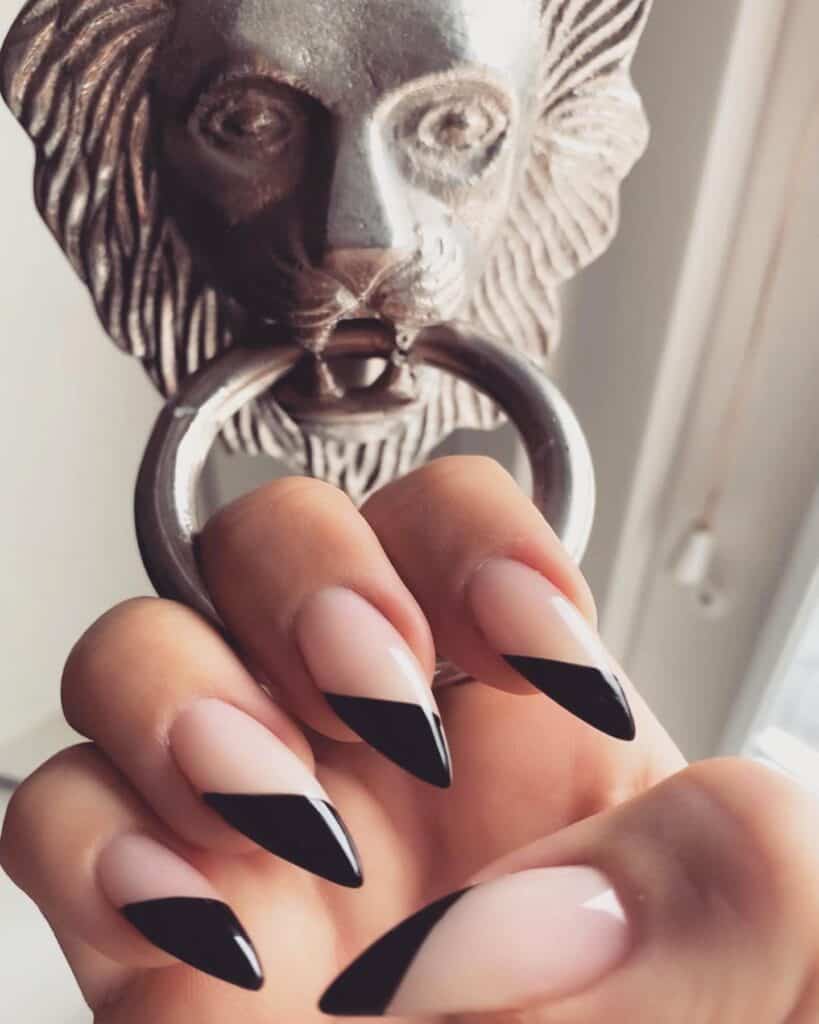
Credit: yelloish
15. Temporary Geometric Nail Art
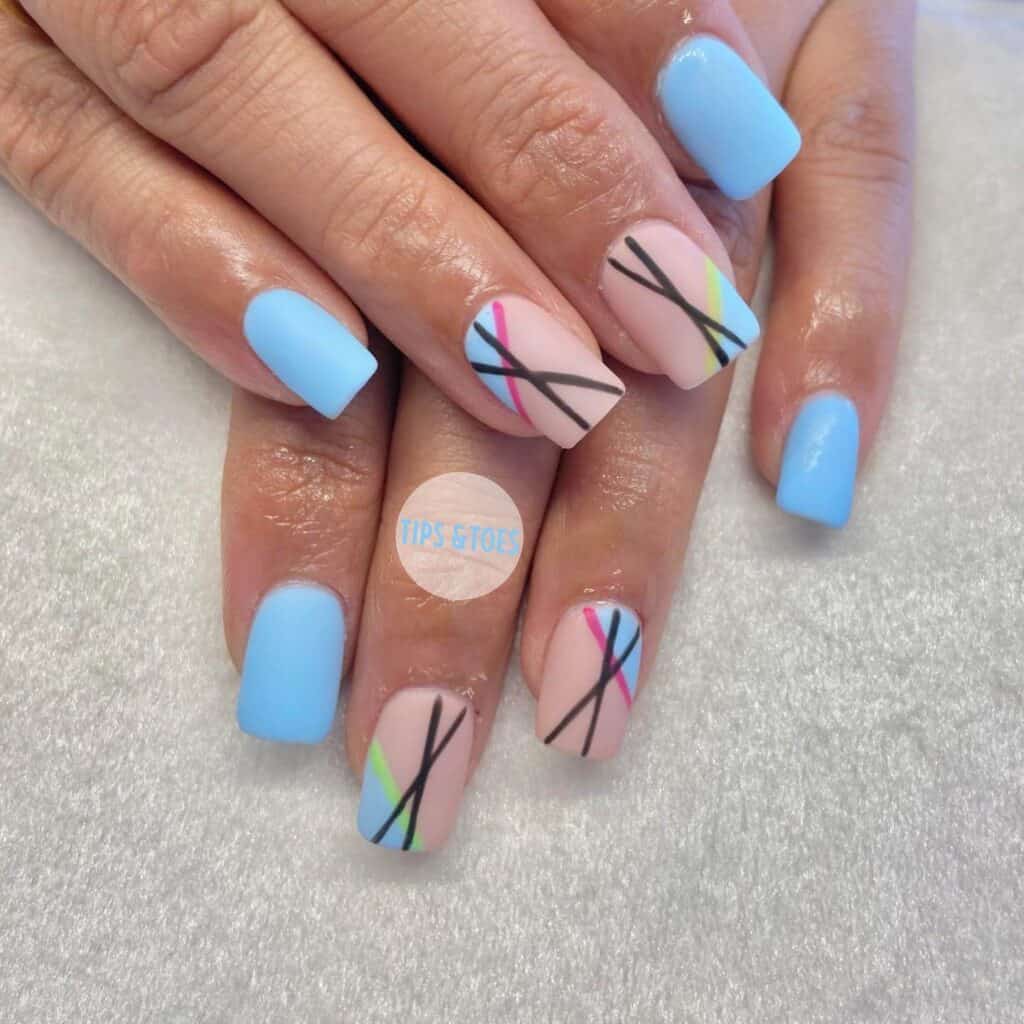
Credit: tipsandtoes_
14. Simple Black Geometric Nail Art

Credit: irynalvarez
13. Geometric Ombre Long Nails
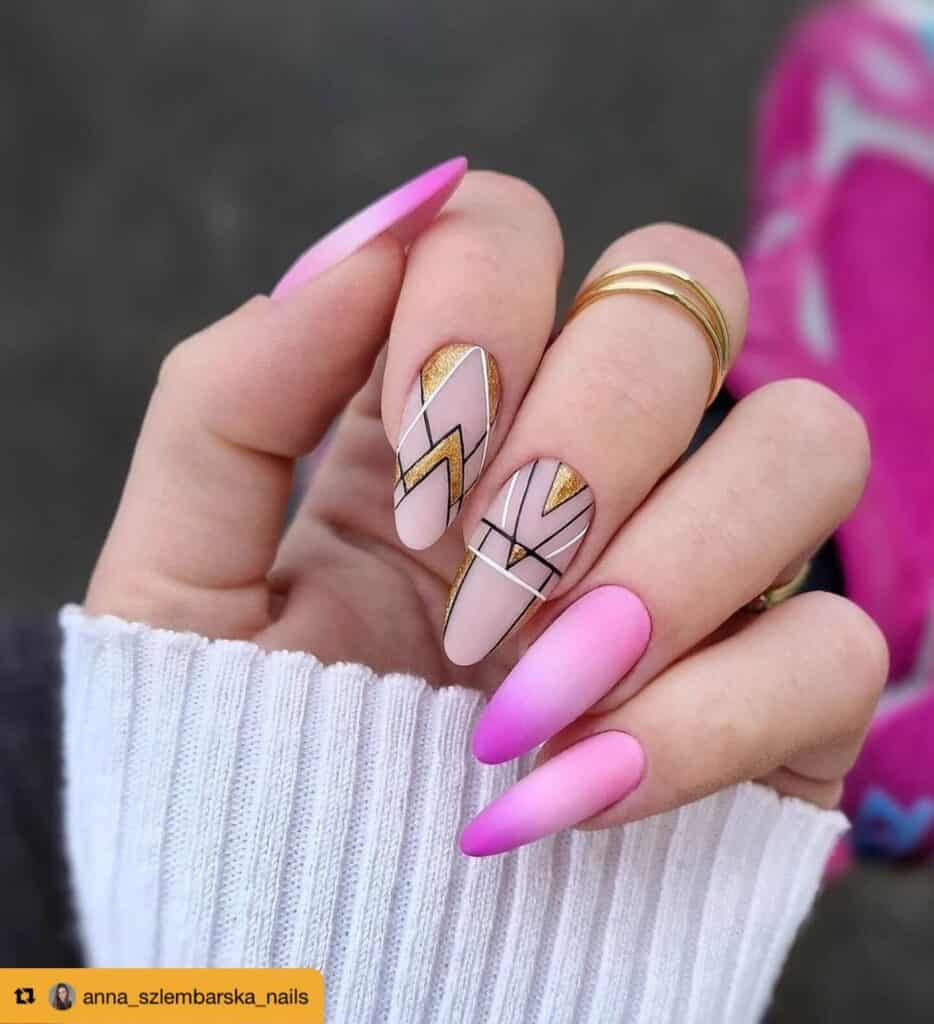
Credit: nailsmagazine
12. Geometric Coffin Nail Design
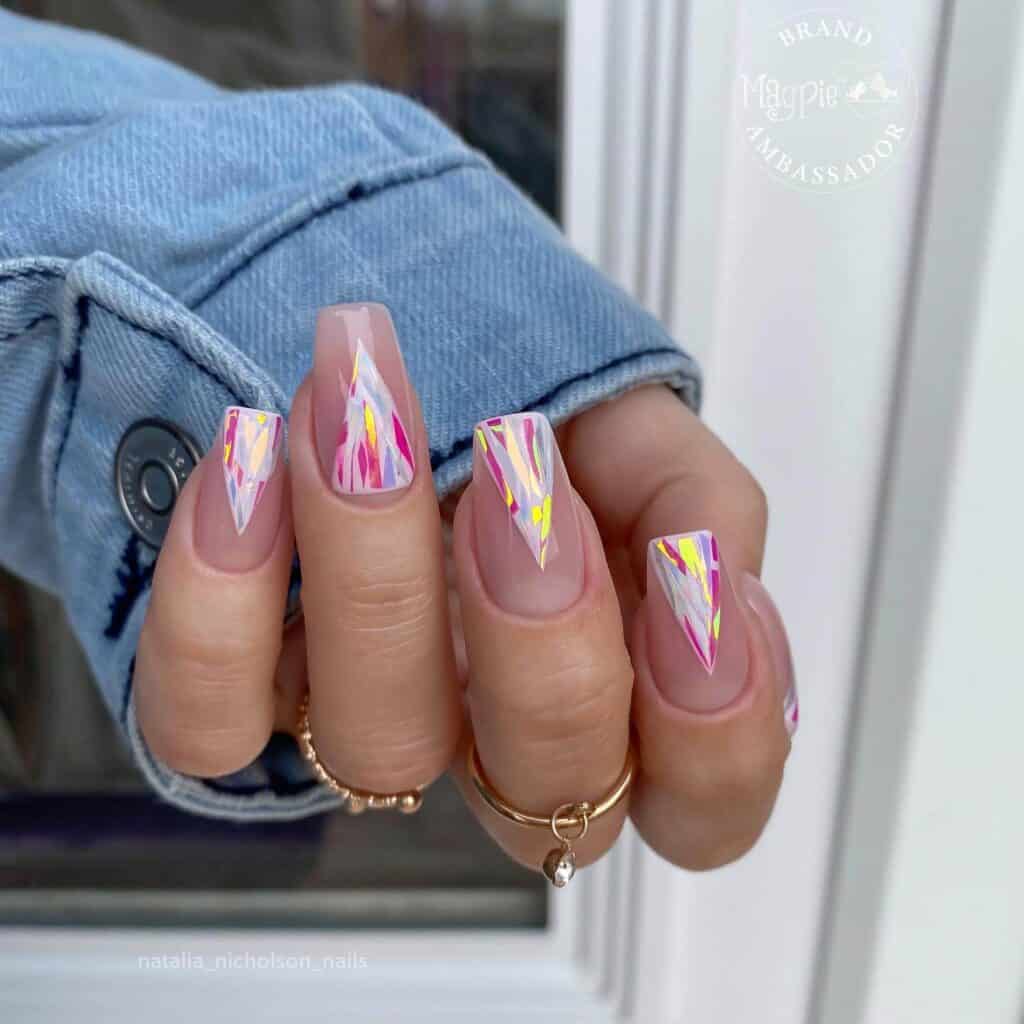
Credit: natalia_nicholson_nails
11. Geometric Black and White Round Nails
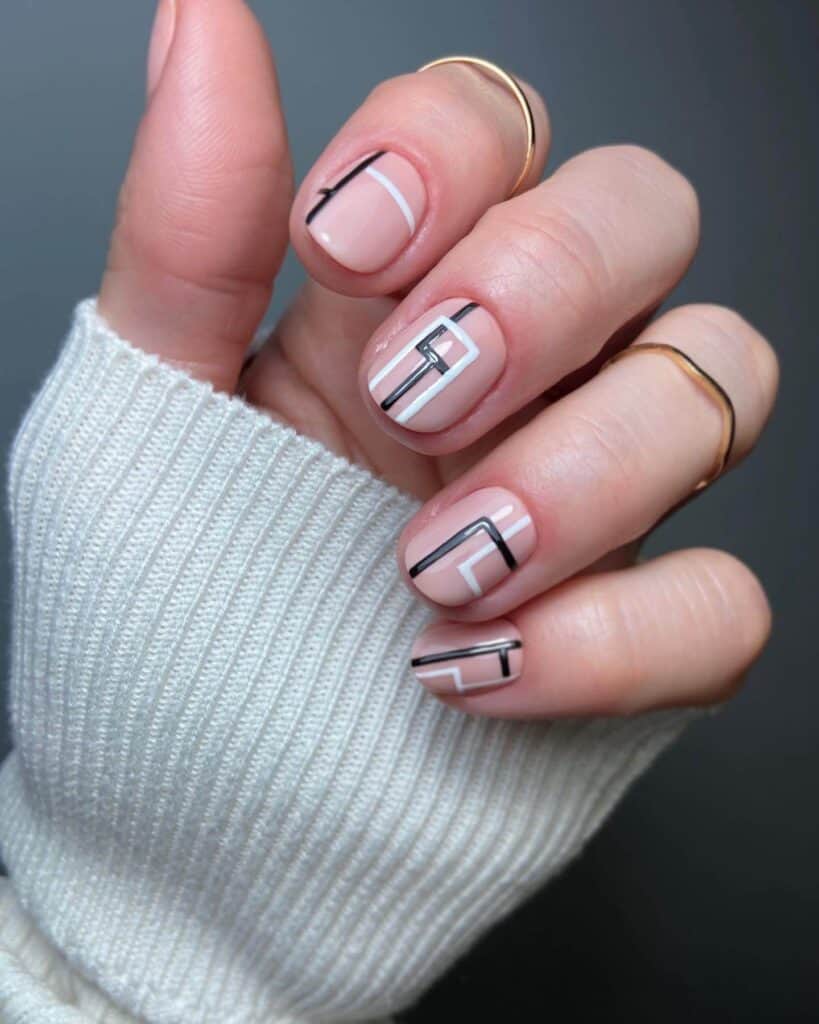
Credit: monmayernails
10. Geometric Marble Short Nails
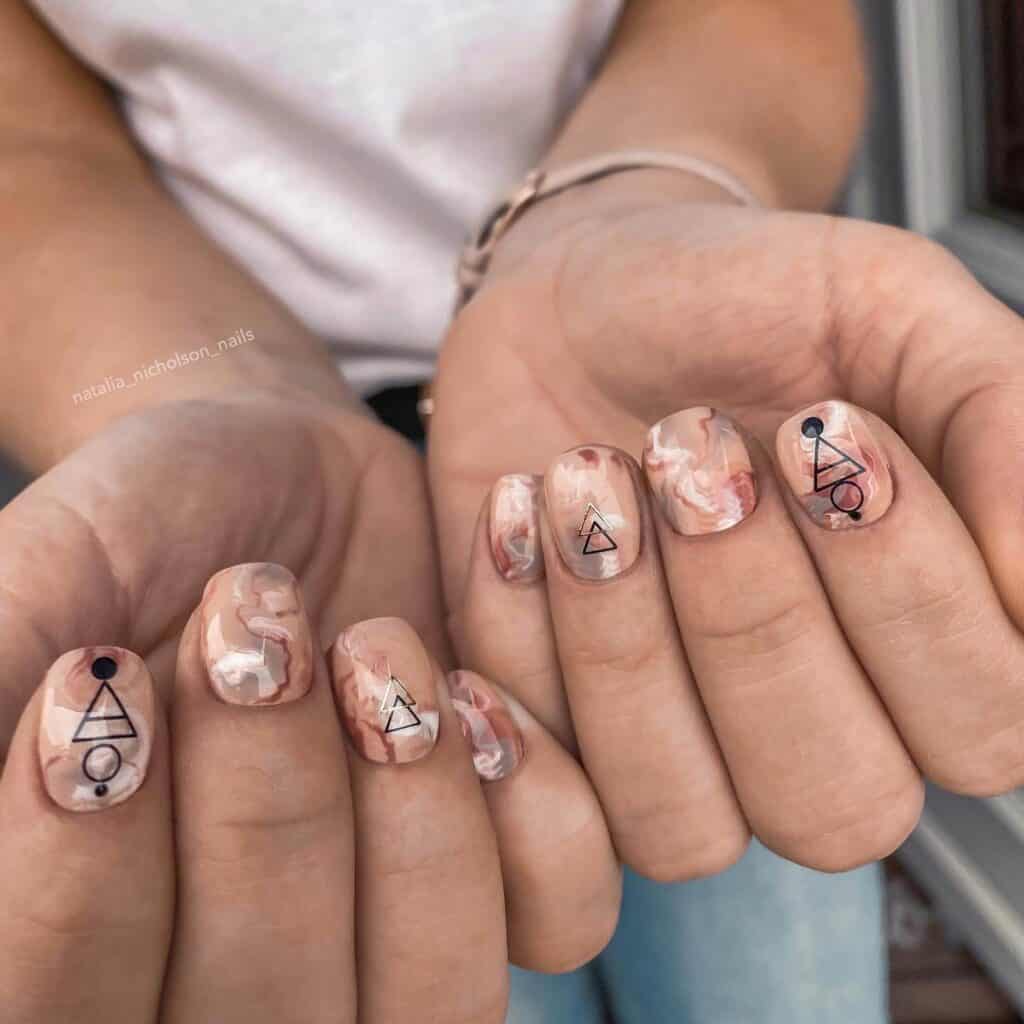
Credit: natalia_nicholson_nails
09. Glittered Geometric Pattern Stiletto Nails
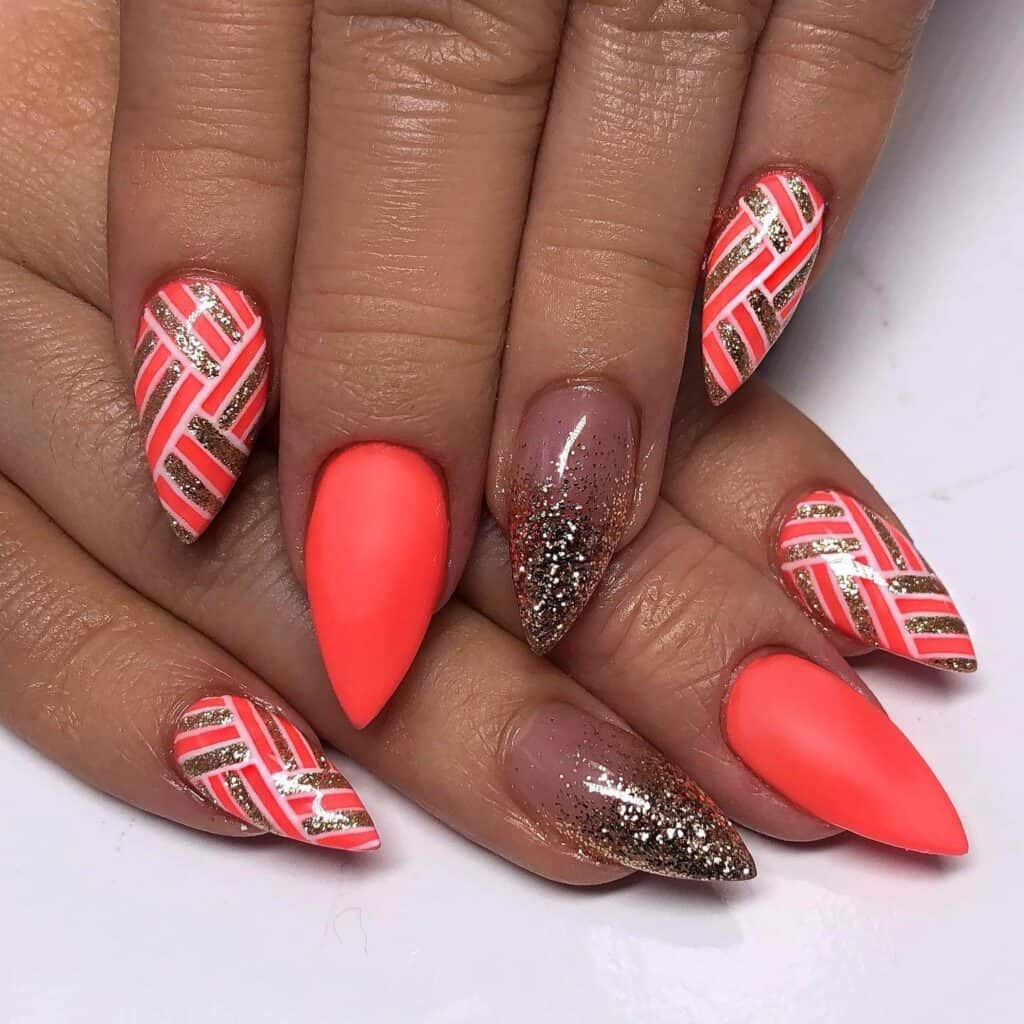
Credit: blushbabynz
08. Simple Geometric Nail Design
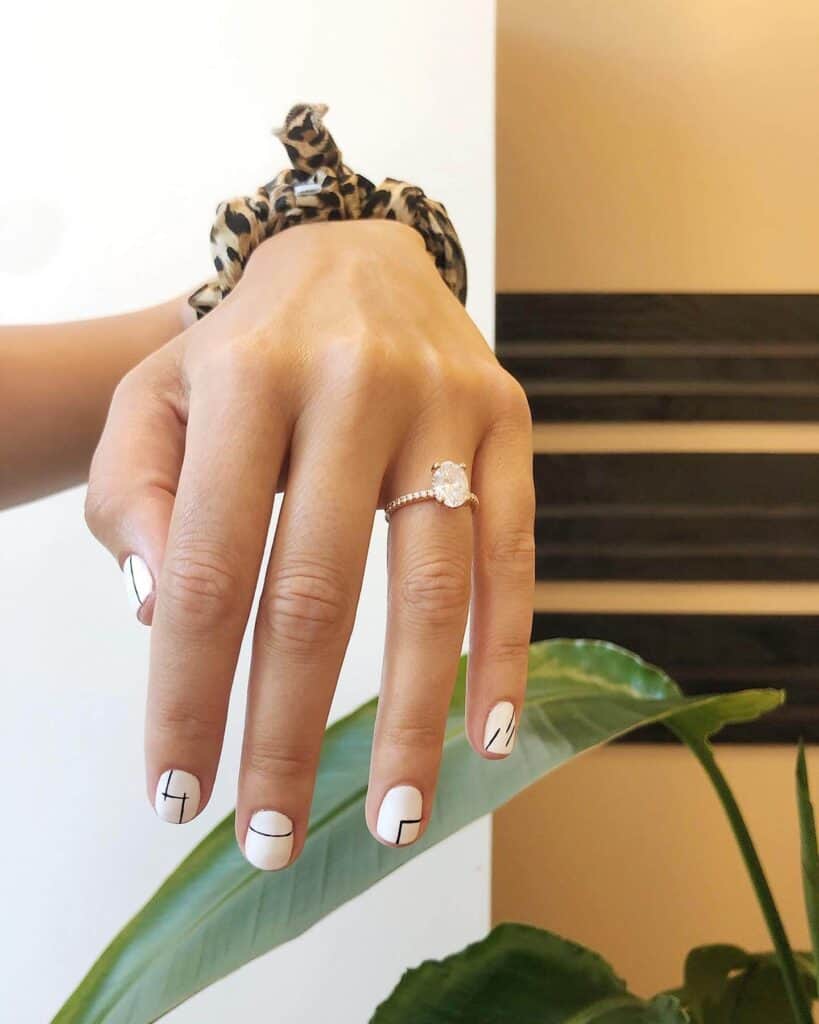
Credit: sprucenailshop
07. Colorful Geometric Square Nails
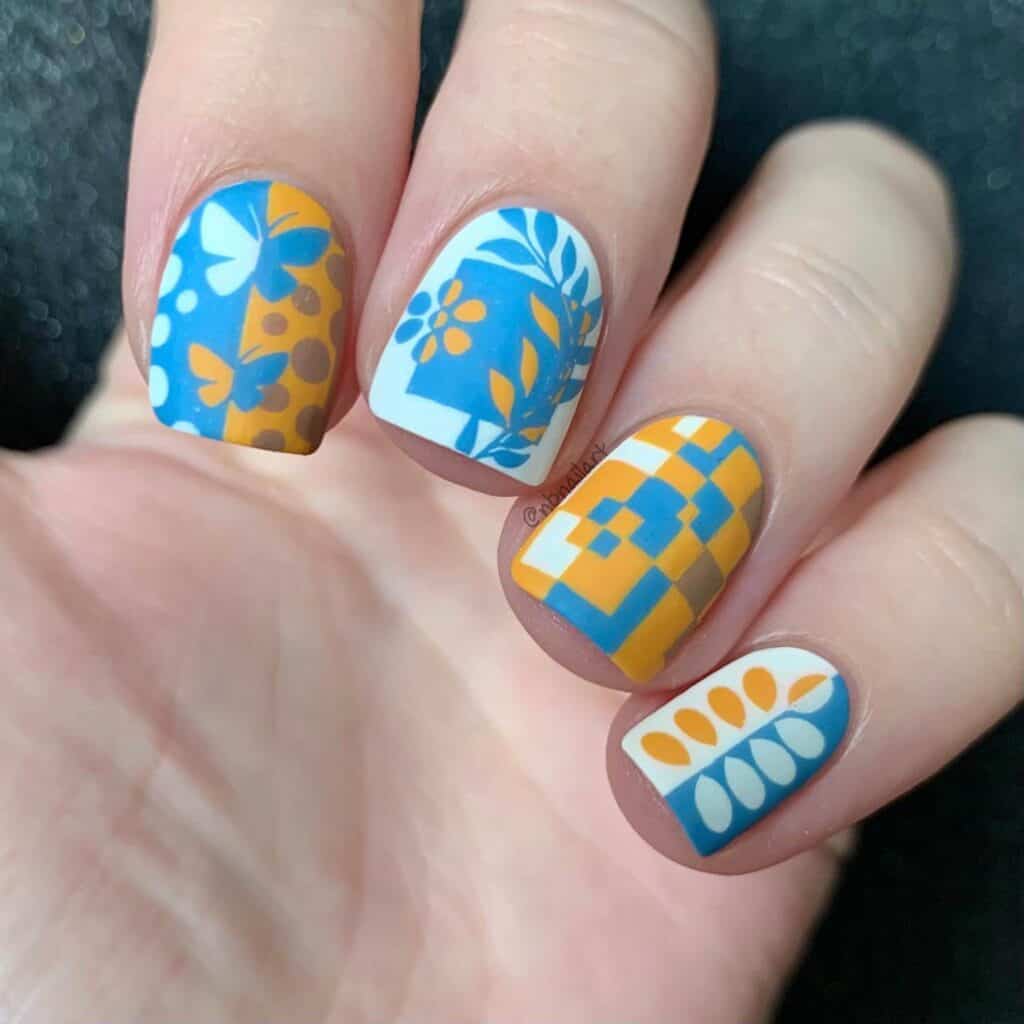
Credit: nbnailart
06. Geometric Gel Polish Nails
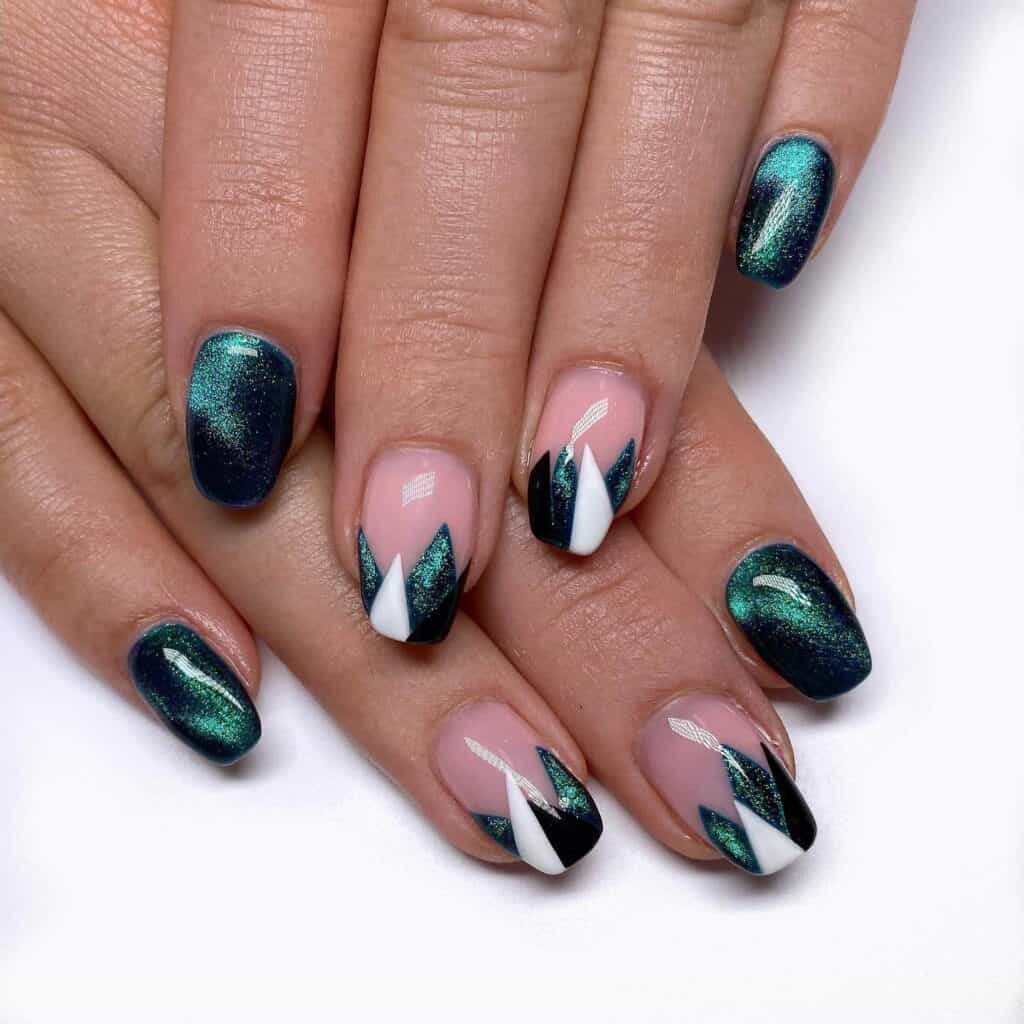
Credit: blushbabynz
05. Minimal Geometric Short Nail Art
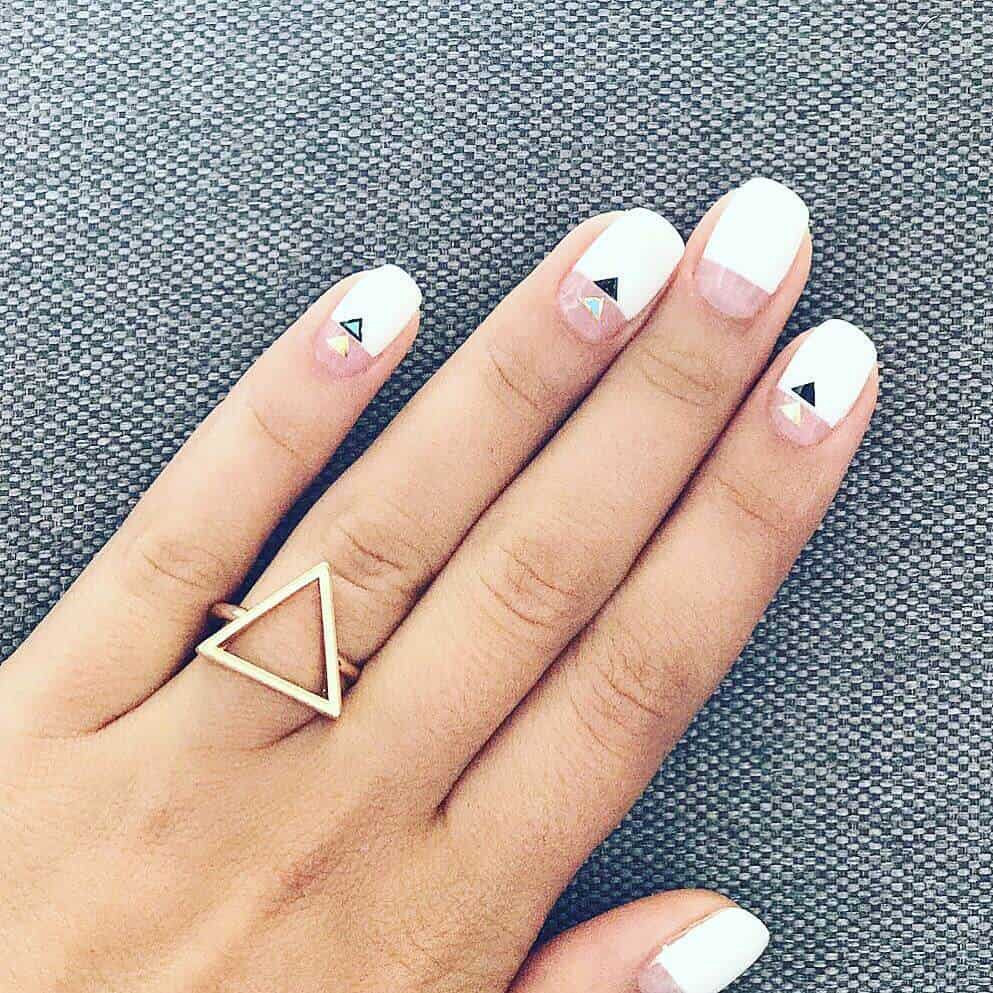
Credit: catalina_nailexpert
04. Geometric Coffin Nail Art
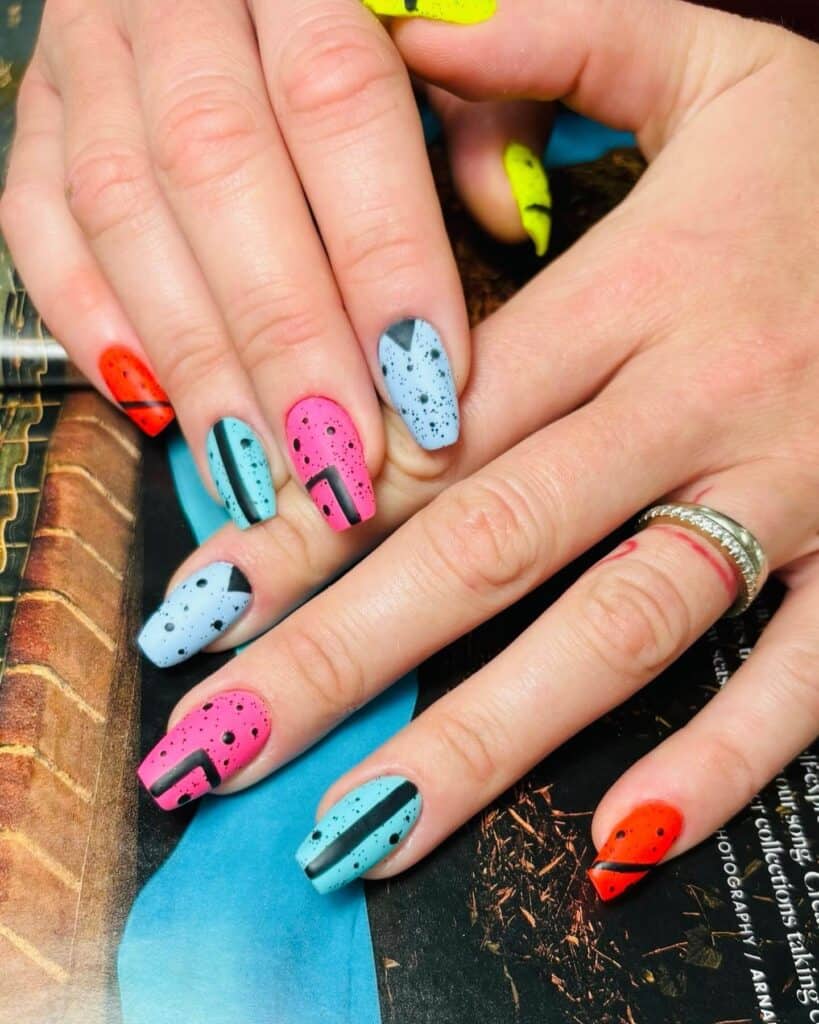
Credit: anastasia_nailsmiami
03. Minimal Black and white Geometry Nails
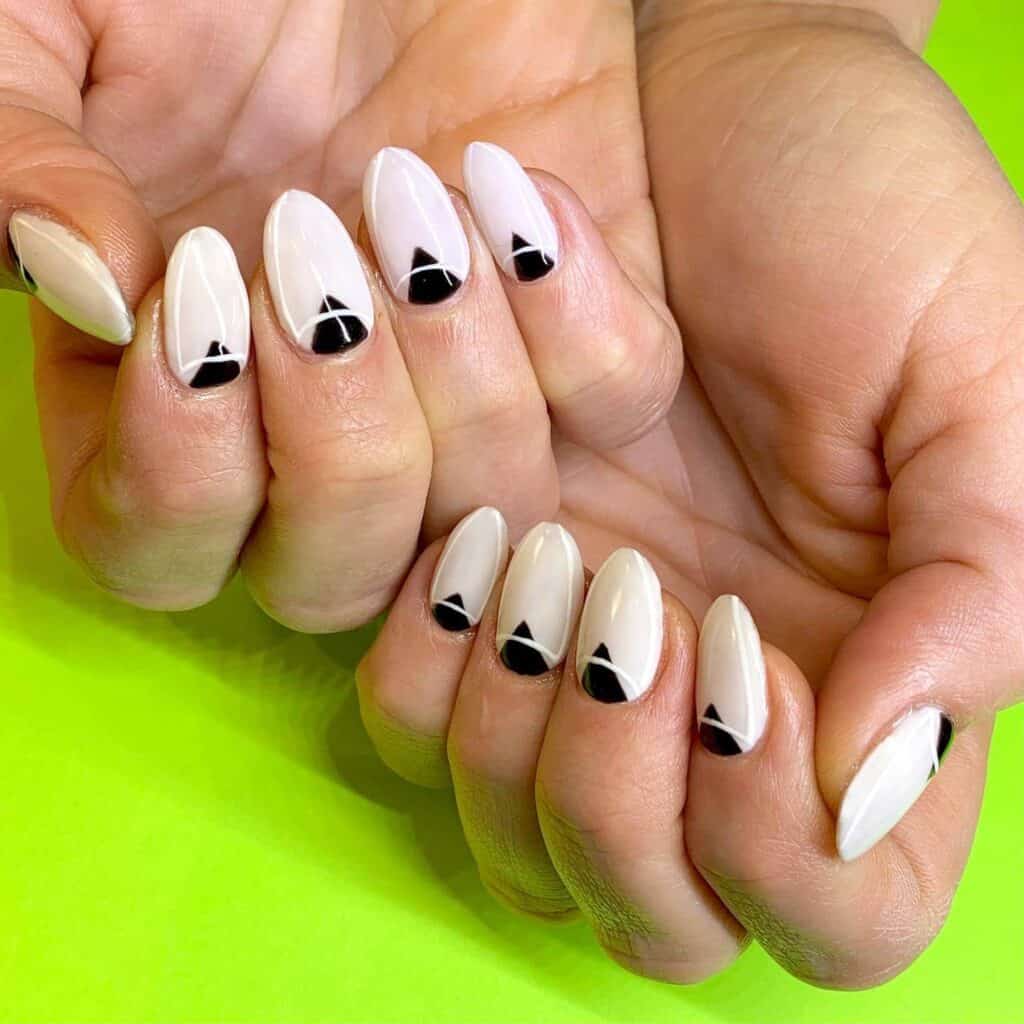
Credit: chalkboardnails
02. Pastel Color Geometric Nails
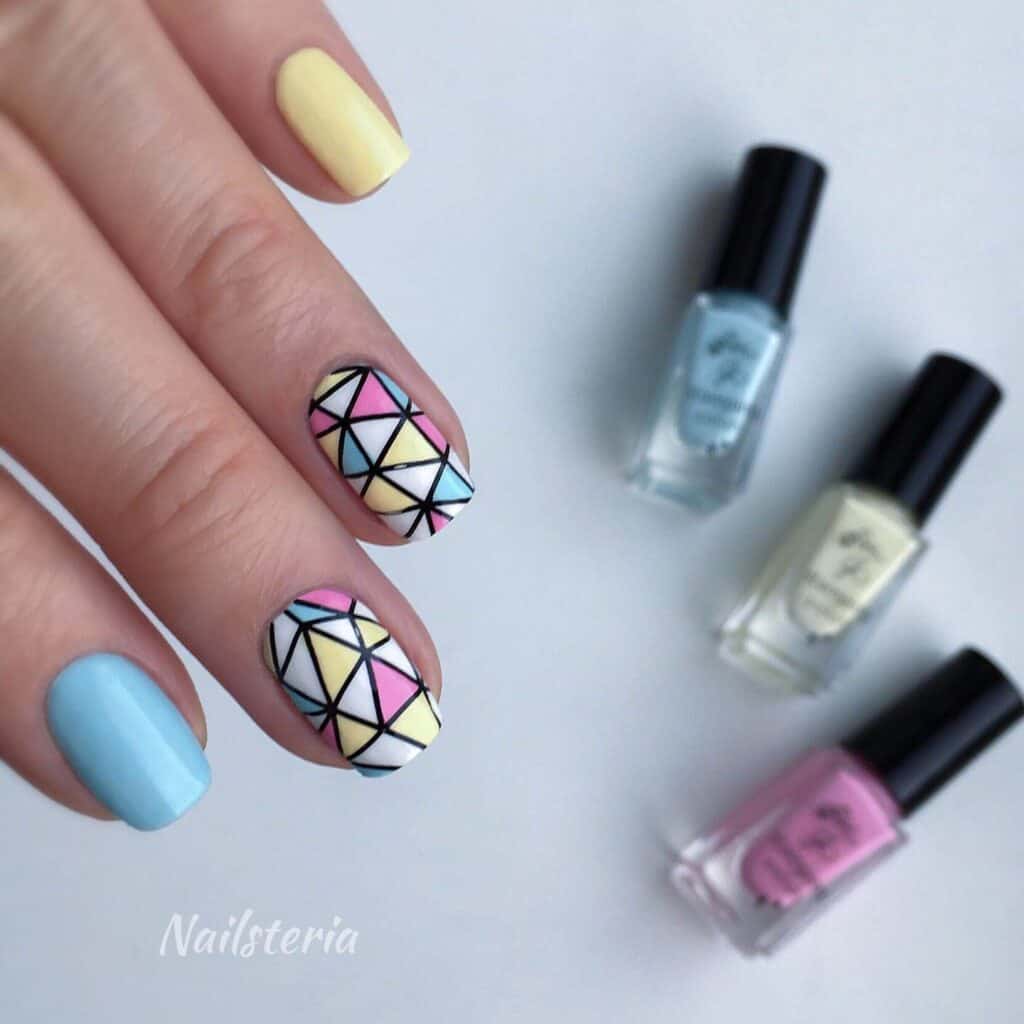
Credit: nailsteria
01. Colorful Geometric Pattern Round Nail
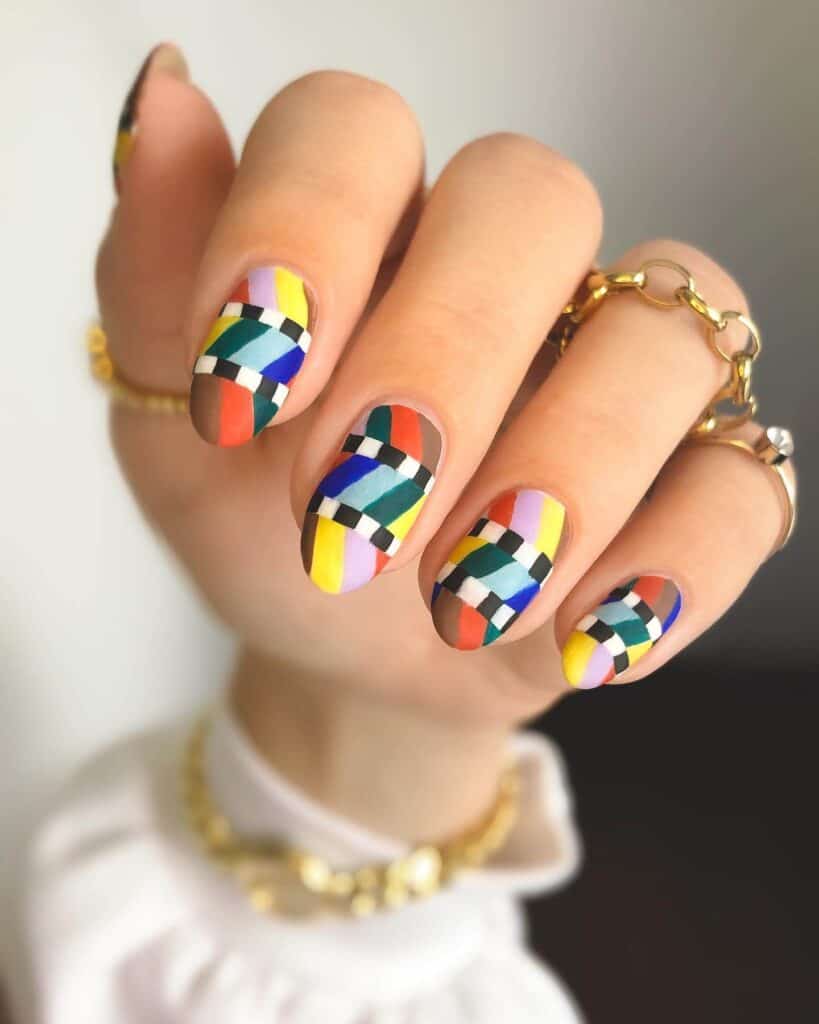
Credit: basecoatstories
What are some beginner-friendly geometric designs to try?
As a beginner, you might start with:
1. Simple diagonal lines using striping tape
2. Triangular shapes created with two contrasting colors
3. Polka dots arranged in a geometric pattern using a dotting tool
4. Basic color blocking with two or three shades
How can I create clean, sharp lines in my geometric designs?
To achieve sharp lines, use striping tape to section off areas of your nails. Apply polish within these sections and remove the tape before the polish dries to get crisp edges. Alternatively, a fine nail art brush can help create precise lines manually.
What are some advanced techniques for geometric nail art?
For more intricate designs, you can experiment with:
1. Gradient effects using a sponge to blend colors smoothly
2. Layering different shapes and patterns for a more complex look
3. Using nail stickers and stamps for precise, detailed shapes
4. Incorporating negative space by leaving parts of your nail bare
What are some popular color combinations for geometric nail art?
Popular combinations include:
1. Black and white for a classic, high-contrast look
2. Pastels for a soft, subtle design
3. Bold colors like red and gold for a striking effect
4. Monochromatic schemes with different shades of the same color for a cohesive look


