Creamy Garlic White Bean Dip
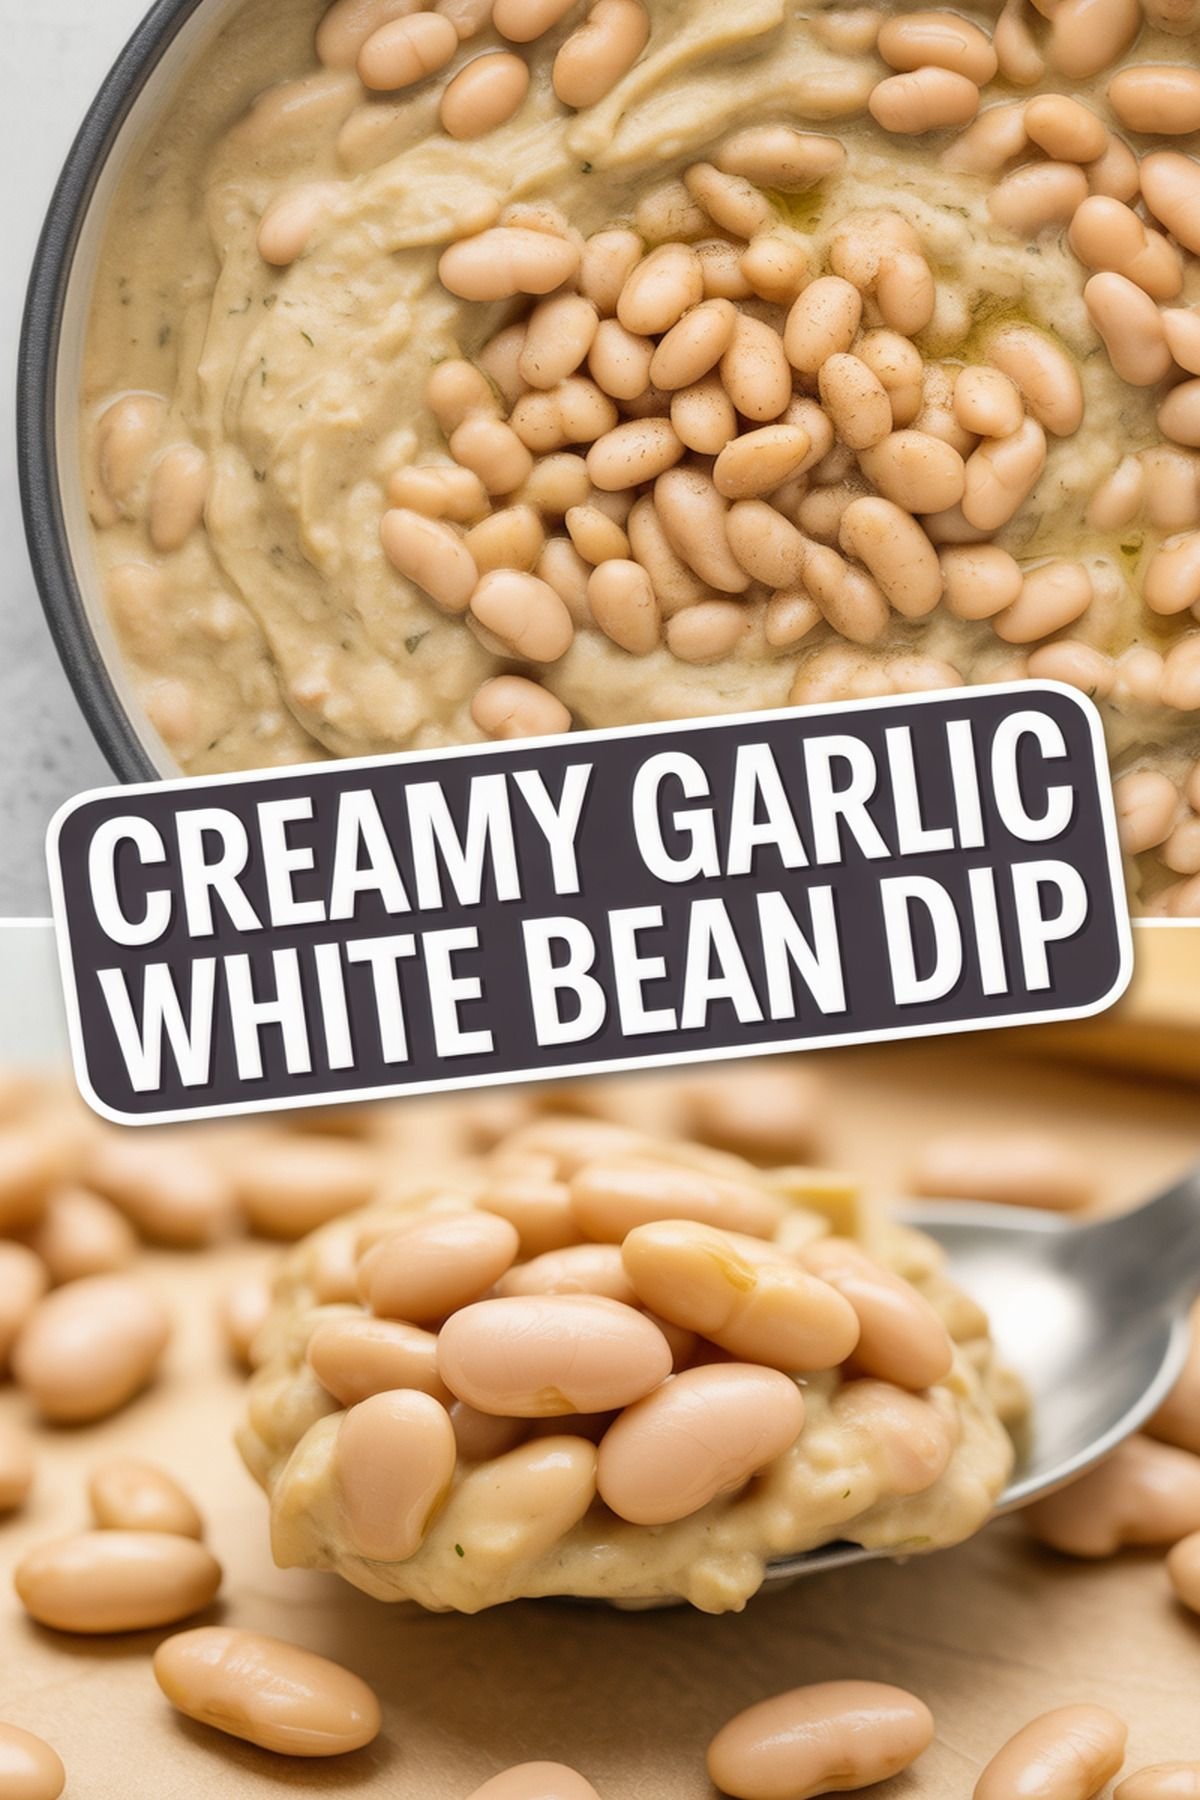
This creamy garlic white bean dip has become a staple in my kitchen because it’s quick to make and always disappears at gatherings. I love how the mellow, nutty flavor of white beans pairs with roasted garlic and a squeeze of lemon. The aroma of garlic fills the kitchen as I blend everything together, and the dip comes out silky and spreadable.
I often serve this as an appetizer with warm pita, crunchy vegetables, or even as a sandwich spread. It’s versatile enough for casual snacking or as part of a mezze platter when friends drop by. The texture is smooth but with just enough body to scoop, and the hint of olive oil adds a satisfying richness.
What makes this dip special is how it transforms humble pantry staples into something that feels a little more elevated. It’s also forgiving—easy to tweak with herbs or spices depending on what I have on hand. Whether I’m hosting or just want something simple for lunch, this dip fits right in.
I appreciate that it comes together in about 10 minutes, and the leftovers keep well for days. The combination of creamy beans, roasted garlic, and lemon is comforting and familiar, making it a go-to in my rotation.

Quick Facts
| Servings | 4 servings |
|---|---|
| Prep Time | 10 minutes |
| Cook Time | 15 minutes |
| Total Time | 25 minutes |
Why You’ll Love It
You’ll love this creamy garlic white bean dip for its simplicity and versatility. It’s packed with flavor, comes together quickly, and works for everything from parties to weekday snacks. The texture is smooth and satisfying, and it’s easy to adapt to your taste.
- Ready in about 10 minutes
- Uses pantry staples
- Smooth, creamy texture
- Great for dipping or spreading
- Customizable with herbs or spices
Ingredients
This recipe relies on canned white beans, roasted or raw garlic, olive oil, lemon juice, and a few seasonings. If you have fresh herbs or want to add a little heat, those are easy to incorporate. The ingredients are flexible, so you can use what you have on hand.
- 1 (15-ounce) can white beans (cannellini or Great Northern), drained and rinsed
- 2–3 cloves garlic (roasted for milder flavor, raw for sharper flavor)
- 3 tablespoons extra-virgin olive oil, plus more for drizzling
- 2 tablespoons freshly squeezed lemon juice
- 1/2 teaspoon kosher salt, plus more to taste
- 1/4 teaspoon freshly ground black pepper
- 1/4 teaspoon ground cumin (optional)
- 2 tablespoons chopped fresh parsley or chives (optional)
- Pinch of red pepper flakes (optional, for heat)
- 2–3 tablespoons water, as needed for thinning
Step-by-Step Instructions
Making this dip is straightforward: blend all the ingredients until smooth, adjust the seasoning, and serve. If you prefer a milder garlic flavor, roast the garlic first. You can prepare everything in a food processor or blender.
- If using roasted garlic, preheat the oven to 400°F (200°C). Wrap peeled garlic cloves in foil with a drizzle of oil and roast for 10 minutes until soft.
- Add the white beans, garlic, olive oil, lemon juice, salt, pepper, and cumin (if using) to a food processor or blender.
- Blend until mostly smooth, scraping down the sides as needed.
- Add 2 tablespoons of water and blend again. For a thinner dip, add another tablespoon of water.
- Taste and adjust seasoning with more salt, pepper, or lemon juice as needed.
- Transfer to a serving bowl. Drizzle with extra olive oil and sprinkle with chopped herbs or red pepper flakes if desired.
- Serve with pita, crackers, or vegetables.
Chef Tips
A few small tweaks can help you get the best texture and flavor from this dip. Adjust the garlic to your taste, and don’t hesitate to play with the seasonings. Here are some tips for success:
- Roast garlic for a milder, sweeter flavor.
- Add water gradually to reach your desired consistency.
- Chill before serving for a firmer texture.
- Use high-quality olive oil for best taste.
- Garnish with herbs or spices for extra flavor.
Substitutions
This dip is forgiving if you need to swap ingredients. You can use different beans or adjust the seasonings based on your preferences. Here are some easy substitutions:
- Use navy beans or chickpeas instead of white beans.
- Swap lemon juice for white wine vinegar.
- Use roasted garlic for a milder taste, raw for more punch.
- Replace parsley with dill, cilantro, or basil.
- Omit cumin or use smoked paprika for a different flavor.
Storage & Reheating
This dip keeps well in the fridge, making it great for meal prep or leftovers. Store it in an airtight container and give it a quick stir before serving. It’s best served cold or at room temperature.
- Refrigerate in an airtight container for up to 4 days.
- Stir before serving if any liquid separates.
- Not recommended for freezing, as texture may change.
- Serve straight from the fridge or let sit at room temp for 20 minutes.
Perfect Pairings
This dip works well with a variety of sides and drinks. It’s great as part of a snack board or alongside grilled meats and salads. Here are some pairing ideas:
- Crisp white wine, such as Sauvignon Blanc
- Warm pita or crusty bread
- Fresh vegetable crudités
- Grilled chicken or lamb skewers
FAQs
Home cooks often have questions about bean dips, from texture to ingredient swaps. Here are some answers to common questions to help you get the best results.
Can I use dried beans instead of canned?
Yes, cook 1 cup dried white beans until tender, then use as directed.
How do I make the dip extra smooth?
Blend for a full 1–2 minutes, adding water as needed, and use a high-powered blender if possible.
Is this dip vegan?
Yes, all the ingredients are plant-based.
Can I make this ahead?
Absolutely. It tastes even better after a few hours in the fridge.
What if my dip is too thick?
Add more water or olive oil, a tablespoon at a time, until you reach your desired consistency.
Nutritional Note
This dip is a source of plant-based protein and fiber, with moderate fat from olive oil. Nutrition will vary based on serving size and any additions.
