Ombre nails have become a staple in the world of nail art, offering a sophisticated gradient effect that transitions seamlessly from one color to another. This trend has captured the hearts of many due to its versatility and the endless color combinations that can be achieved. Whether you prefer a subtle shift from nude to pink or a bold transition from dark blue to light teal, ombre nails provide a canvas for creativity and personal expression.

The beauty of ombre nails lies in their ability to complement any style or occasion. From a casual day out to a glamorous evening event, the gradient effect adds a touch of elegance and modernity to your overall look. This nail art trend has also gained popularity because it can be easily customized to reflect seasonal changes, fashion trends, or personal preferences.
Moreover, ombre nails are not limited to just two colors. Nail artists and enthusiasts alike have explored multiple color gradients, incorporating glitter, metallics, and even intricate designs to elevate the ombre effect. This flexibility allows for a unique and personalized manicure that stands out and makes a statement.
In addition to their aesthetic appeal, ombre nails are surprisingly easy to achieve at home with the right tools and techniques. With a little practice, anyone can master the art of blending colors seamlessly, making this a perfect DIY project for nail art lovers. The trend’s popularity has also led to an abundance of tutorials and inspiration available online, ensuring that you can find the perfect ombre design for your next manicure.
1. Experiment with Gradient Techniques
Ombre nails can be created using various gradient techniques. Consider trying different methods, such as sponge application or brush blending, to achieve unique and personalized looks. Each technique can offer a distinct texture and finish, so experiment to find what works best for you.
2. Use Multiple Shades
To create a more dynamic ombre effect, use multiple shades within the same color family. Blending three or more colors can add depth and complexity to your nails, making the gradient transition more visually appealing and sophisticated.
3. Play with Finishes
Incorporate different finishes, such as matte, glossy, or glitter, into your ombre designs. Mixing finishes can add an extra layer of interest and dimension, elevating the overall look of your nails. This approach allows for creative expression and adds a unique twist to traditional ombre styles.
4. Focus on Seamless Blending
Achieving a flawless ombre effect requires seamless blending. Take your time to ensure the colors transition smoothly without harsh lines. Using tools like blending brushes or makeup sponges can help you achieve a more professional and polished look.
5. Incorporate Nail Art
Enhance your ombre nails by adding subtle nail art elements. Consider incorporating delicate patterns, minimalistic designs, or small accents to complement the gradient. This can add a touch of elegance and individuality to your nails without overwhelming the ombre effect.
6. Experiment with Placement
Ombre nails don’t have to follow the traditional gradient from the cuticle to the tip. Try different placements, such as horizontal gradients, diagonal blends, or even reverse ombre where the darkest color is at the tip. This can create a unique and unexpected look that stands out.
7. Consider Seasonal Colors
Choose colors that reflect the current season or upcoming holidays to keep your ombre nails on-trend. For example, pastel shades for spring, vibrant colors for summer, and deeper, richer tones for fall and winter. This approach keeps your nails relevant and fashionable.
8. Enhance with Nail Accessories
Add a touch of glamour to your ombre nails with accessories like rhinestones, studs, or foil. These elements can enhance the overall design and add a luxurious feel. Ensure that the accessories complement the color gradient without overpowering it.
9. Use Quality Products
Investing in high-quality nail polishes and tools can make a significant difference in the final outcome of your ombre nails. Quality products tend to blend better, last longer, and provide a more vibrant finish. Don’t skimp on your nail supplies to achieve the best results.
10. Maintain Your Nails
Proper nail care is essential to keep your ombre nails looking their best. Regularly moisturize your cuticles, use a top coat to protect the design, and avoid activities that can cause chipping or damage. Well-maintained nails not only look better but also help your manicure last longer.
Recommended Products

Trendy Ombre Nails
21. Pink Ombre French Nails
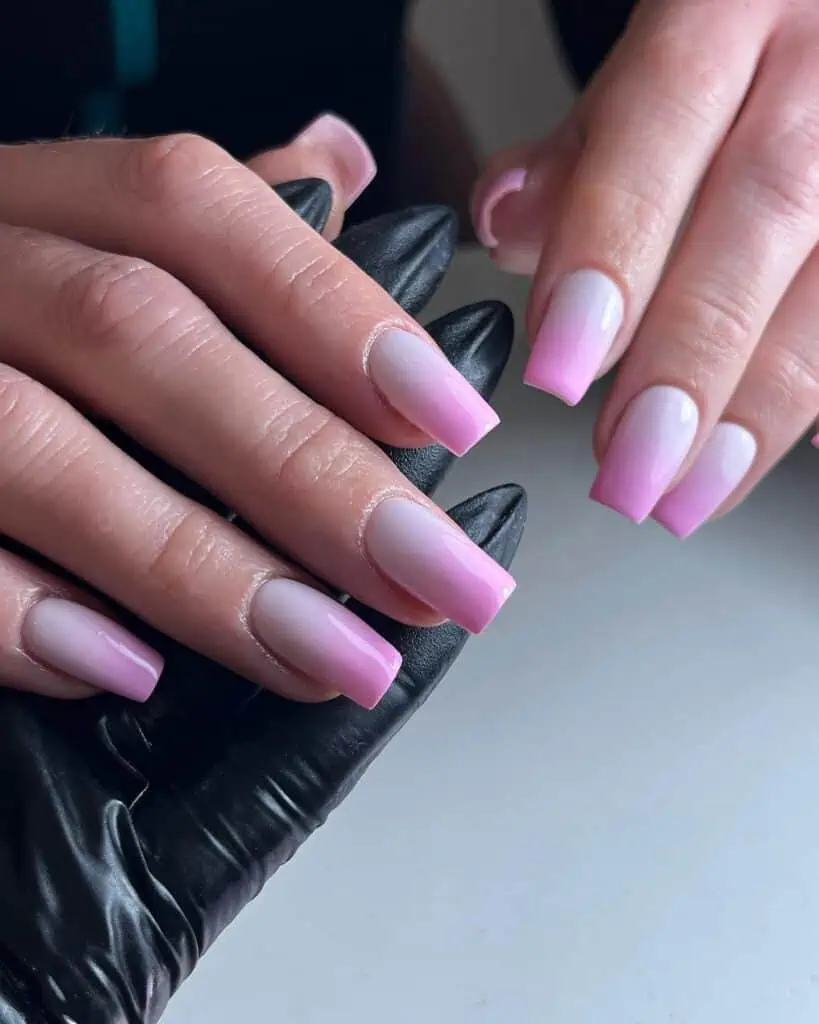
Credit: meraki_nails_cardiff
20. Pink Ombre Heart Nails
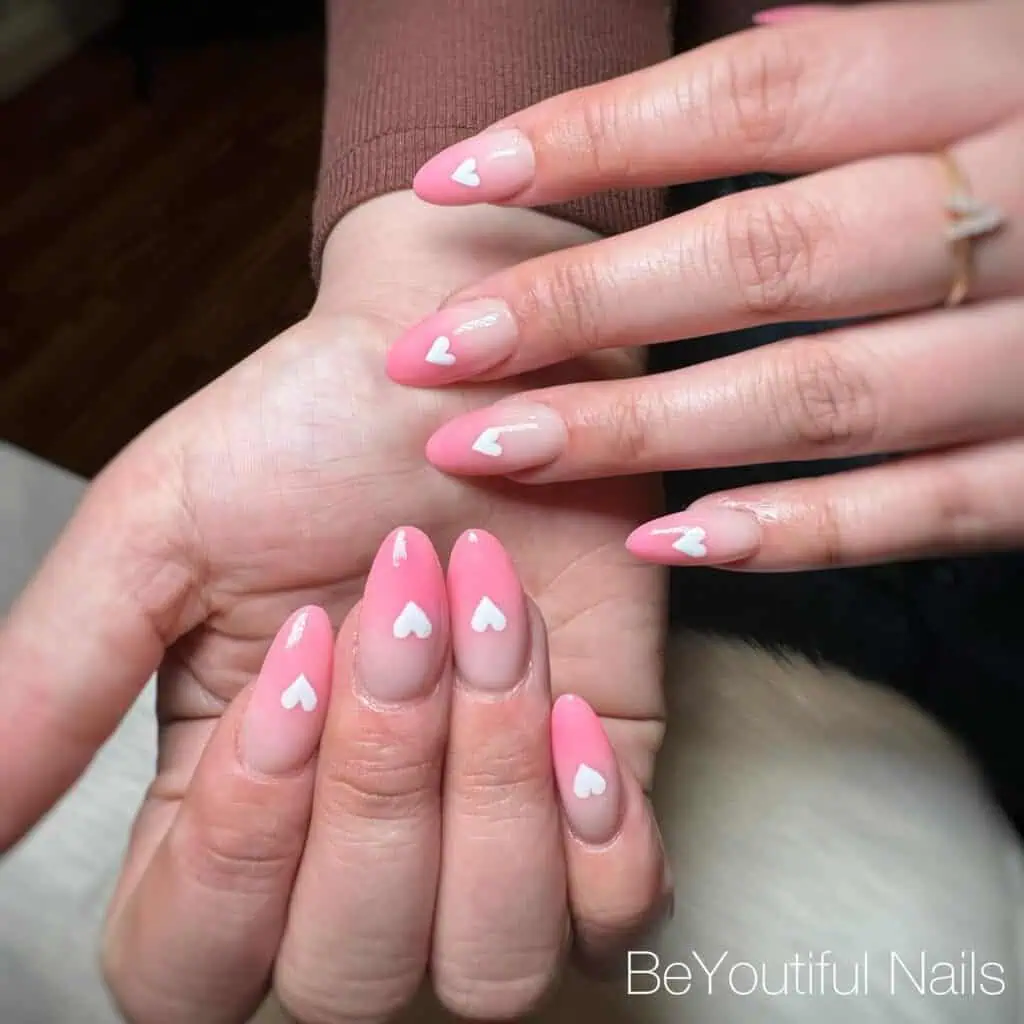
Credit: be.you.tiful_nails23
19. Neon Pink Ombre Gel Nails
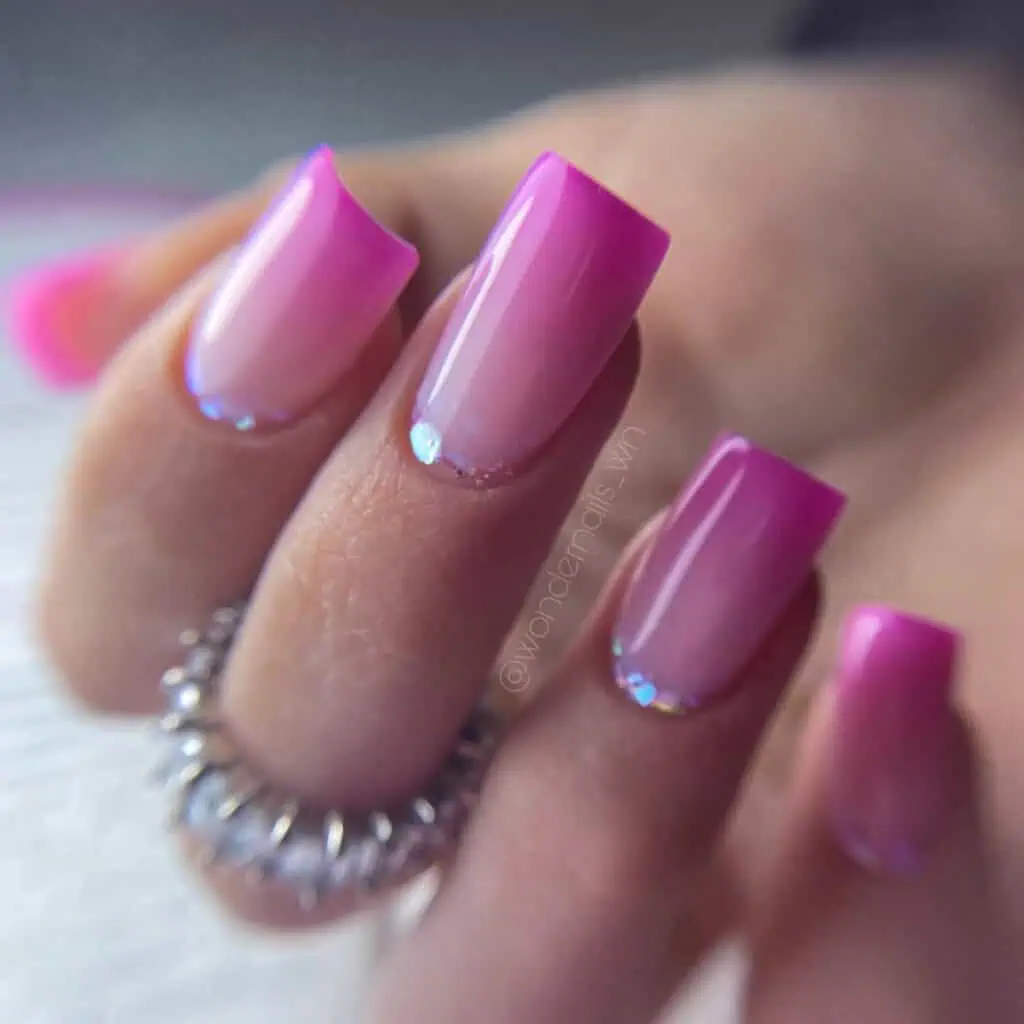
Credit: wondernails_wn
18. Classic Ombre French Gel Nails
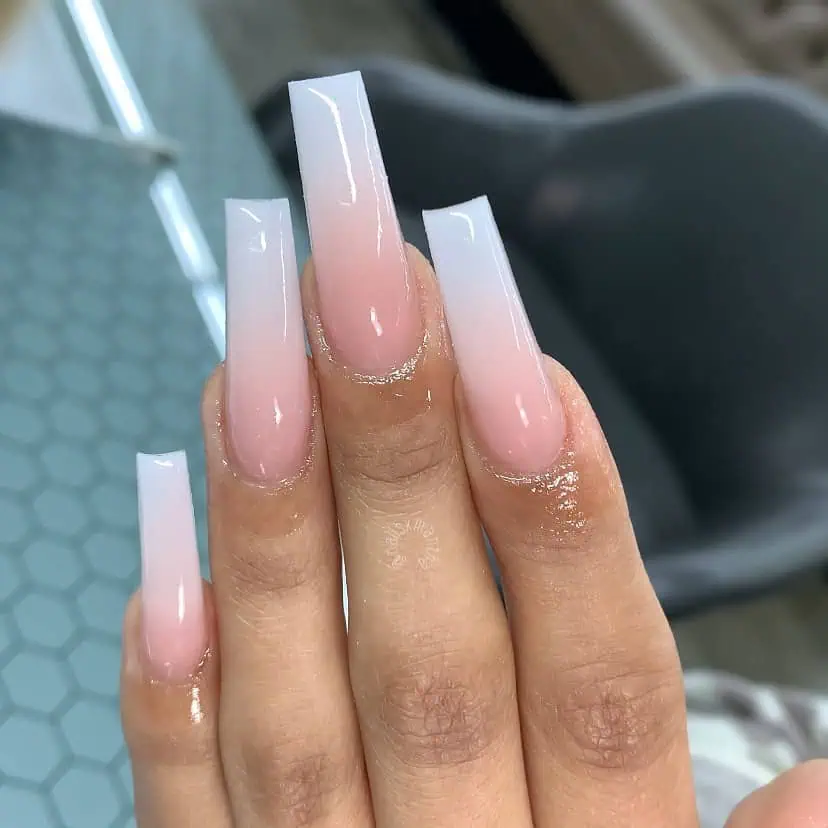
Credit: setsbymantha
17. White Butterfly Ombre Nails
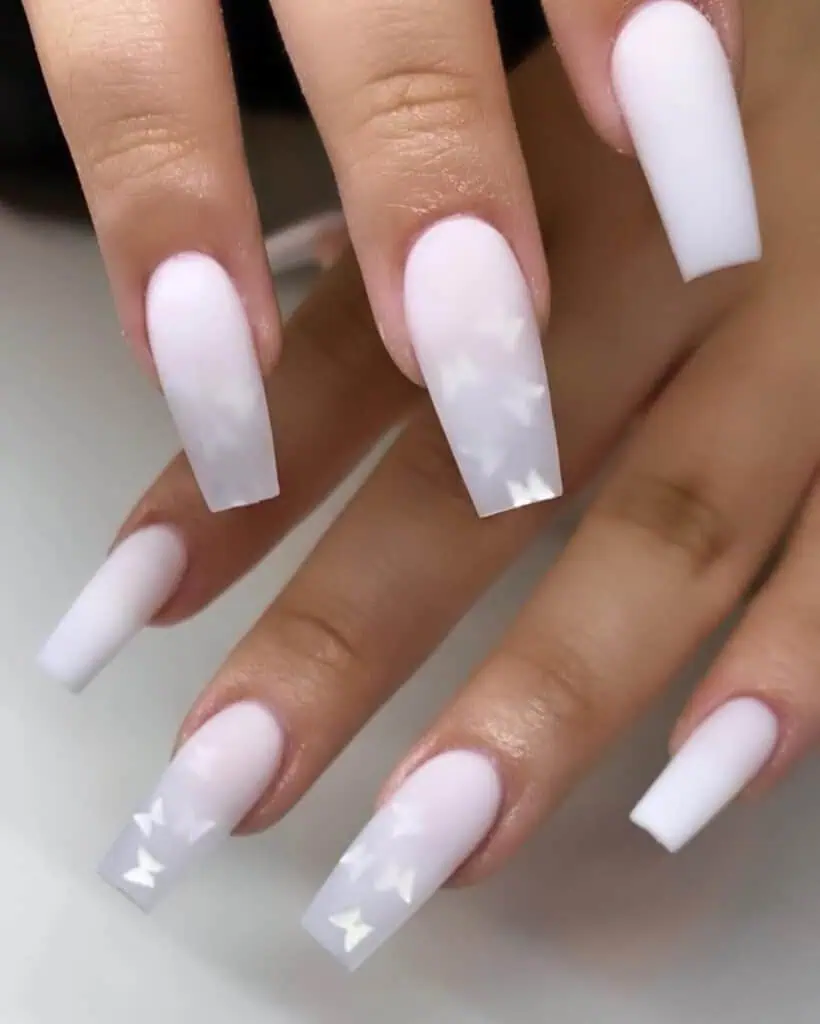
Credit: nailsbyalma_
16. Glittery White Ombre Gel Nails
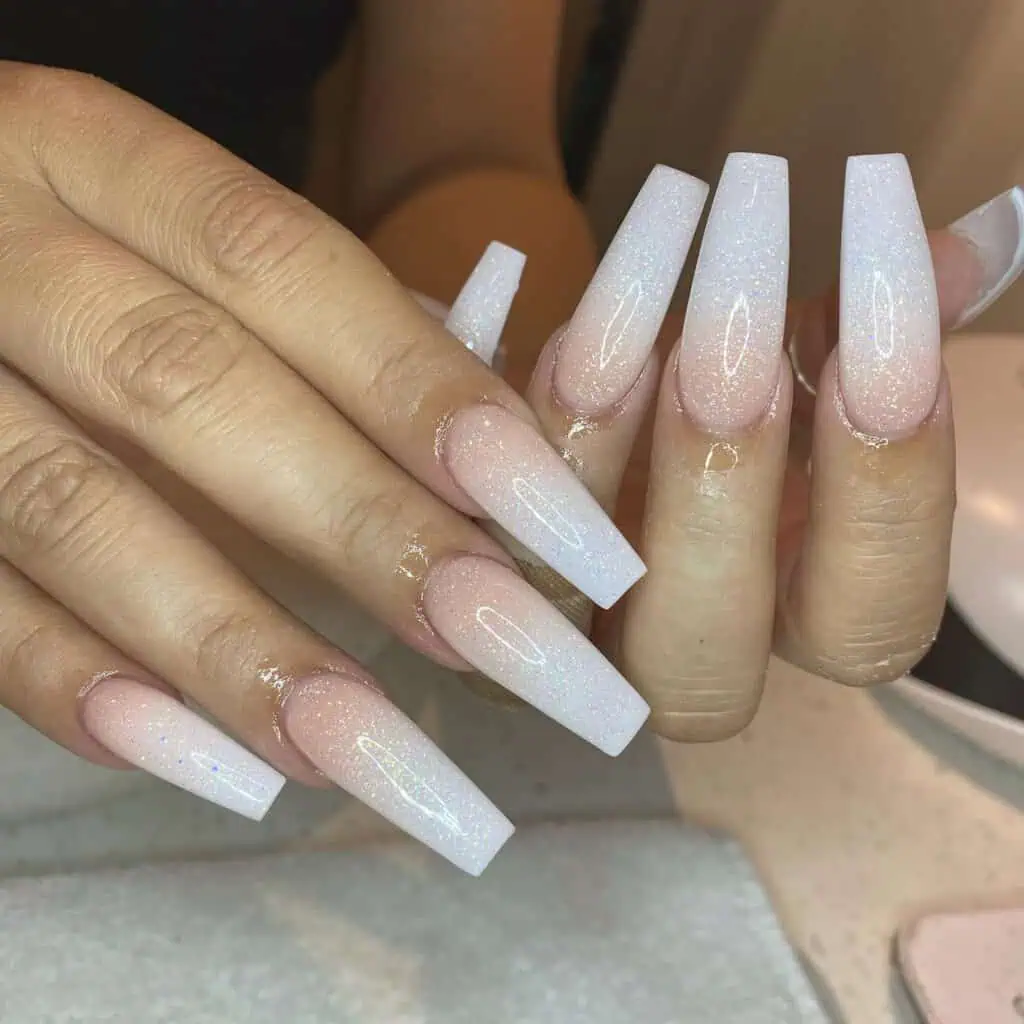
Credit: brillantinanailz
15. Deep Ocean Blue Golden Ombre Nails
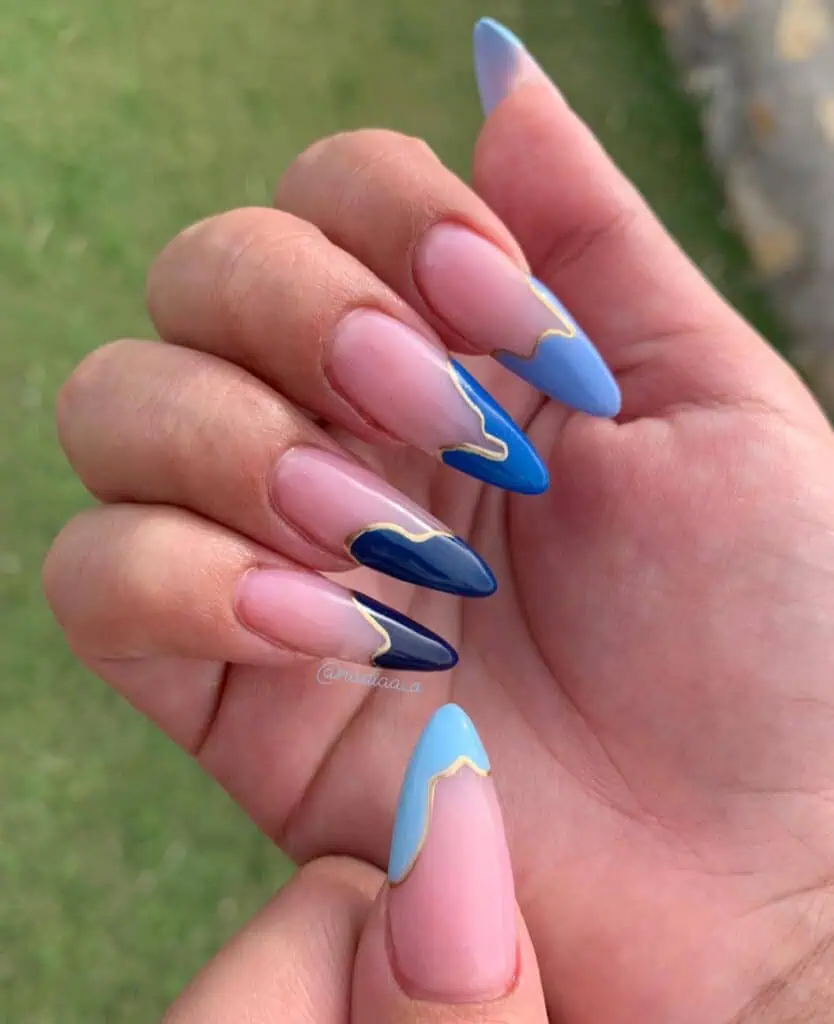
Credit: nailqueennadia
14. Milky White & Blue Ombre Nails
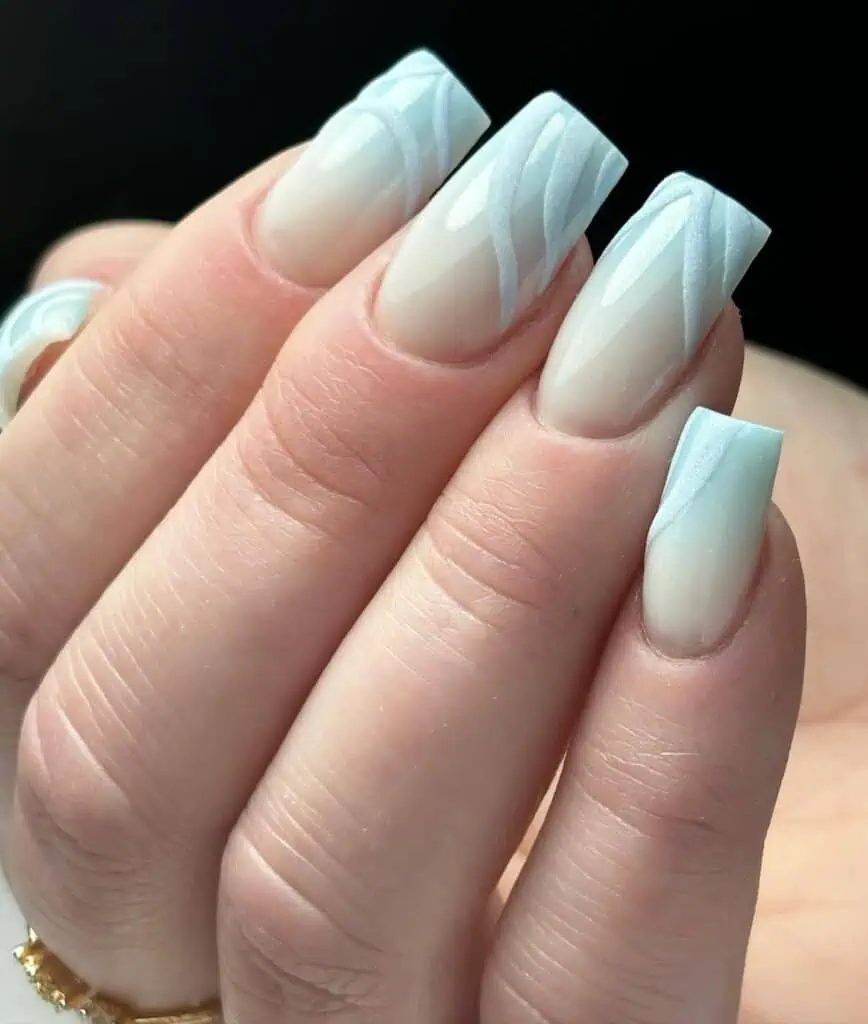
Credit: nails_from_caroline
13. Icy Blue Ombre Glitter Nails
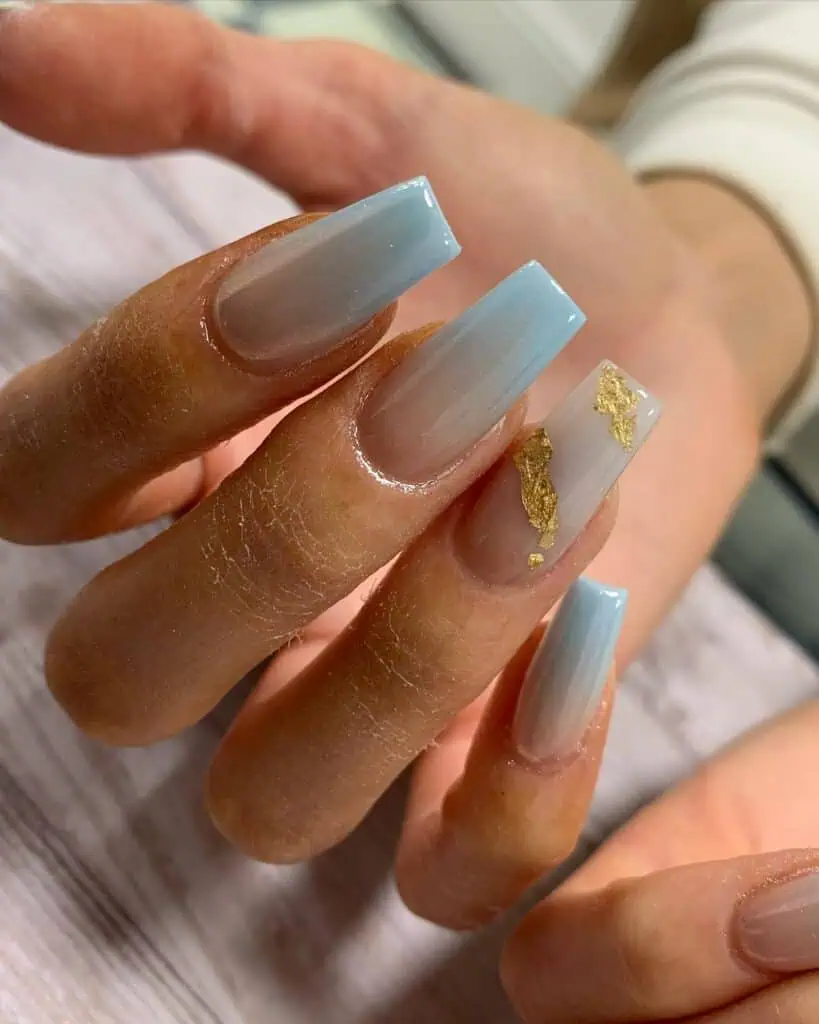
Credit: nailsbynell_
12. Red On Red Ombre Nails
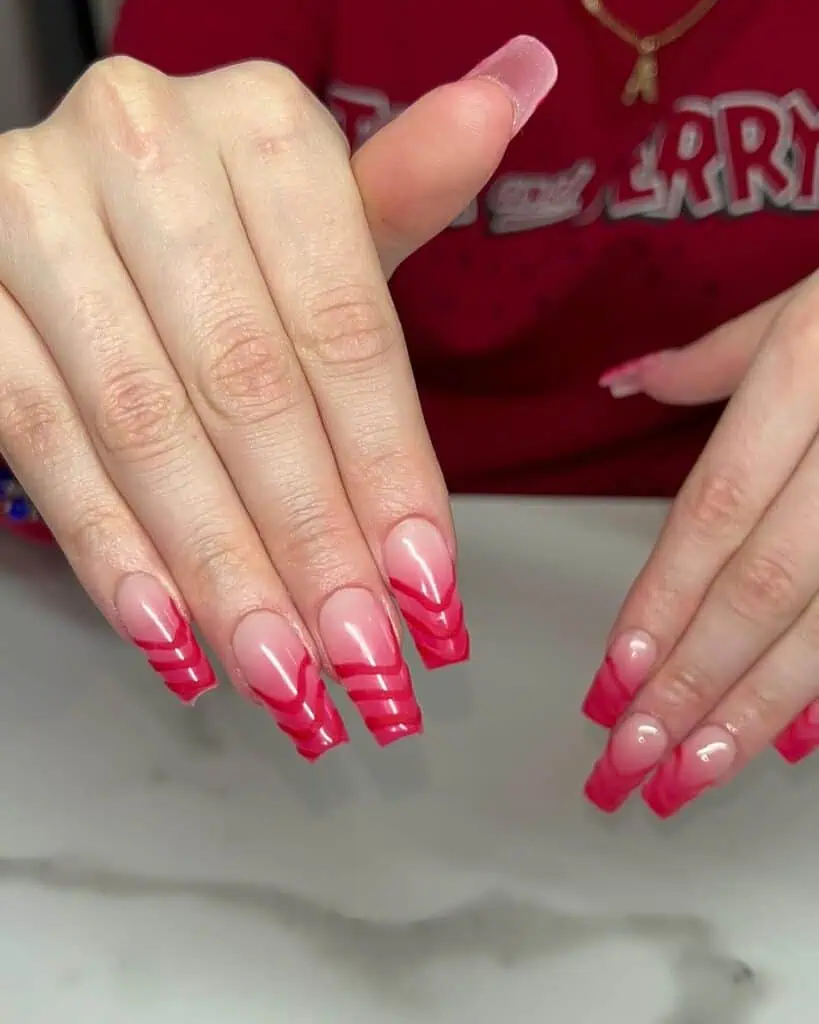
Credit: softebeauty
11. Red & White French Ombre Floral Nails
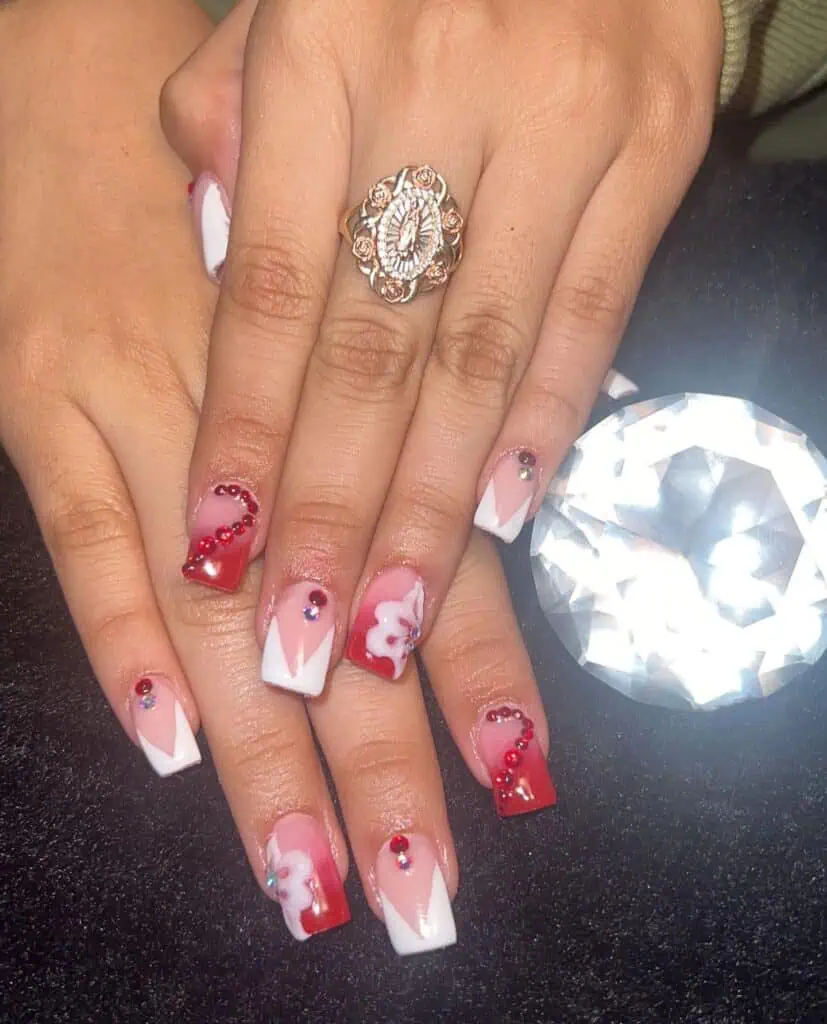
Credit: rosemaryfernandez5
10. Dark Red Witchy Red Ombre Gel Nails
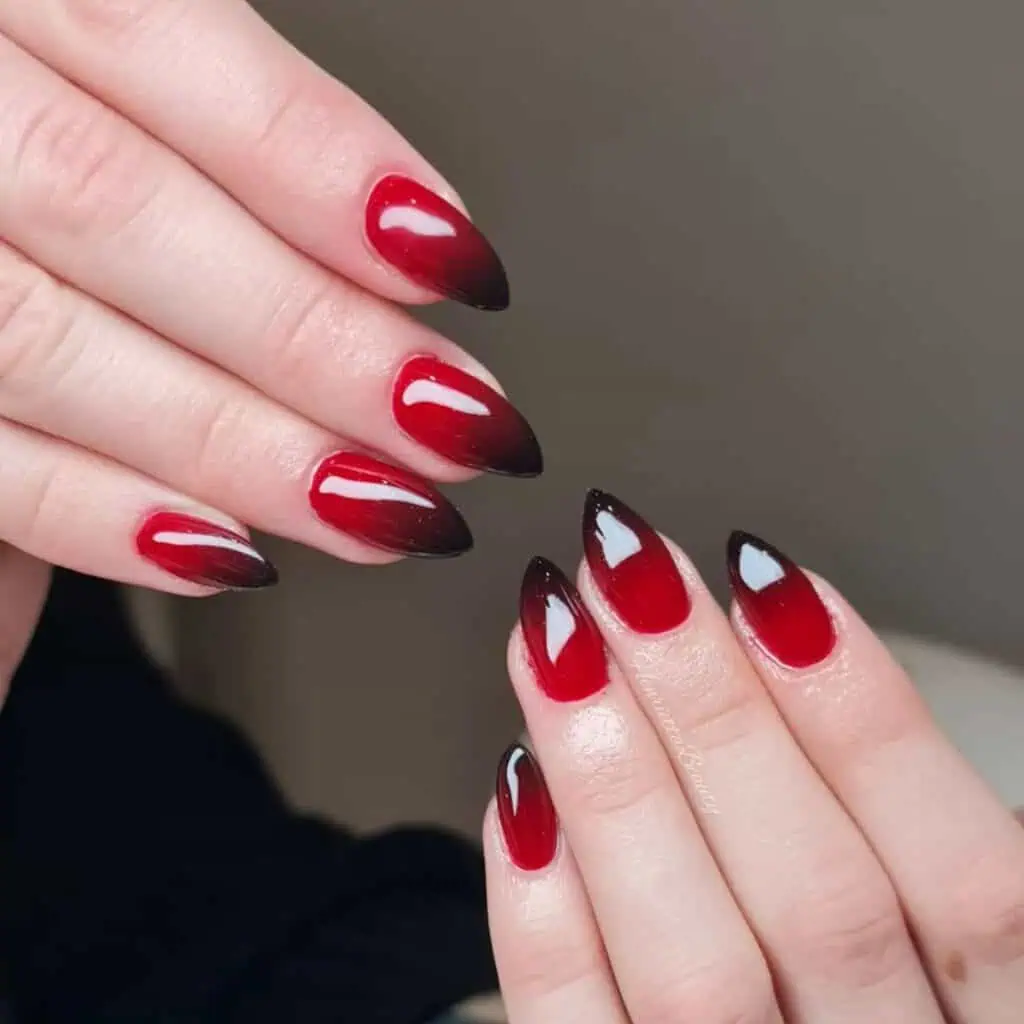
Credit: henriettabeauty
9. Witchy Purple Halloween Ombre Nails
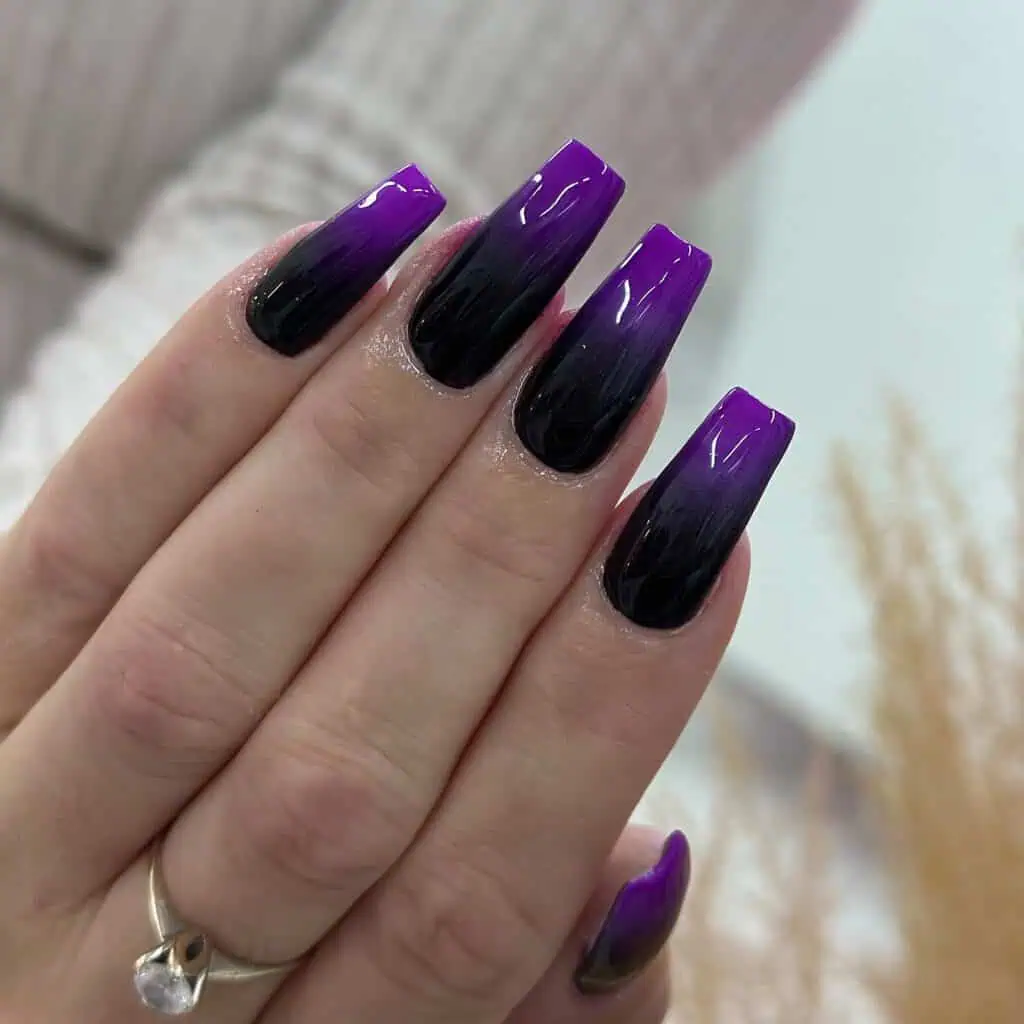
Credit: milos_nails
8. Purple To Pink Ombre Nails
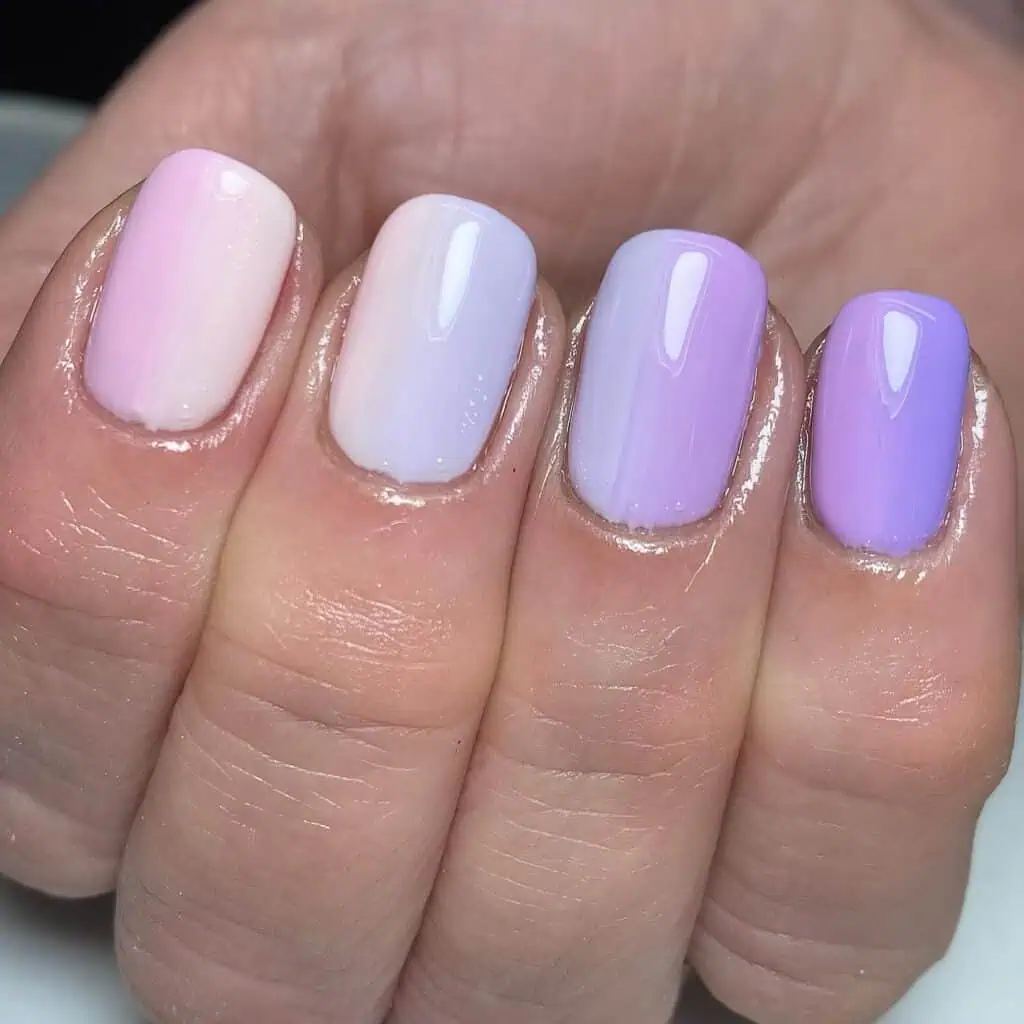
Credit: onthespotbeauty
7. Blue & Purple Glitter Ombre Nails

Credit: elzbieta_laszewska_instruktor
6. Wine Red & Black Ombre Gel Nails

Credit: karolinacieslik.nails
5. Black Ombre Matte Nails
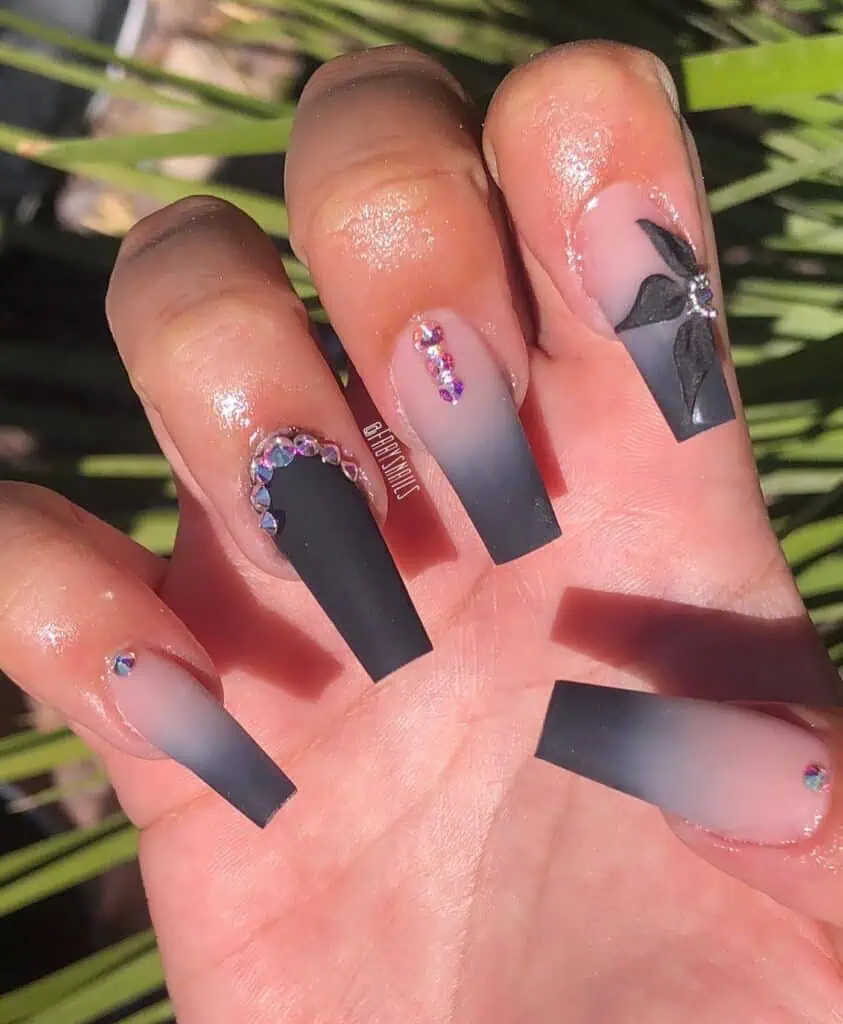
Credit: fabysnails
4. Moon & Stars Black Ombre Gel Nails
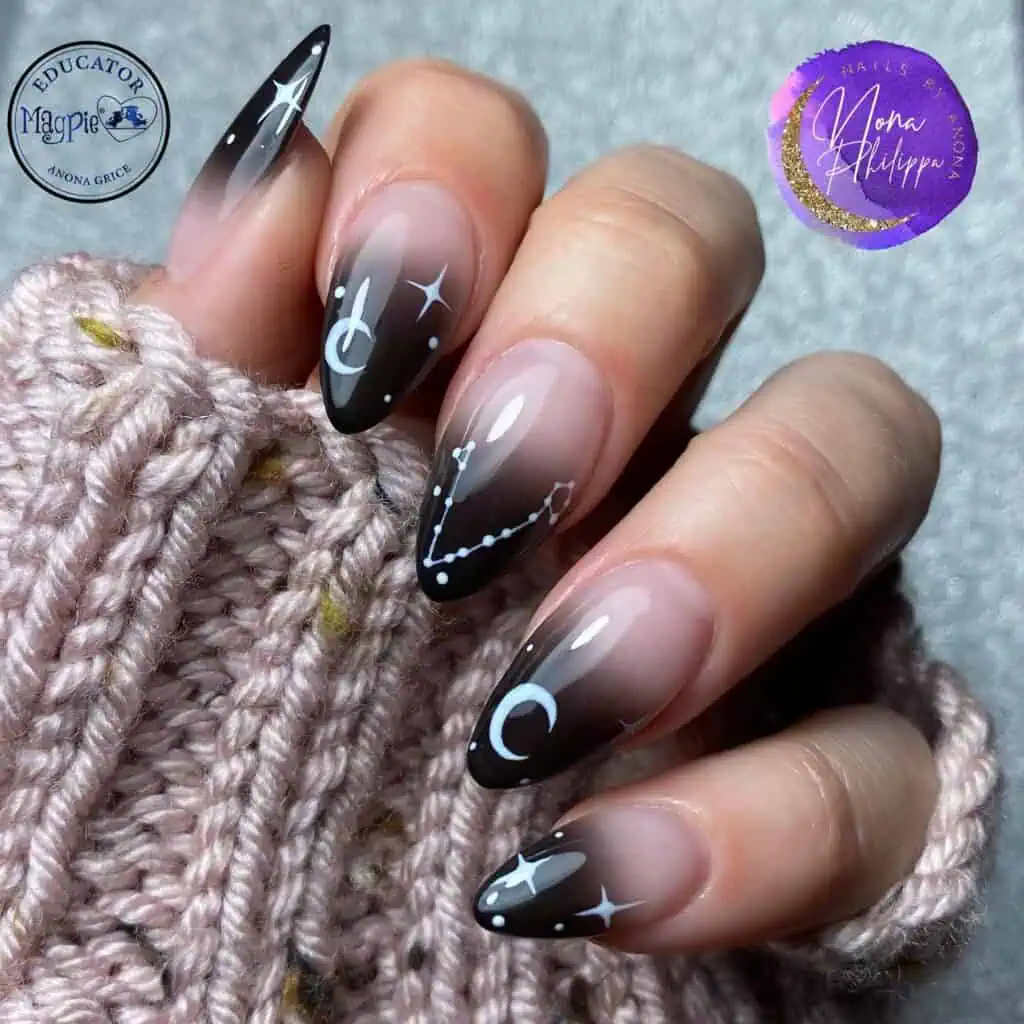
Credit: nonaphilippa
3. Silver Glitter Wedding Bridal Ombre Nails
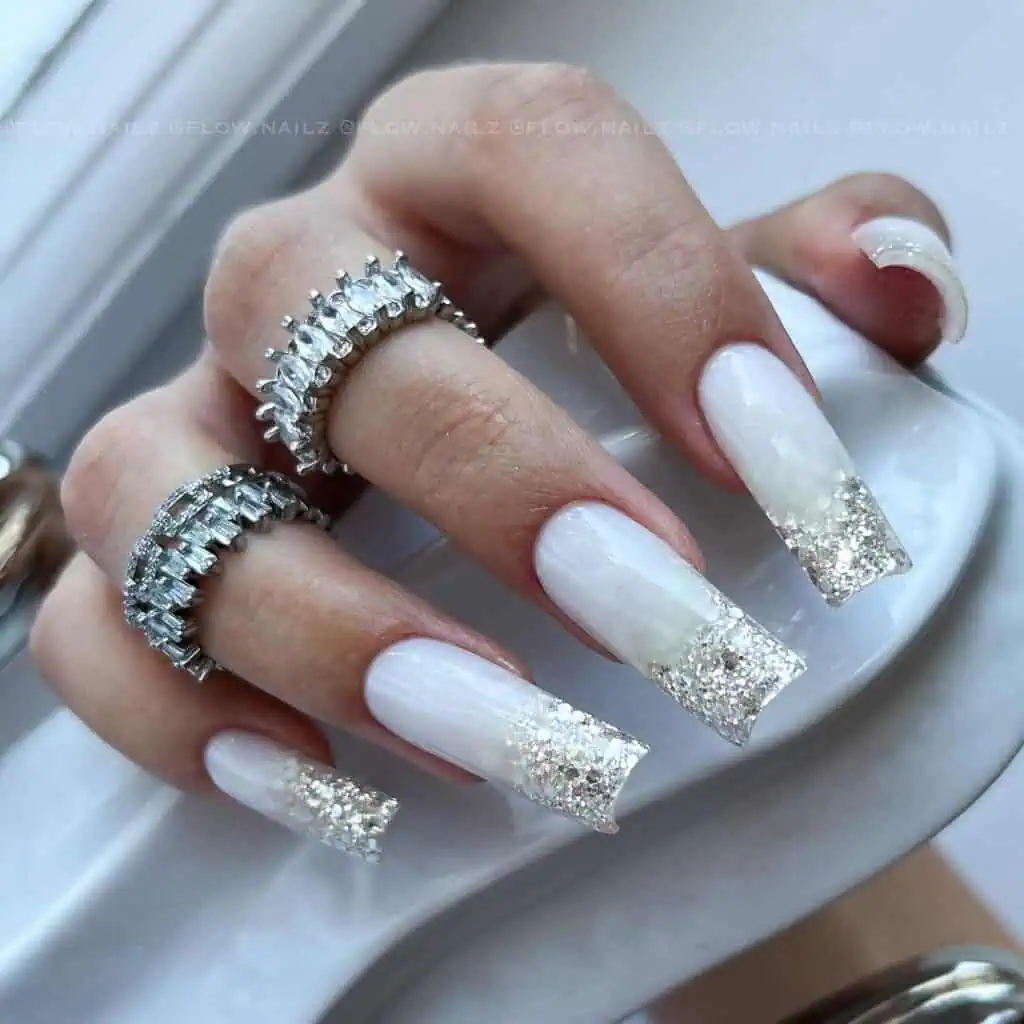
Credit: flow.nailz
2. Rose Gold Glitter Ombre Gel Nails
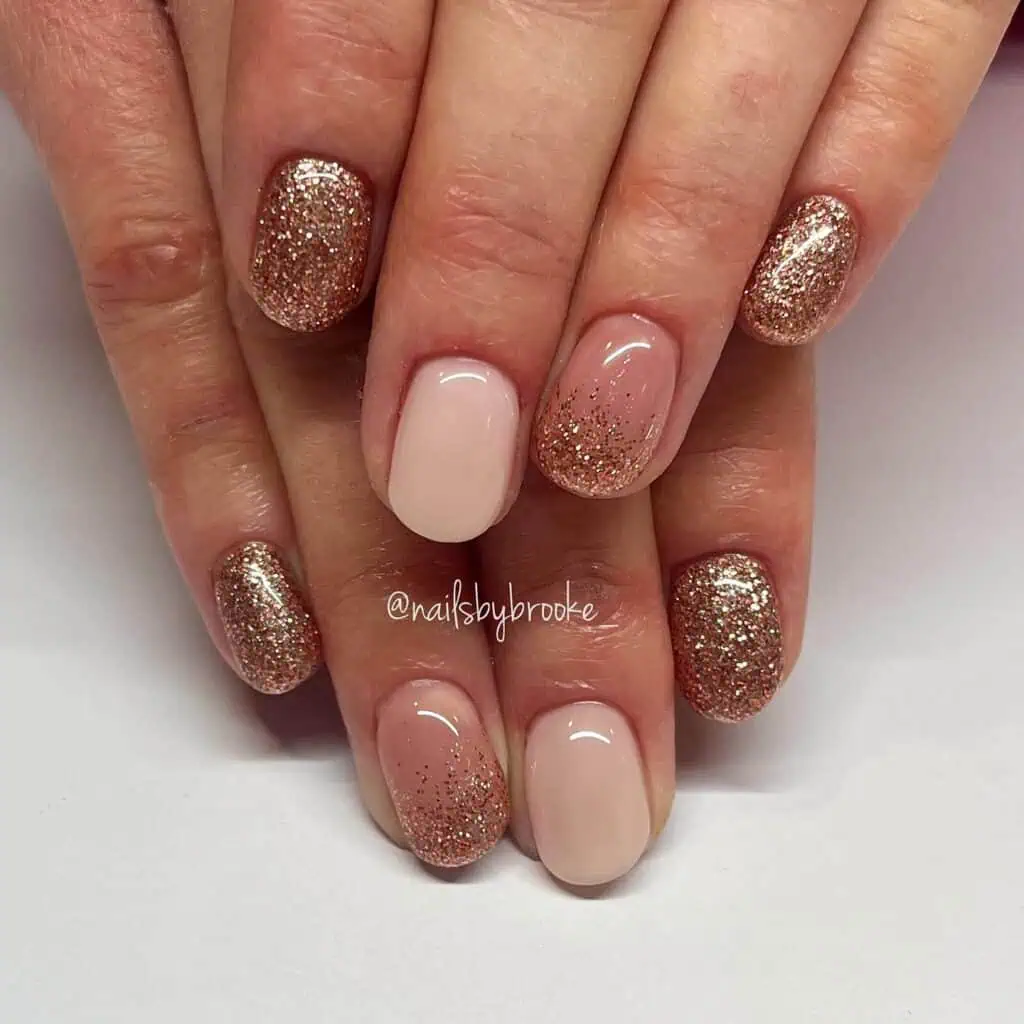
Credit: nailsbybrooke___
1. Baby Pink Glitter Ombre Nails
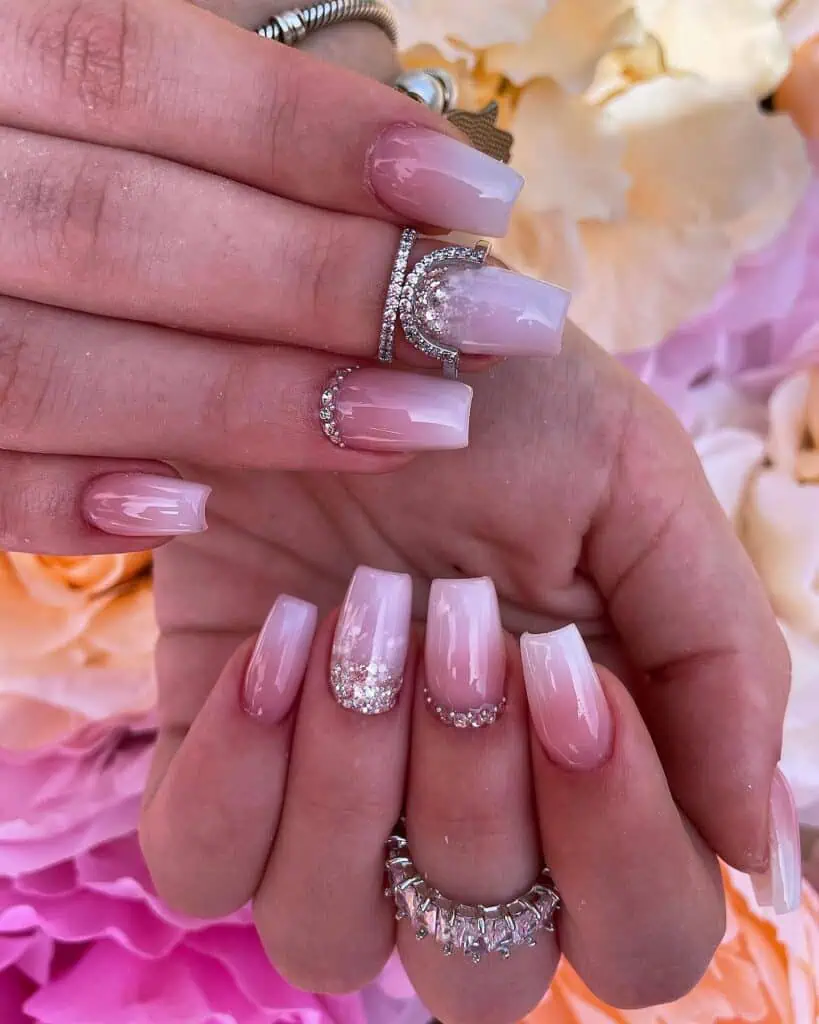
Credit: zsofinails_
How can I ensure a smooth gradient?
To achieve a smooth gradient, make sure to blend the colors well on the sponge. Dab lightly and repeatedly to build up the colors gradually. Using polishes with similar consistencies can also help in blending the colors seamlessly.
How do I finish the ombre manicure?
Once you’re satisfied with the gradient, apply a top coat to seal the design and add a glossy finish. This will also help blend the colors further and smooth out any unevenness. Let your nails dry completely.
Can I use different types of nail polish for the ombre effect?
Yes, you can use various types of nail polish, including regular, gel, or even glitter polishes. However, using polishes with similar formulas and consistencies will give the best results.
How can I maintain my ombre nails for longer?
To extend the life of your ombre manicure, apply a fresh layer of top coat every few days. Avoid using your nails as tools and wear gloves when doing household chores. Proper nail care, such as moisturizing your cuticles and avoiding harsh chemicals, will also help maintain your manicure.
How long does it take to create ombre nails?
The time required can vary based on your skill level and the complexity of the design. Generally, it takes about 30 to 60 minutes, including drying time between layers. Patience is key to achieving a flawless ombre effect.