Trendy Bunny Nails have taken the nail art world by storm, capturing the essence of cute and chic in one delightful package. These adorable designs, inspired by everyone’s favorite fluffy creatures, are perfect for adding a touch of whimsy to your manicure. Whether you’re gearing up for Easter, springtime, or simply want to showcase your love for bunnies, these nail art ideas will leave you hopping with joy.

From minimalist bunny silhouettes to intricate 3D embellishments, the versatility of bunny-themed nail art is boundless. Each design offers a unique way to express your creativity, allowing you to mix and match colors, textures, and patterns. The trend has seen an array of interpretations, from pastel hues and delicate details to bold graphics and glittery finishes, making it easy to find a style that suits your personality.
Incorporating bunny elements into your nail art can be as simple or as elaborate as you like. Some designs focus on subtle accents, such as tiny bunny ears peeking over the edge of a nail, while others go all out with full-on bunny scenes that tell a story. The beauty of these designs lies in their ability to be customized, ensuring that your nails are truly one-of-a-kind.
Trendy Bunny Nails are not just about looking cute; they’re also about having fun and experimenting with different techniques. Whether you’re a nail art novice or a seasoned pro, there’s a bunny nail design that’s perfect for you. With endless possibilities to explore, these adorable and stylish nail art ideas are sure to inspire your next manicure.
1. Explore Various Bunny Themes
Experiment with different bunny themes to keep your designs fresh and trendy. Think beyond the classic white bunny; explore bunnies inspired by different cultures, holidays, or even pop culture. This approach will give you a wide range of creative possibilities, allowing you to offer something unique and eye-catching.
2. Play with Colors and Textures
Utilize a diverse palette of colors and textures to enhance your bunny nail designs. Mixing matte and glossy finishes, incorporating metallic accents, or using gradient techniques can add depth and dimension. Don’t be afraid to step away from traditional pastel colors and try bold, vibrant hues to make your designs stand out.
3. Incorporate Negative Space
Negative space is a powerful tool in nail art that can create modern and sophisticated designs. By strategically leaving parts of the nail bare, you can highlight your bunny art and add a minimalist yet chic element to your designs. This technique can also make your designs appear more intricate and detailed.
4. Experiment with Different Nail Shapes
The shape of the nail can dramatically affect the overall look of your bunny nail designs. Try using different nail shapes such as stiletto, almond, or coffin to see how they change the aesthetic. Certain designs might pop more on specific shapes, giving you an edge in creating standout looks.
5. Use Mixed Media Techniques
Combine various nail art techniques and materials to create unique bunny designs. This could include incorporating 3D elements, using nail foils, or blending traditional painting with stamping. Mixed media techniques can add an extra layer of creativity and complexity to your designs, making them truly one-of-a-kind.
6. Focus on Detailing and Fine Lines
Attention to detail is crucial for creating intricate bunny nail designs. Practice fine line work to ensure that your designs are sharp and clean. Use fine-tipped brushes or nail art pens to achieve precision in detailing, which can elevate the overall quality and professionalism of your work.
7. Utilize Seasonal and Holiday Trends
Incorporate elements from current seasonal and holiday trends into your bunny nail designs. This keeps your designs relevant and timely, appealing to clients looking for festive or themed nails. For example, you can integrate elements from spring or Easter themes, making your bunny designs perfect for the season.
8. Create Custom Color Blends
Develop your own custom color blends to add a unique touch to your bunny nail designs. Mixing different nail polishes can result in unique shades that aren’t available off-the-shelf. Custom colors can make your designs stand out and offer something exclusive to your clients.
9. Master Gradient and Ombre Techniques
Gradient and ombre techniques can add a dynamic and visually appealing effect to your bunny nail designs. Practice blending colors seamlessly to create smooth transitions. These techniques can be used as backgrounds or integrated into the bunny designs themselves, adding a touch of sophistication and artistry.
10. Stay Inspired by Nature and Art
Draw inspiration from various sources such as nature, art, and fashion. Look at patterns, textures, and colors in the world around you and see how they can be incorporated into your bunny nail designs. Staying inspired and continually seeking new ideas will keep your work innovative and captivating.
Recommended Products

Trendy Bunny Nails
19. Glittery Bunny & Strawberry Nails
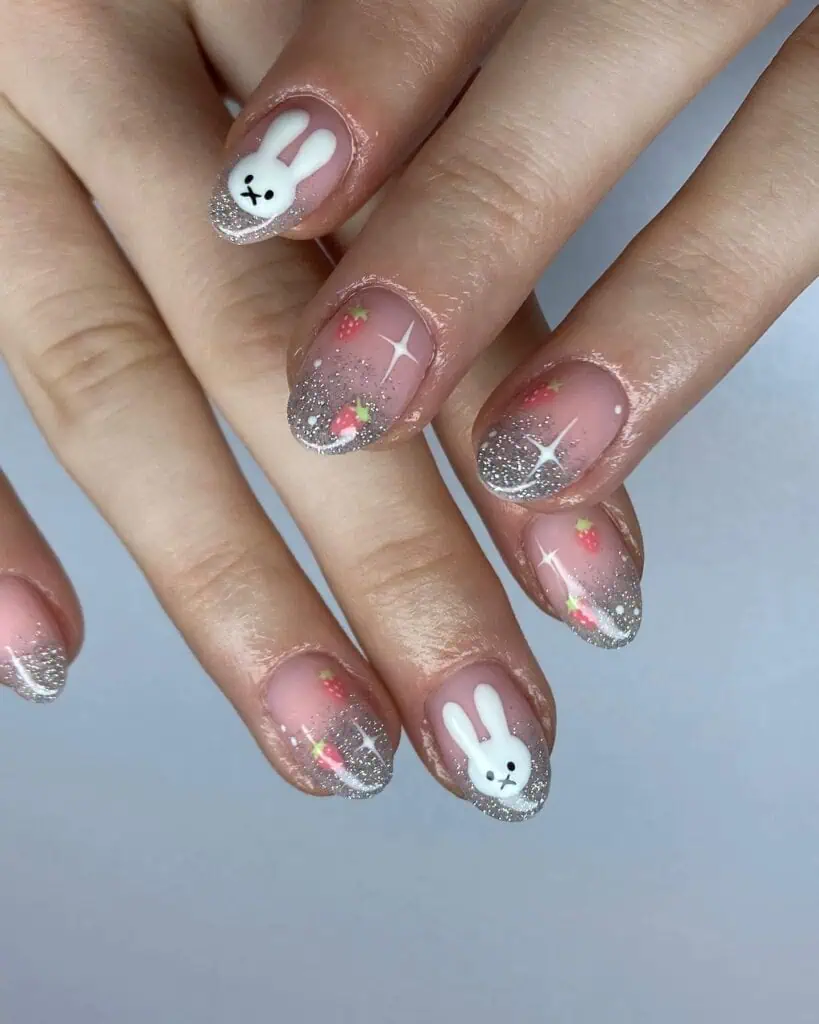
Credit: __tn_nails__
18. Cute Pink & white Bunny Nail Idea
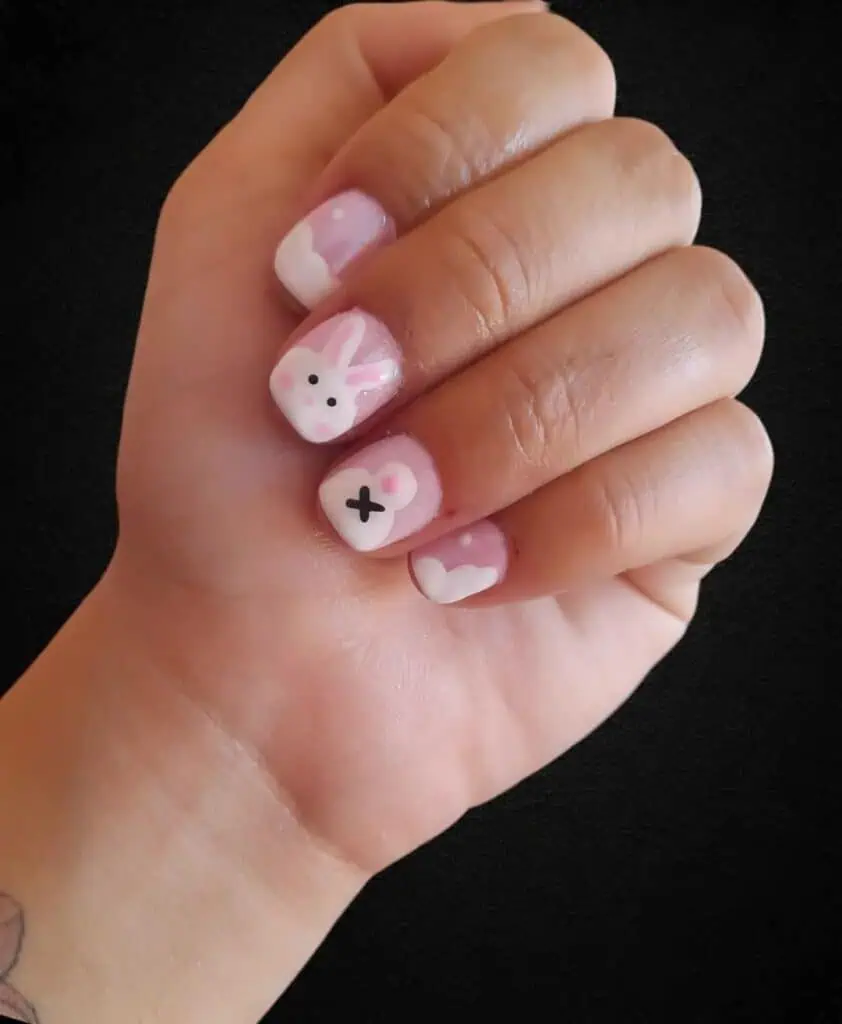
Credit: velmi_reed
17. Colorful Bunny French Tip Nails
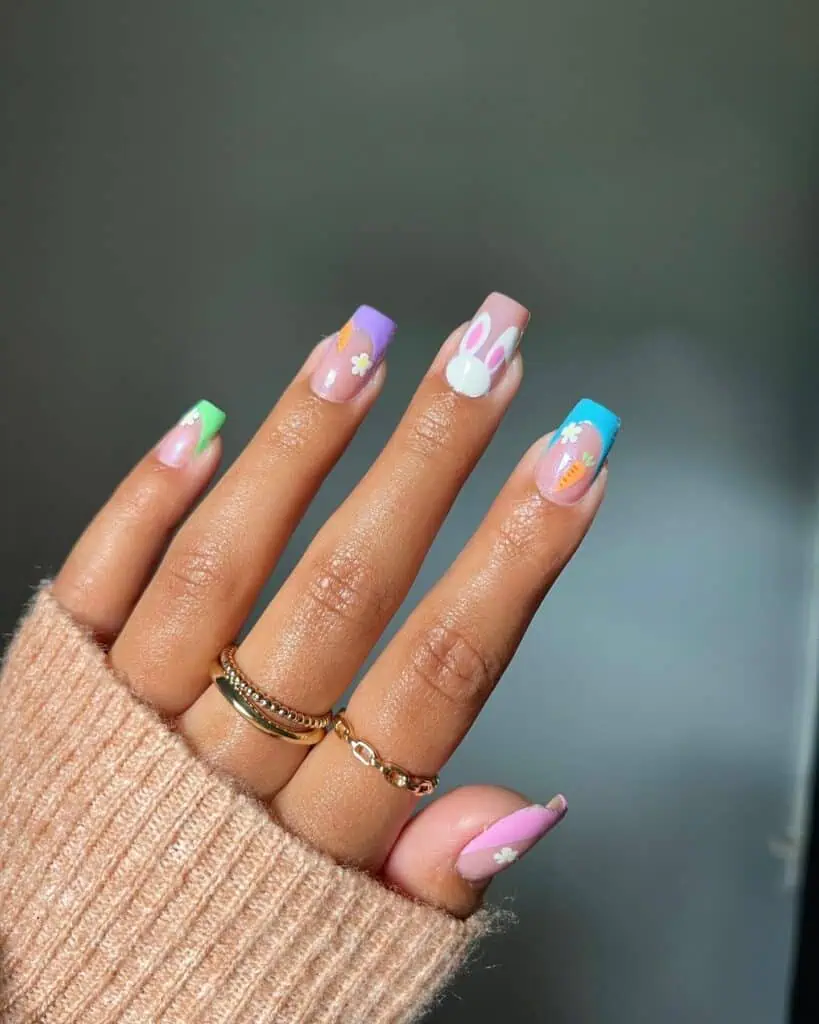
Credit: nailshuney
16. Pink Bunny Spring Nails
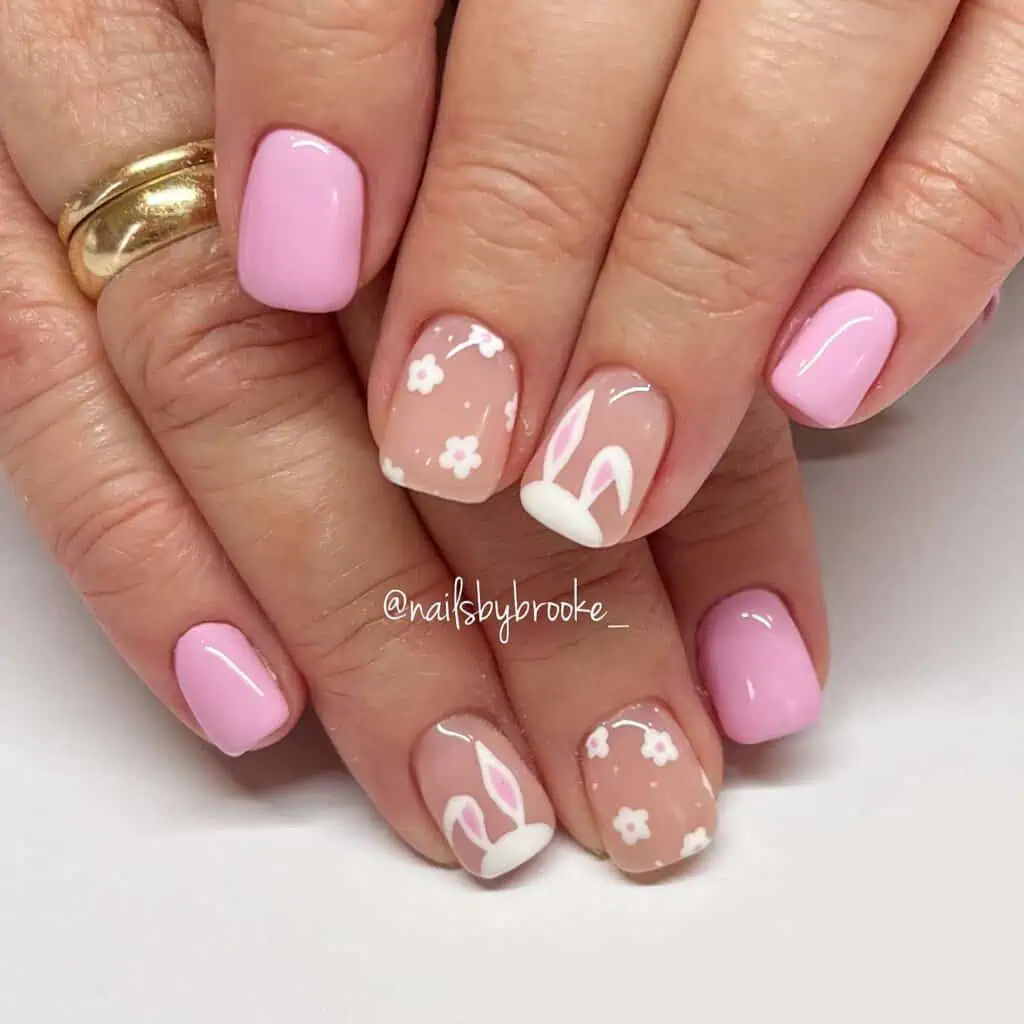
Credit: nailsbybrooke___
15. Colorful Bunny Nail Ideas
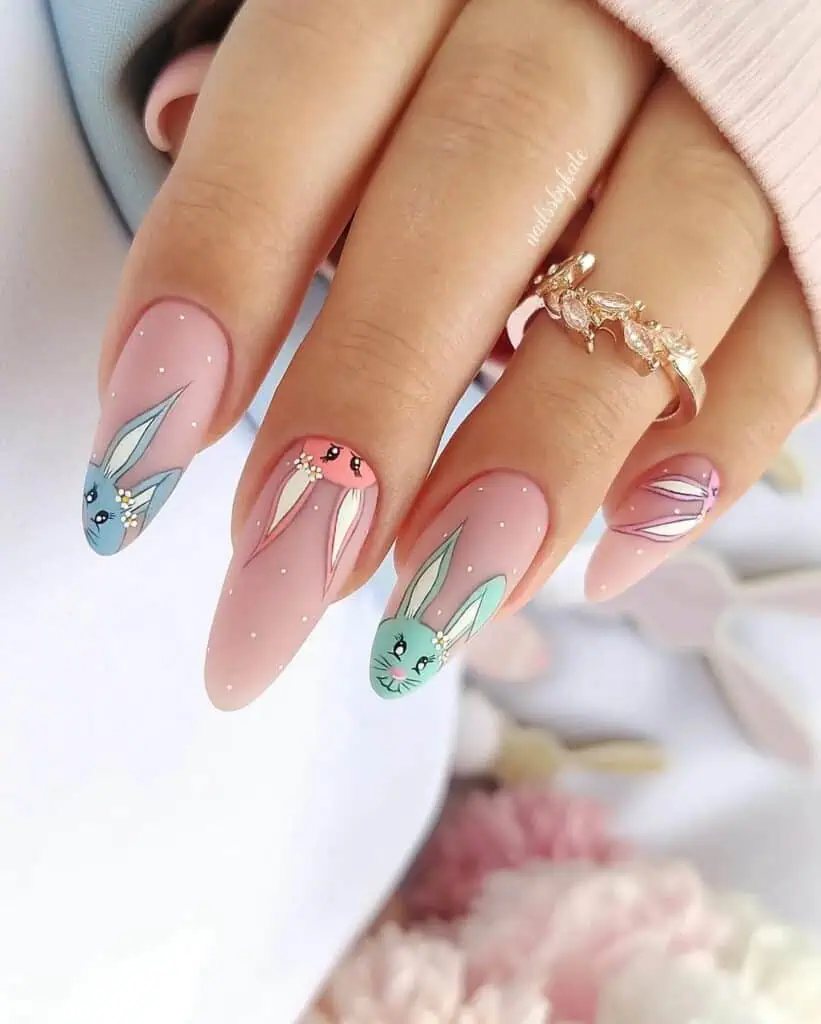
Credit: nailsmagazine
14. Easter Carrot Bunny Nails
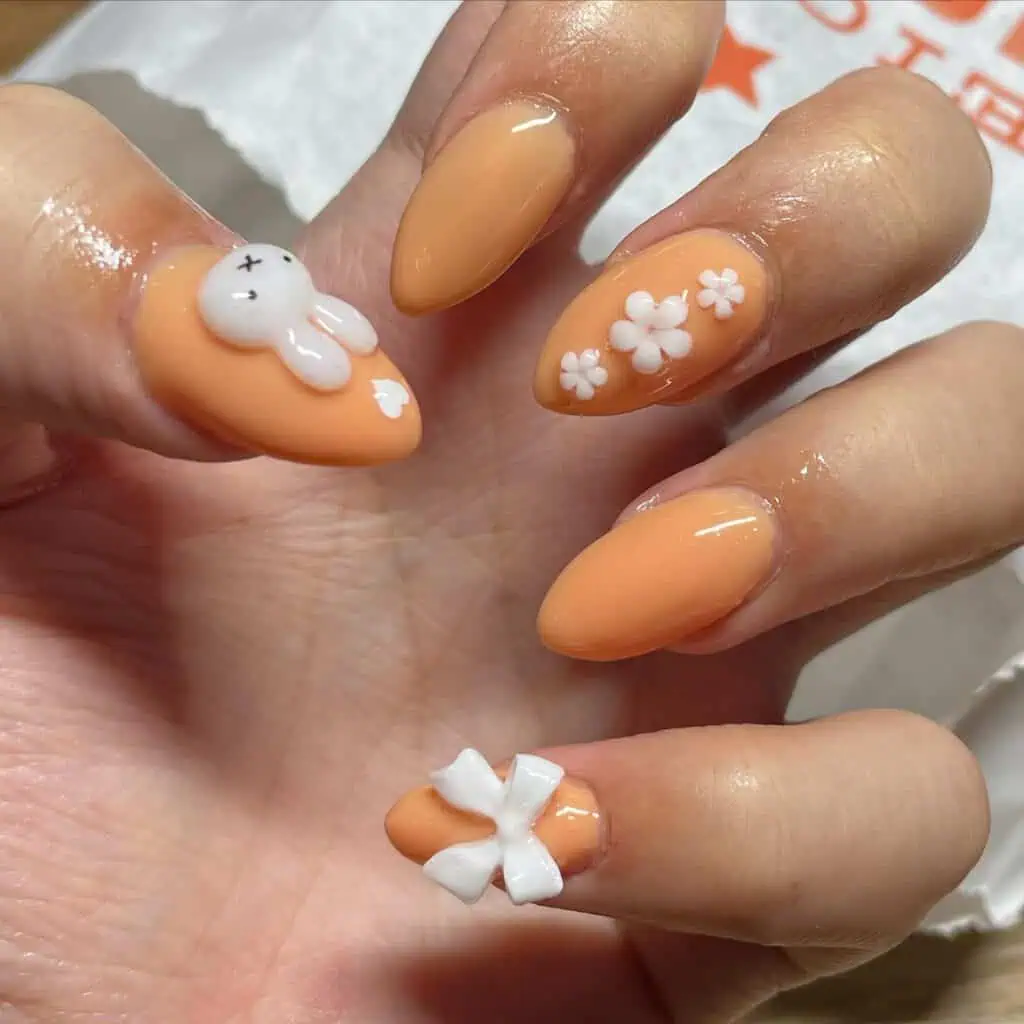
Credit: miffmelonails
13. Snowy White Winter Bunny Nails
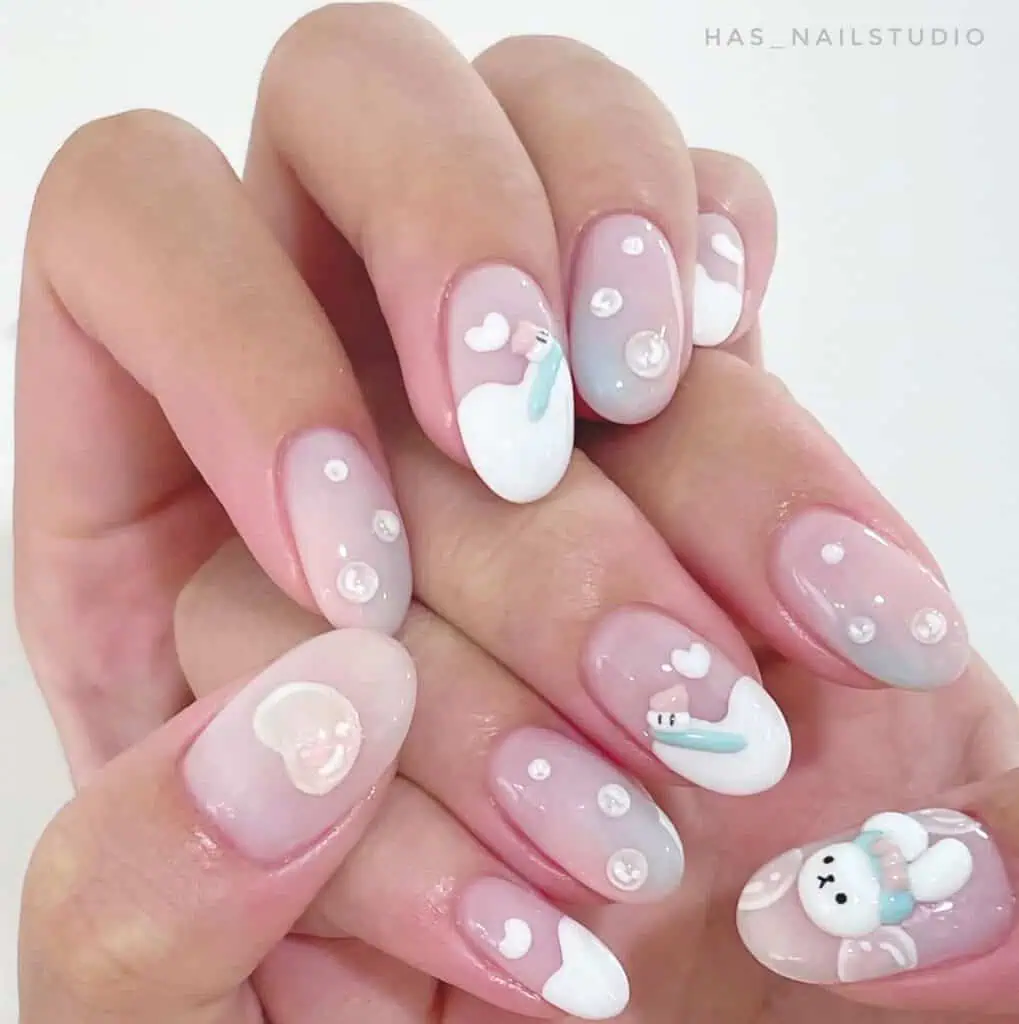
Credit: has_nailstudio
12. Bright Bunny Nails
Credit: jen.the.nail.lady
11. Easter Bunny Floral Nails
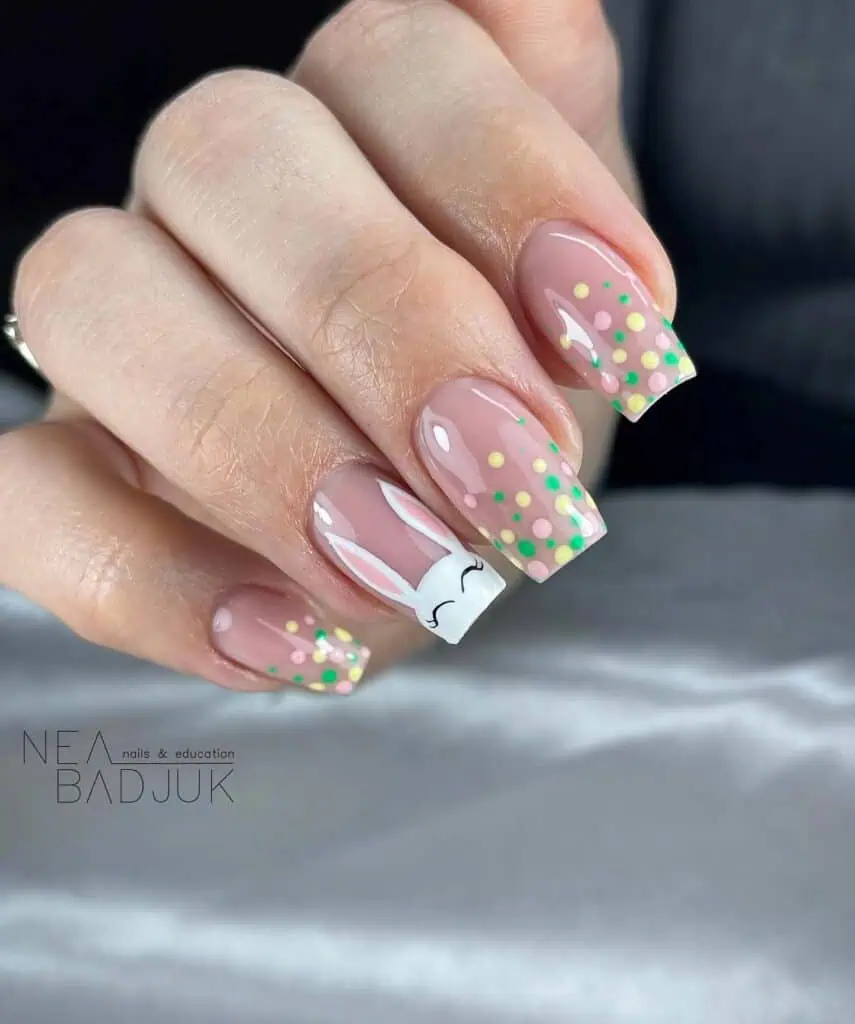
Credit: n.badjuk
10. Speckled Easter Bunny Nail Art
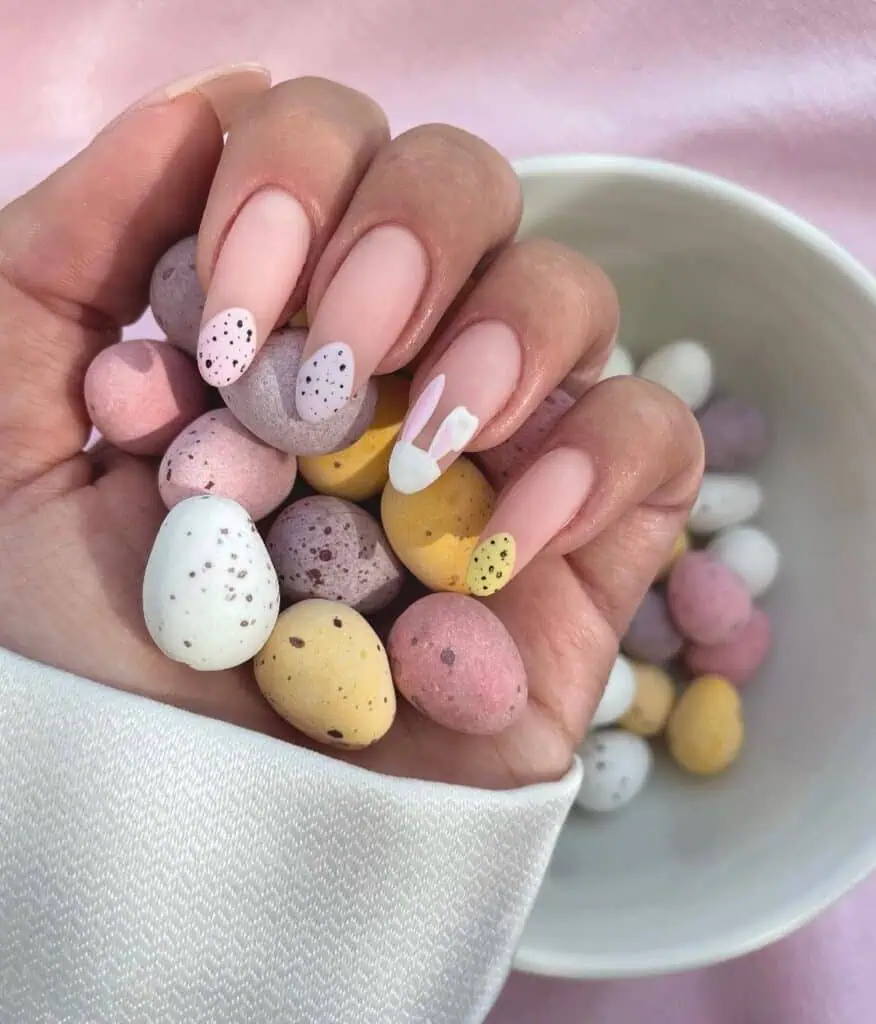
Credit: naileditbeauty
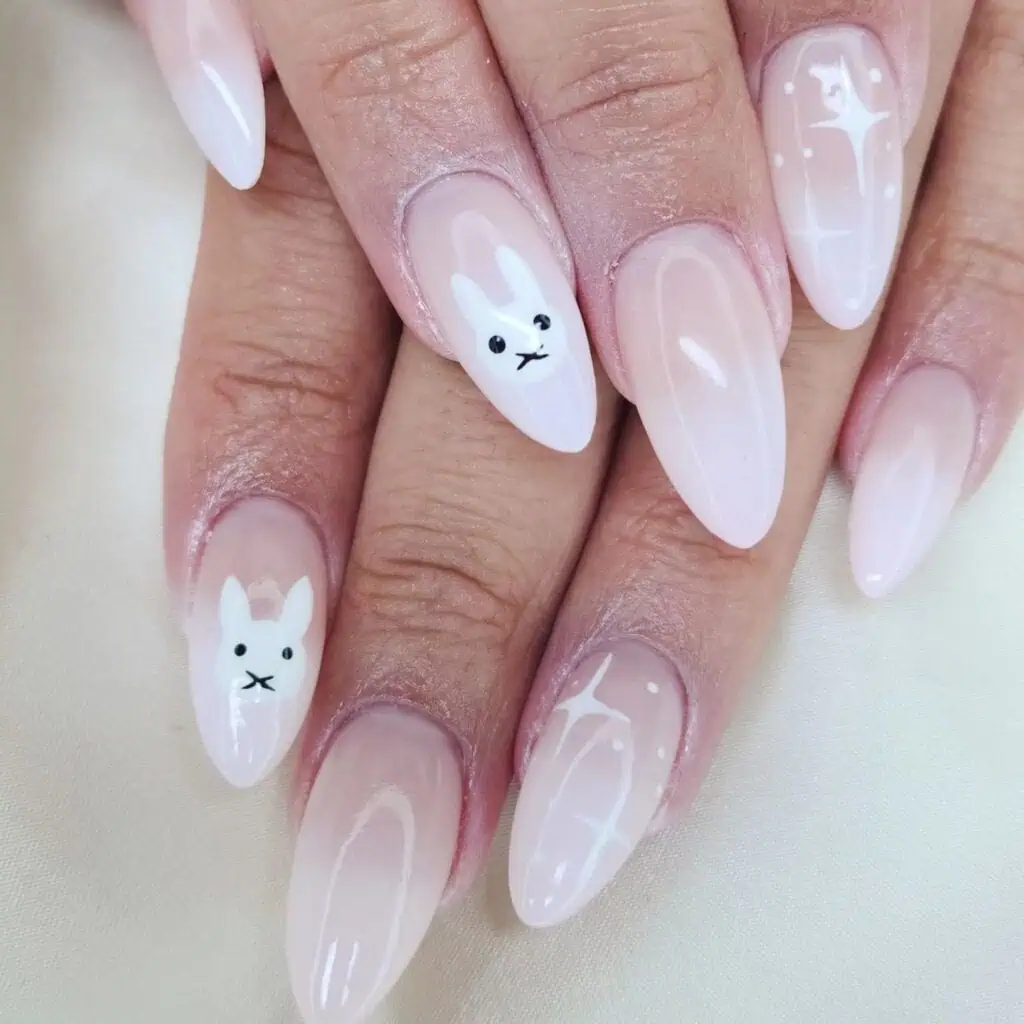
9. Cutest Bunny Design
Credit: nat_nailssss
8. Pink Drip Bunny Nail Design
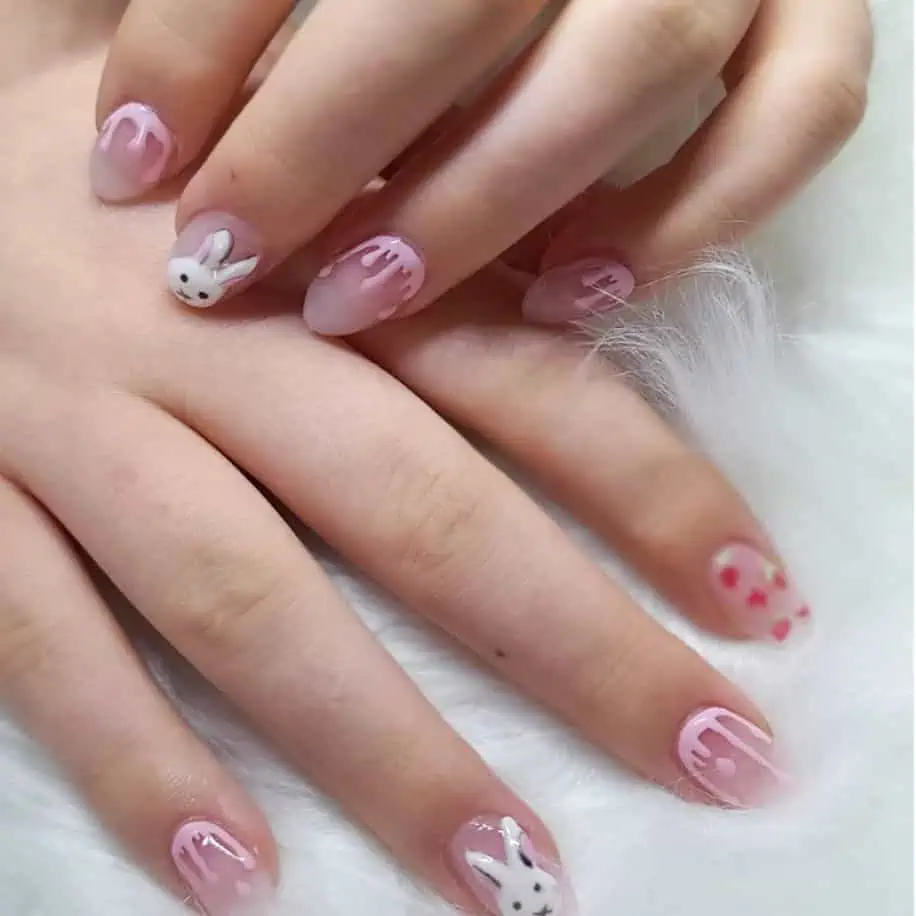
Credit: naillicious_x
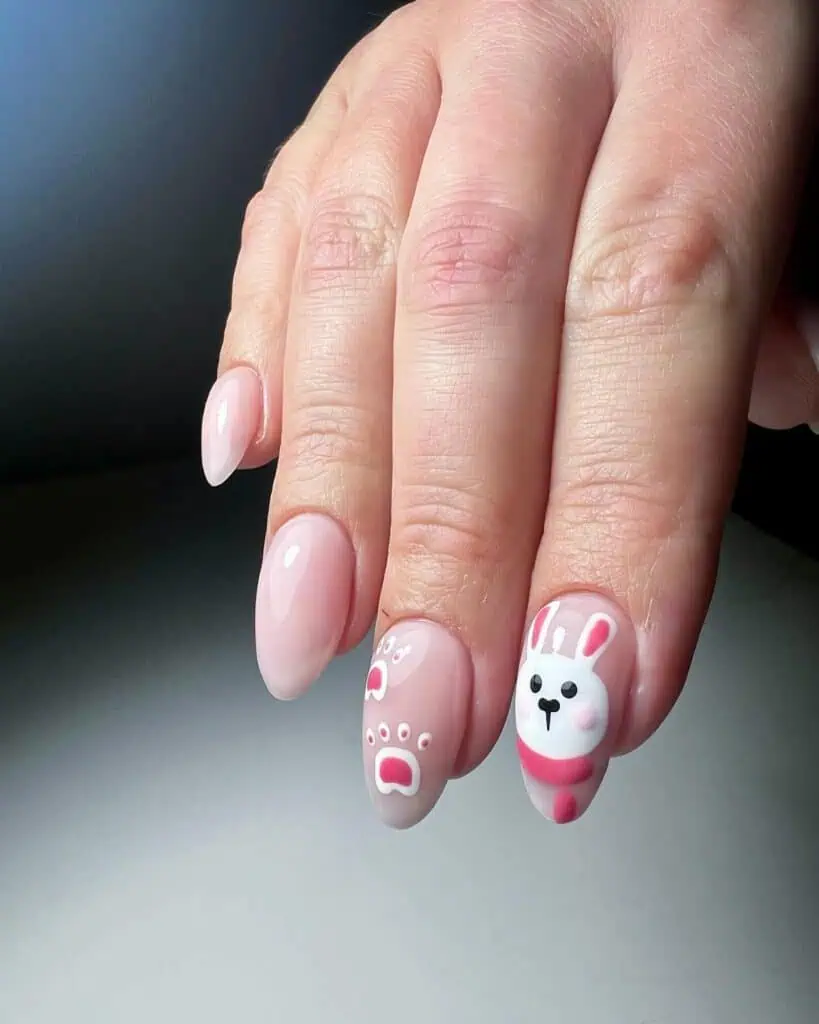
7. Cute Pink Bunny Nails
Credit: alicestry.nails
6. Kawaii Easter Bunny Nails
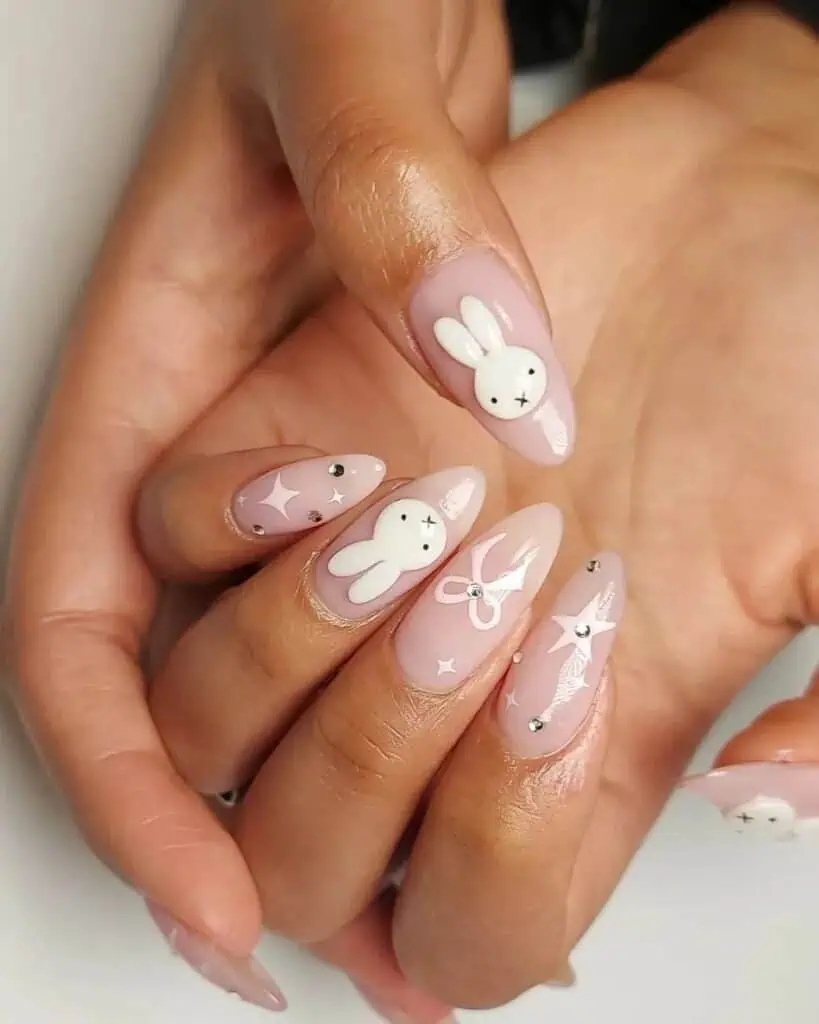
Credit: jark.nails
5. Baby Pink Easter Bunny Nails
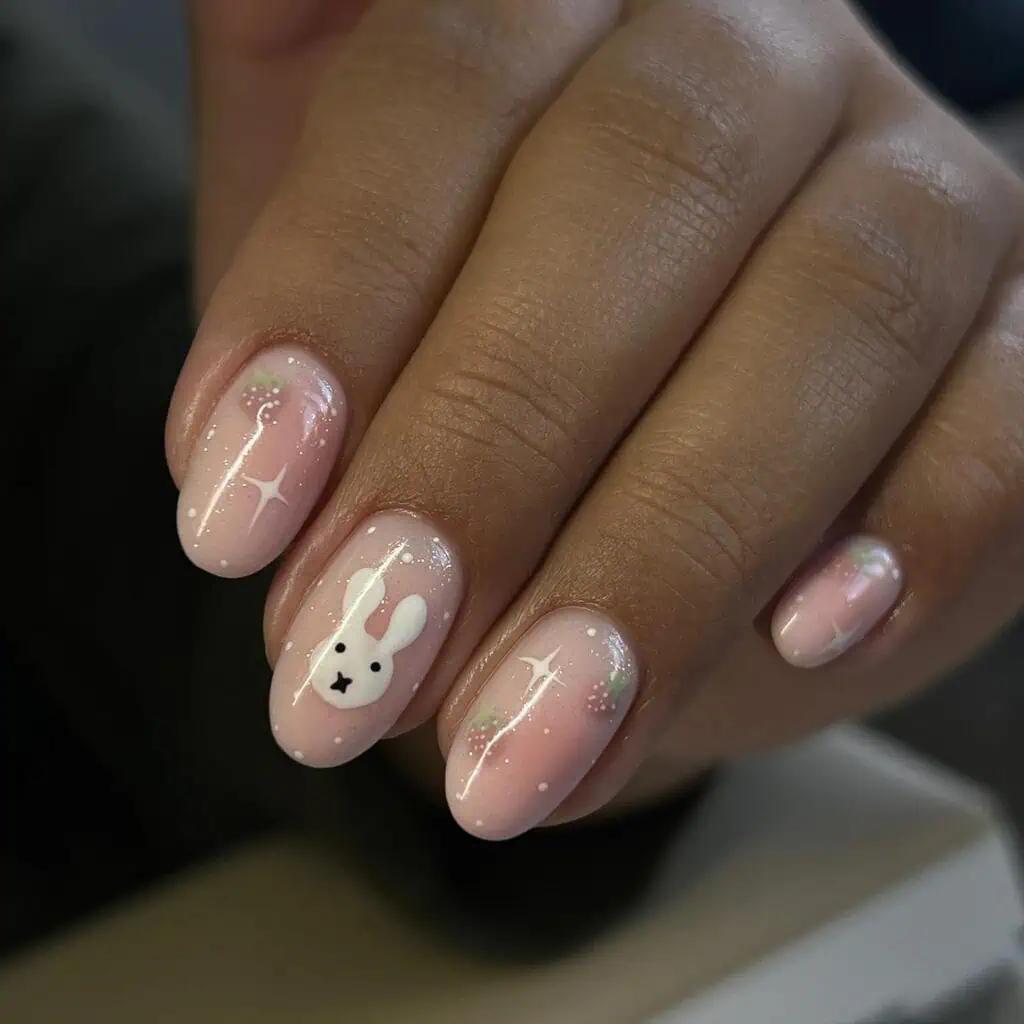
Credit: emznailedit
4. Colorful Easter Bunny Nail Art
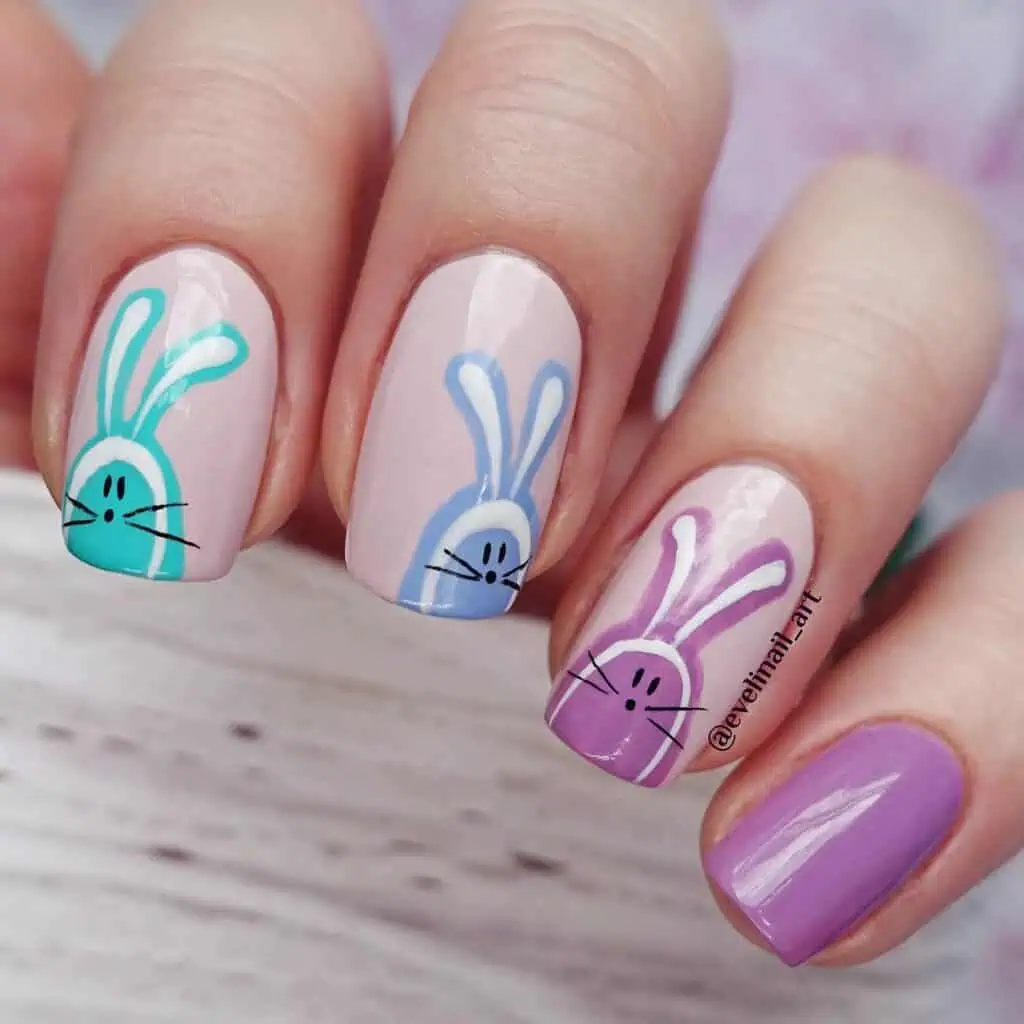
Credit: evelinail_art
3. Natural Blue Nails
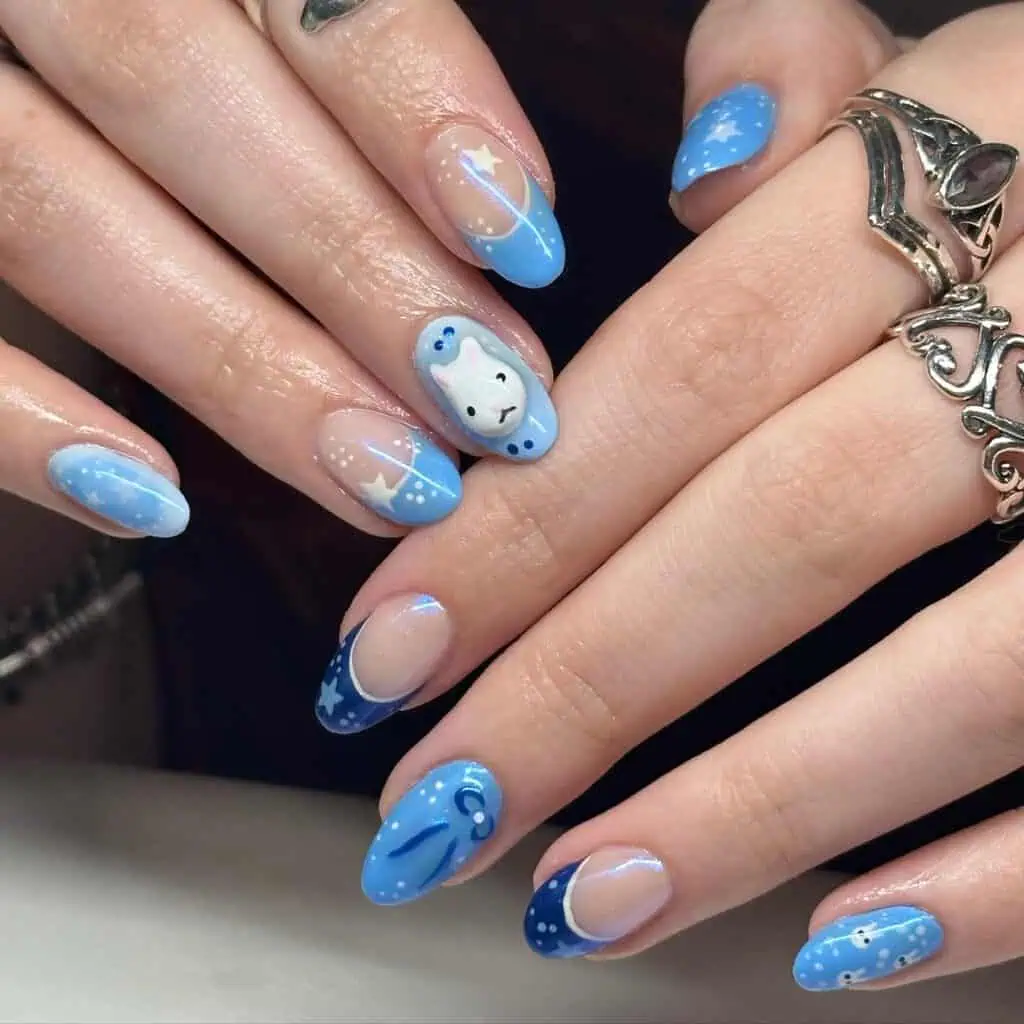
Credit: nailsbyluaa
2. Black And White Bunny Nails
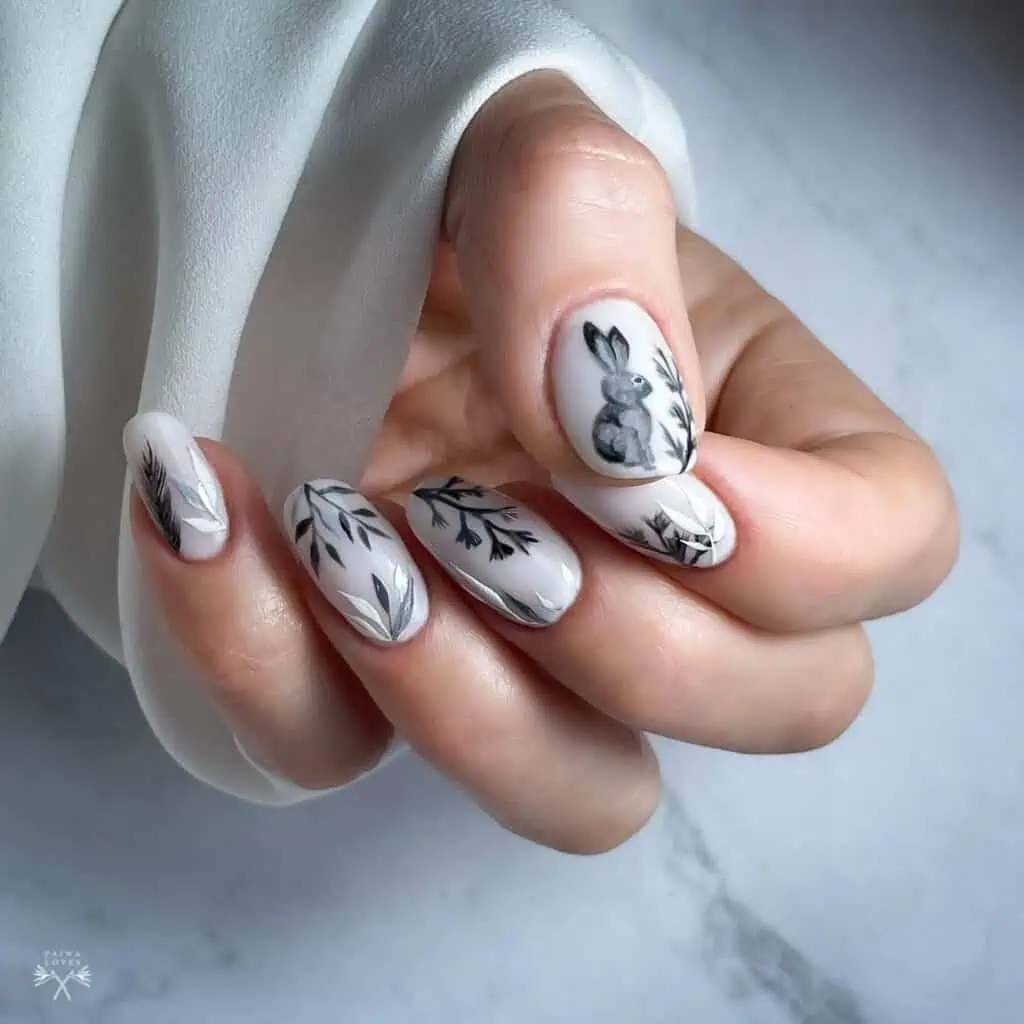
Credit: nailstories397 and nailstories.shoreditch
1. Pastel Floral Easter Bunny Nails

Credit: superszponki
What are some design ideas for trendy bunny nails?
Trendy bunny nails can be playful and chic. Here are some design ideas to inspire you:
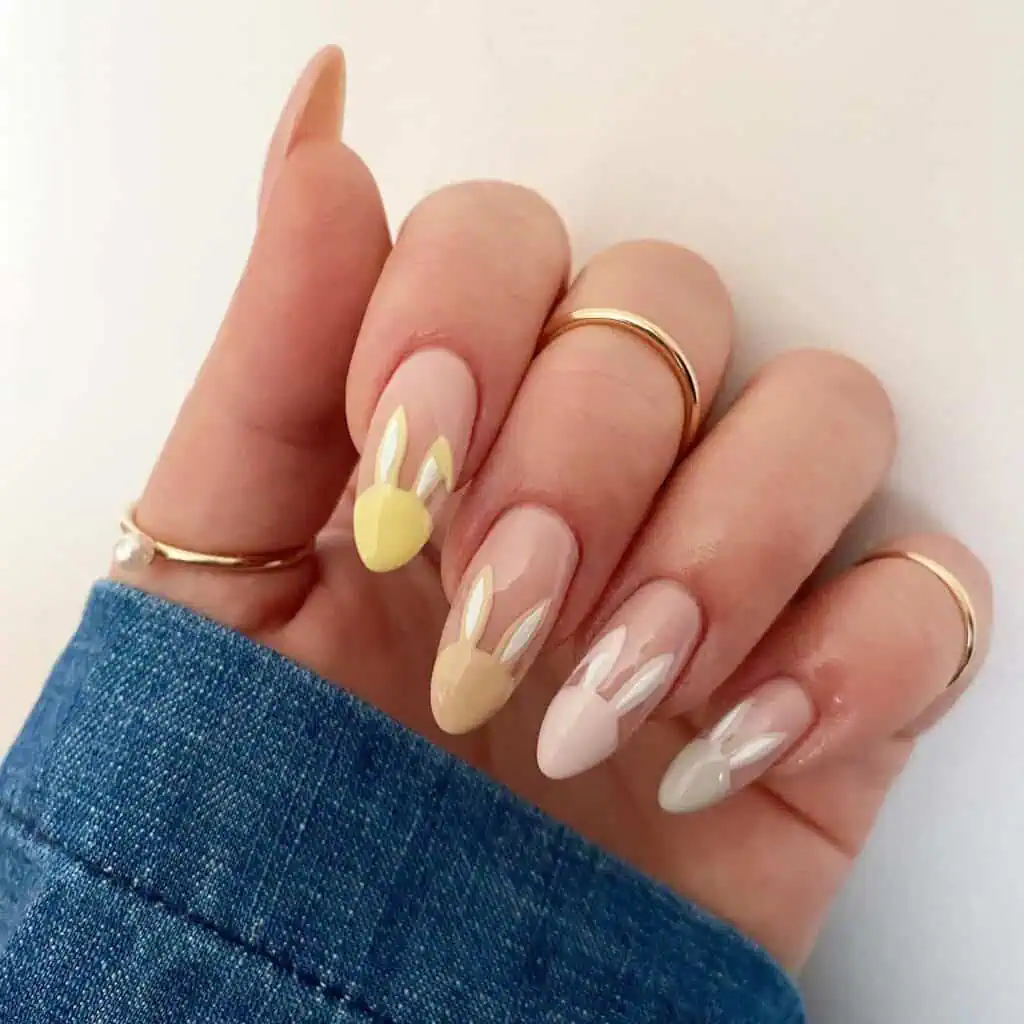
Classic Bunny Ears: Paint your nails in a soft pastel color and use a fine brush to draw bunny ears on one or two accent nails.
Bunny Faces: Create cute bunny faces with a white base coat and add details like eyes, nose, and whiskers using a dotting tool or fine brush.
Polka Dot Background: Paint your nails with a pastel base and add tiny polka dots in contrasting colors. Draw small bunny silhouettes or faces over the polka dots.
Floral Bunny: Combine floral patterns with bunny designs. Paint flowers on a few nails and add a bunny face on one nail for a whimsical look.
Glitter Accents: Add a touch of sparkle by applying glitter polish on one or two nails or incorporating glitter details into your bunny design.
How can I create bunny ears on my nails?
Creating bunny ears is simple with these steps:
Paint a base color: Start with a base color of your choice and let it dry completely.
Draw the ears: Use a fine-tipped brush or a nail art pen to draw two elongated ovals for the bunny ears. You can place these at the tip or base of your nail.
Add details: If desired, outline the ears with a contrasting color or add a touch of pink in the middle to mimic the inner ear.
Seal with top coat: Once your design is dry, apply a top coat to protect the artwork and add shine.
What are some tips for achieving a professional look at home?
Achieving a professional look at home is possible with these tips:
Take your time: Rushing can lead to mistakes. Set aside enough time to complete your nail art.
Practice makes perfect: If you’re new to nail art, practice on a piece of paper or a nail art wheel before applying designs to your nails.
Keep your tools clean: Clean your brushes and dotting tools regularly to prevent polish buildup.
Use a steady hand: Rest your dominant hand on a flat surface while painting to keep it steady.
Correct mistakes: Use a small brush dipped in nail polish remover to correct any mistakes or clean up around the edges of your nails.