Delight in the Halloween cookie extravaganza! These wonderfully spooky treats combine creepy designs with delicious flavors, enchanting taste buds with a festive charm.
Gather ’round, ghouls and goblins, for a tale of tantalizing treats that will send shivers down your spine and leave your taste buds howling for more! Picture this: a crisp autumn evening, the air filled with the scent of cinnamon and pumpkin spice, and a cauldron bubbling with sinister sweetness. Yes, my friends, it’s that magical time of year again – Halloween! And what better way to celebrate than with a batch of spine-chillingly delicious Halloween cookies?


These bewitching delights are not just any ordinary cookies; oh no, they’re infused with the spirit of the season, each bite a wickedly delightful adventure into the world of creepy confectionery. So grab your broomsticks and don your witch’s hat as we embark on a culinary journey through the shadows of All Hallows’ Eve. It’s time to unleash your inner kitchen sorcerer and conjure up some devilishly delightful treats that will enchant even the most discerning of palates. Get ready to sink your fangs into the most spook-tacular cookies this side of the graveyard – if you dare!
1. Choose Unique Shapes
Don’t limit yourself to typical Halloween cookie cutters like pumpkins and bats. Consider more unique shapes such as haunted houses, cauldrons, or spooky faces. Custom cookie cutters can be made or purchased to give your cookies a one-of-a-kind look.
2. Use Vibrant, Unconventional Colors
Instead of sticking to just orange and black, use a variety of colors to make your cookies stand out. Bright purples, deep greens, and even eerie blues can add a surprising and fun twist to your Halloween treats. Edible glitter or metallic food paints can add extra sparkle.
3. Incorporate Textures
Experiment with different textures on your cookies. Use royal icing for a smooth finish, add sprinkles or sanding sugar for crunch, and try using edible lace or textured rolling pins for a unique touch. These details can make your cookies more visually interesting and fun to eat.
4. Experiment with Flavors
Move beyond the standard sugar cookie. Try incorporating flavors that evoke the season, like pumpkin spice, cinnamon, or even a hint of chili for a surprising kick. Using different extracts such as almond, maple, or caramel can also add an unexpected twist to your cookies.
5. Utilize Edible Decorations
Make use of edible decorations to enhance your cookies. Items like candy eyes, edible markers, and tiny fondant shapes can add personality and detail. These small additions can transform a simple cookie into a mini work of art.
6. Master Piping Techniques
Learning various piping techniques can significantly elevate your cookie decorating skills. Practice different styles such as outlining, flooding, and creating intricate designs. Consistent practice will improve your control and precision, making your cookies look professionally made.
7. Play with Different Icing Consistencies
Using different consistencies of royal icing can create a variety of effects. Thicker icing is great for detailed work, while thinner icing can be used for flooding large areas. By mastering these techniques, you can achieve smooth, glossy finishes or more textured, three-dimensional looks.
8. Plan Your Designs
Before you start decorating, sketch out your designs. This helps you visualize the end product and ensures that you have all the necessary tools and ingredients. Planning ahead can save time and reduce the stress of decorating, making the process more enjoyable.
9. Embrace Imperfections
Remember that Halloween is all about the spooky and quirky. Embrace imperfections in your cookies as part of their charm. Slightly off shapes or quirky decorations can add character and uniqueness, making your cookies more memorable.
10. Get Creative with Packaging
Presentation matters, especially for Halloween treats. Use themed packaging like cellophane bags with spooky prints, decorative boxes, or even mini cauldrons. Adding a personal touch to the packaging can make your cookies an even more delightful gift or party favor.
Recommended Products


Halloween Cookies
#19. FUN HALLOWEEN THEMED COOKIES
Source: Crazy For Crust
#18. DARK CHOCOLATE HALLOWEEN CHIP COOKIES
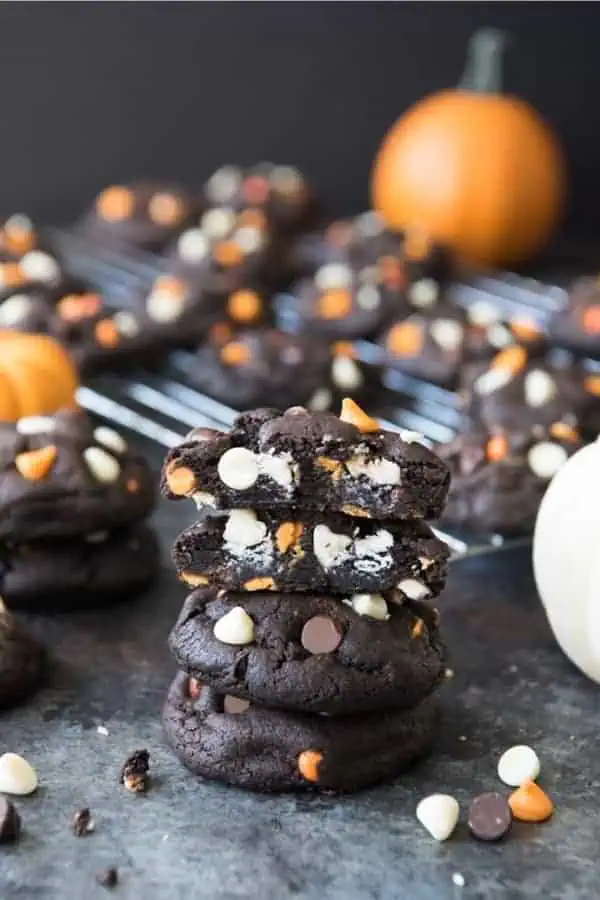
Source: House Of Nash Eats
#17. HALLOWEEN SUGAR COOKIE BARS
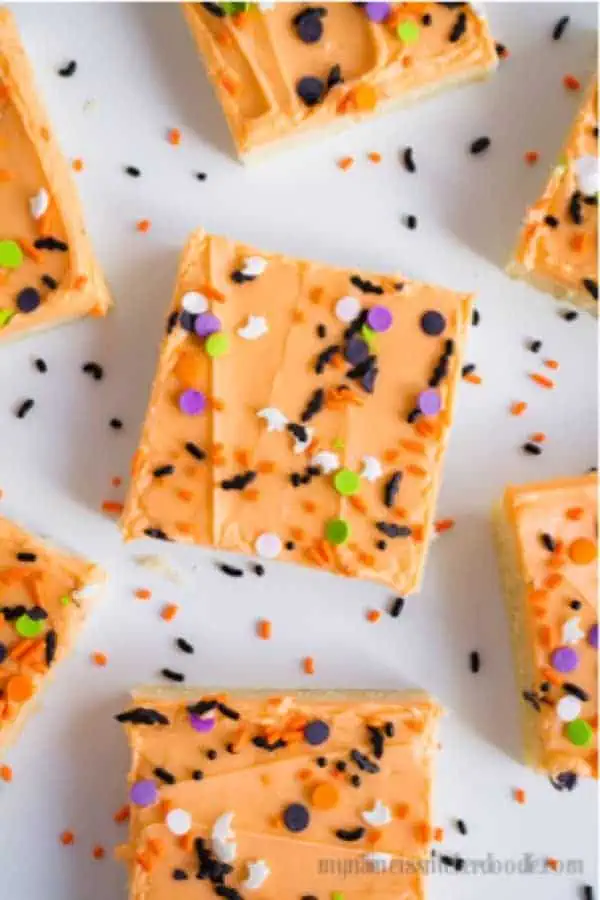
Source: My Name Is Snickerdoodle
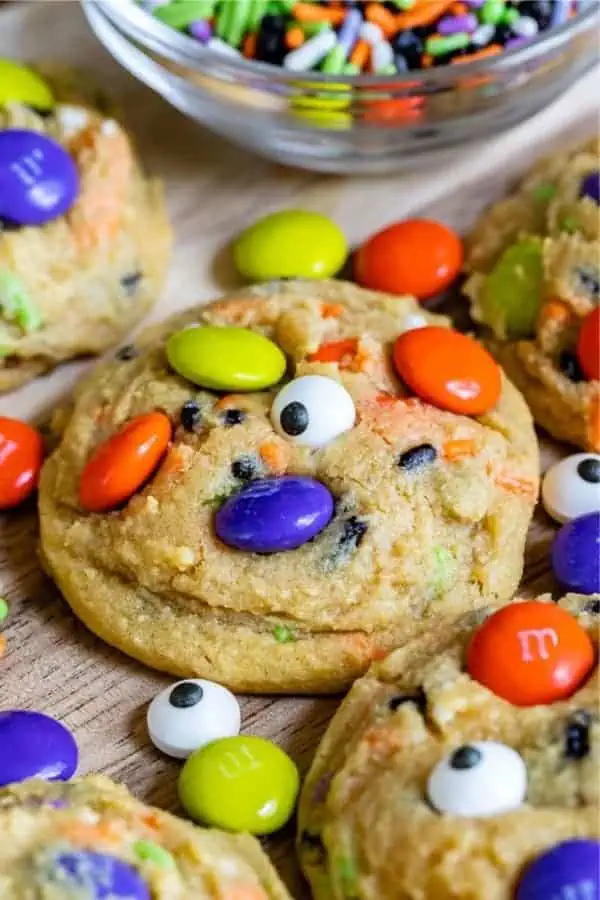
#16. HALLOWEEN SPRINKLE COOKIES
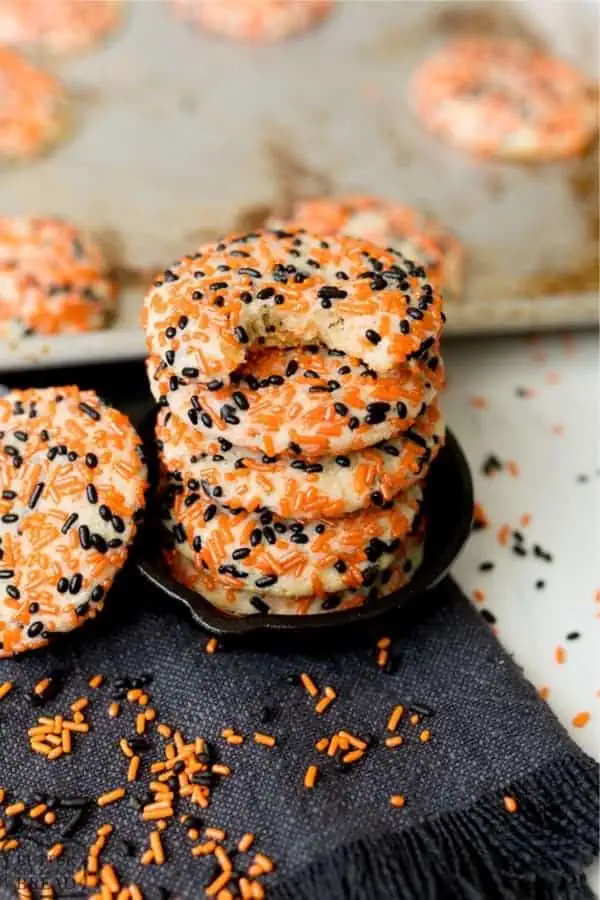
Source: Butter with a Side of Bread
#15. PUMPKIN SPICE COOKIES

Source: Just So Tasty
#14. HAPPY LITTLE GHOST SUGAR COOKIES
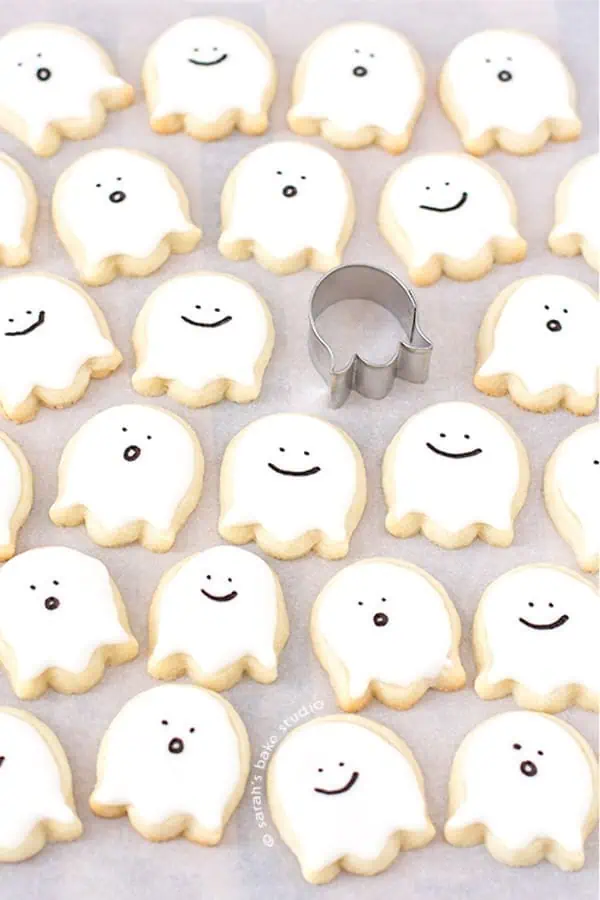
Source: Sarahs Bake Studio
#13. CANDY CORN SWIRL COOKIES
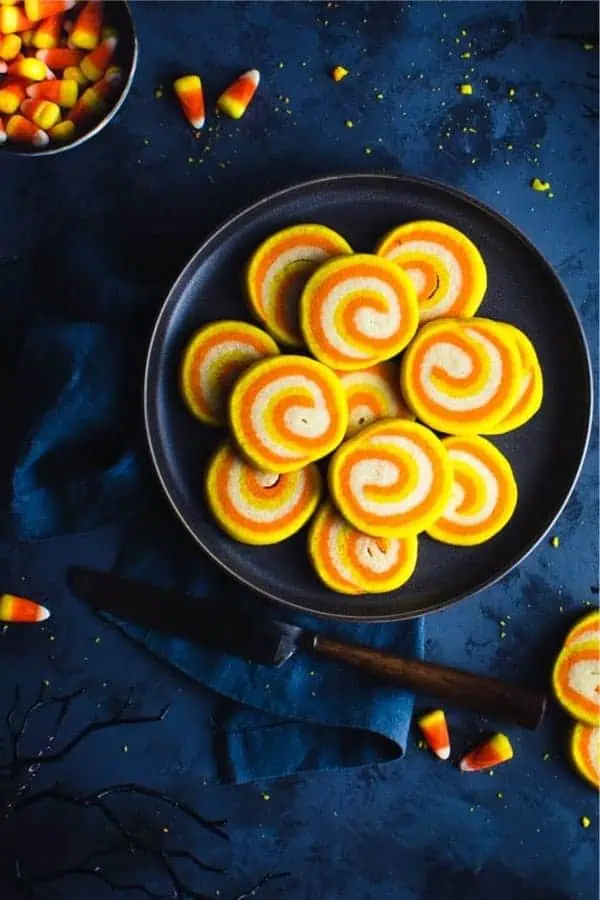
Source: The Simple, Sweet Life
#12. HALLOWEEN CHOCOLATE SHORTBREAD COOKIES
Source: Joy + Oliver
#11. PINWHEEL HALLOWEEN SUGAR COOKIES
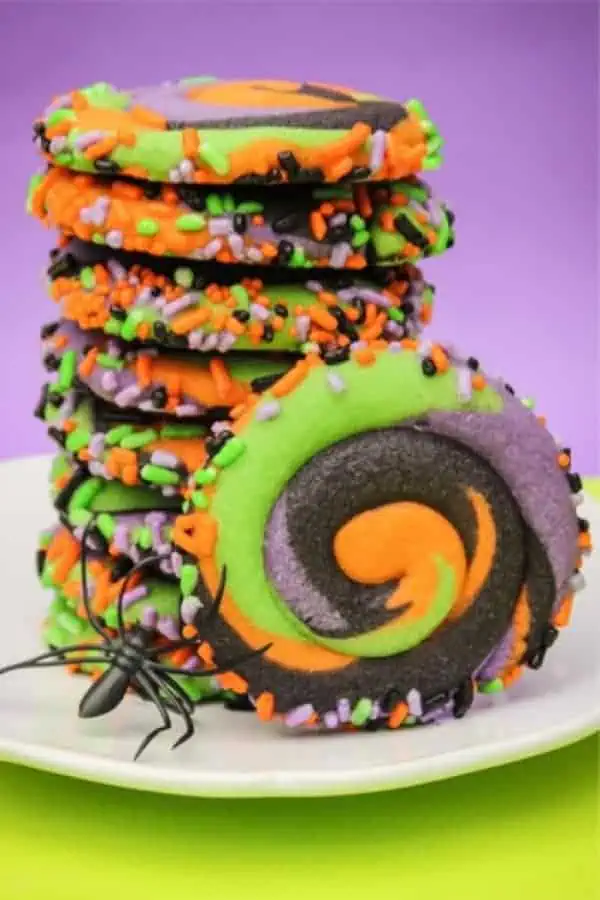
Source: The Sprinkle Factory
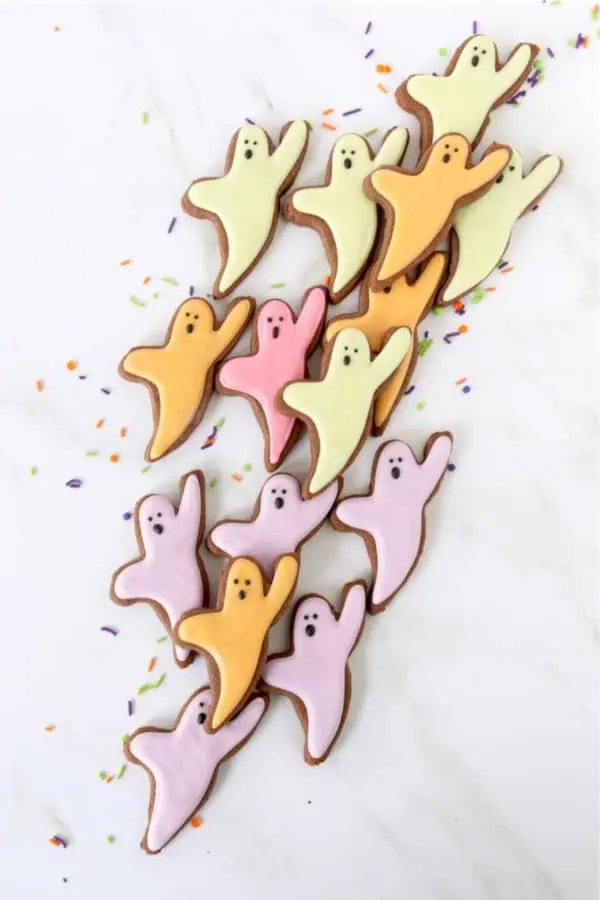
#10. MERINGUE GHOST CHOCOLATE SUGAR COOKIES
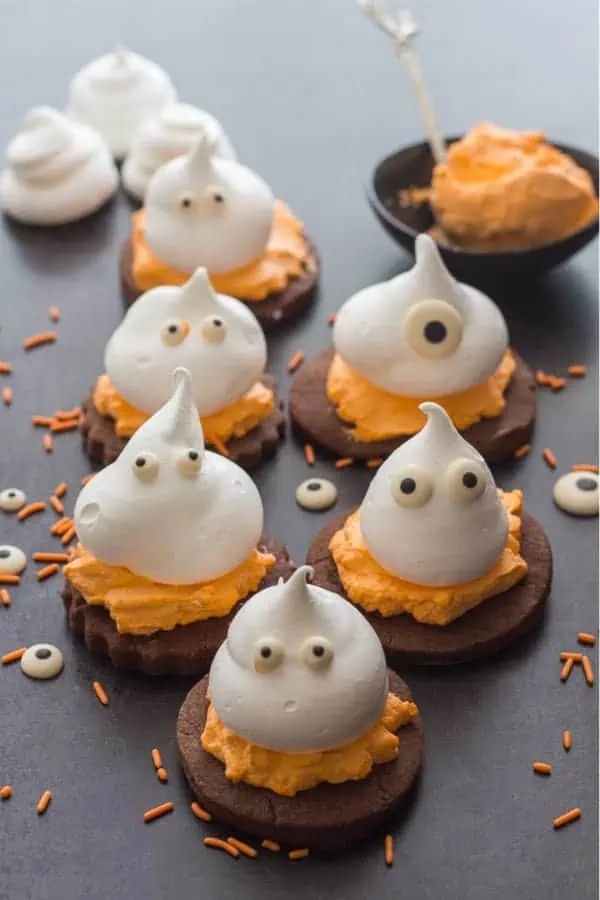
Source: An Italian In My Kitchen
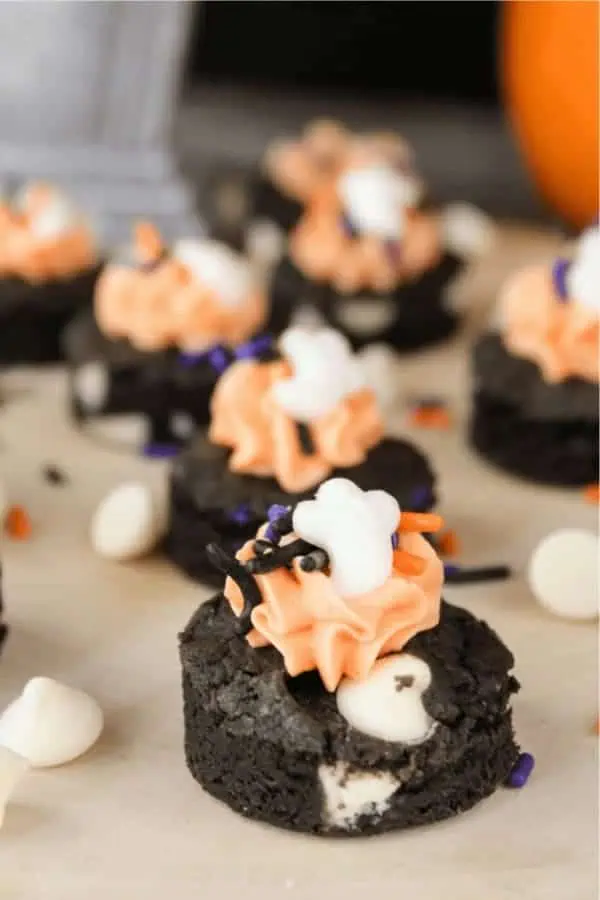
#9. MINI ZOMBIE COOKIES
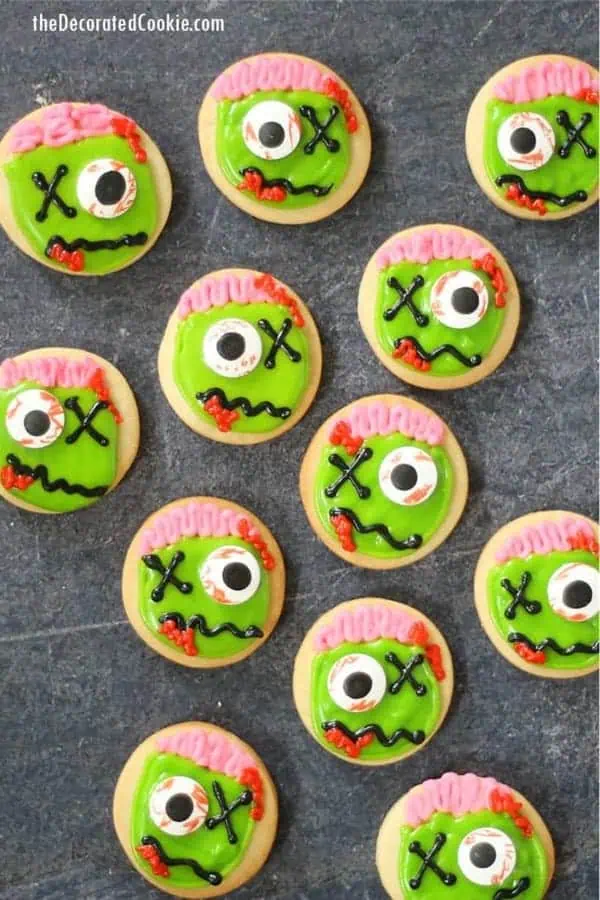
Source: The Decorated Cookie
#8. PUMPKIN SUGAR COOKIES
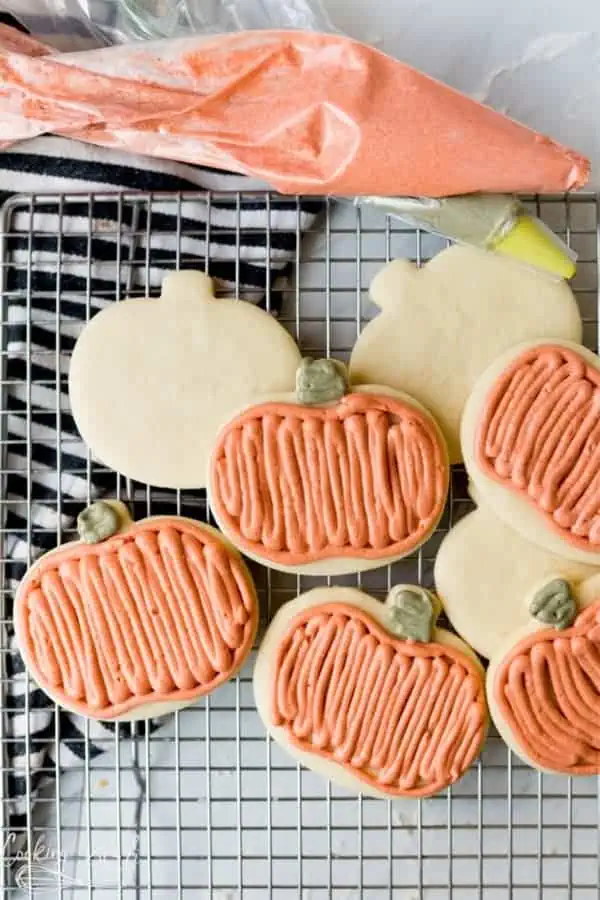
Source: Cooking With Karli
#7. MILK CHOCOLATE STUFFED JACK-O’-LANTERN COOKIES
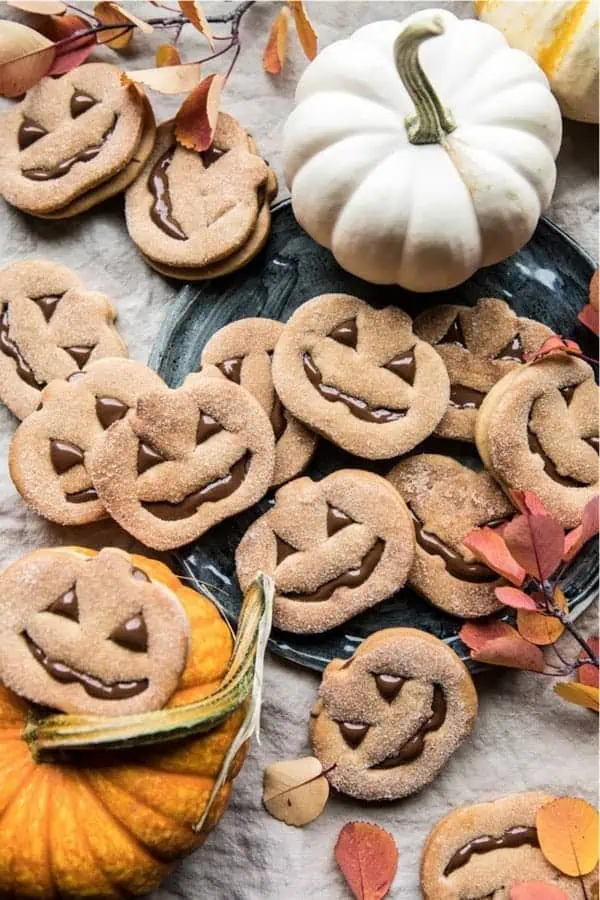
Source: Half Baked Harvest
#6. MUMMY COOKIES
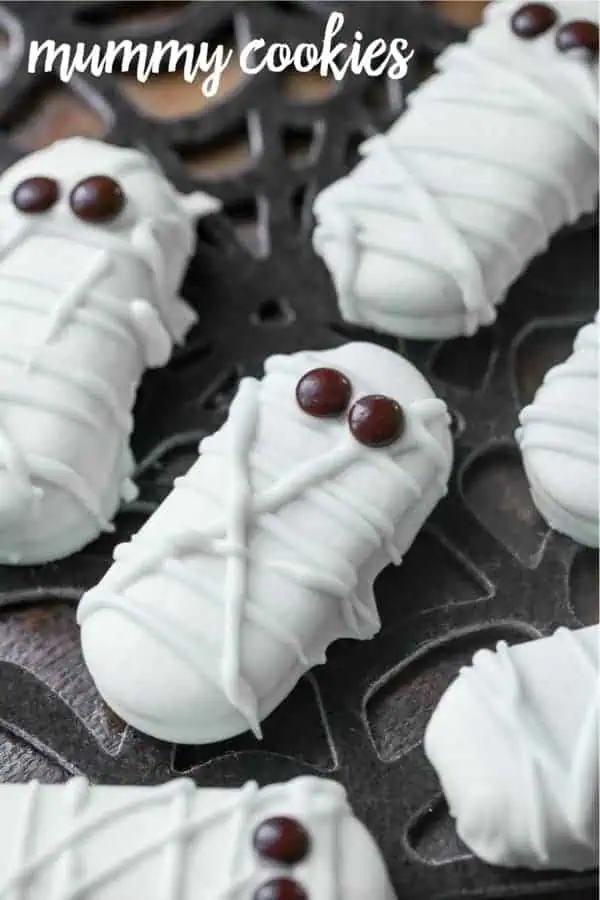
Source: Lil’ Luna
#5. LEFTOVER HALLOWEEN CANDY BARS
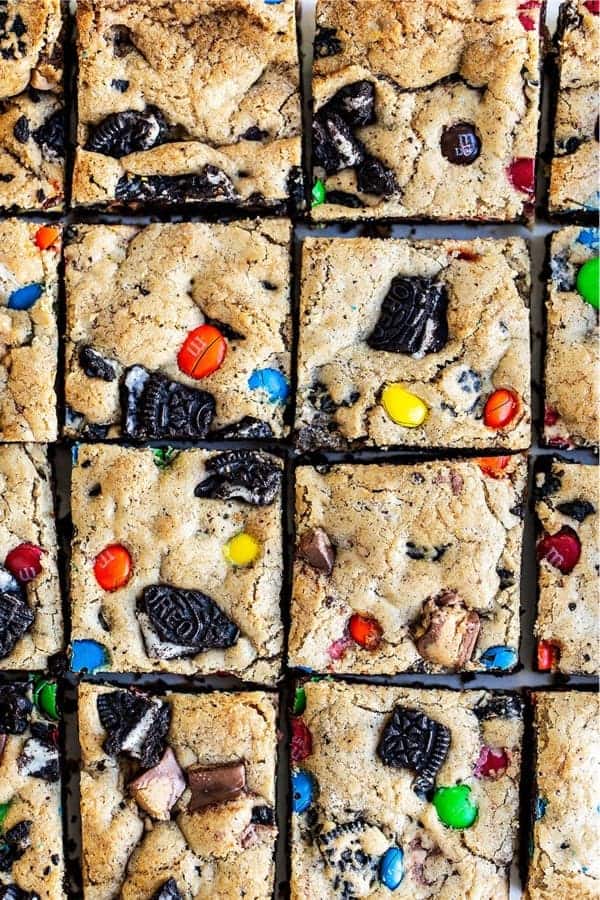
Source: Handle The Heat
#4. CANDY CORN COOKIES
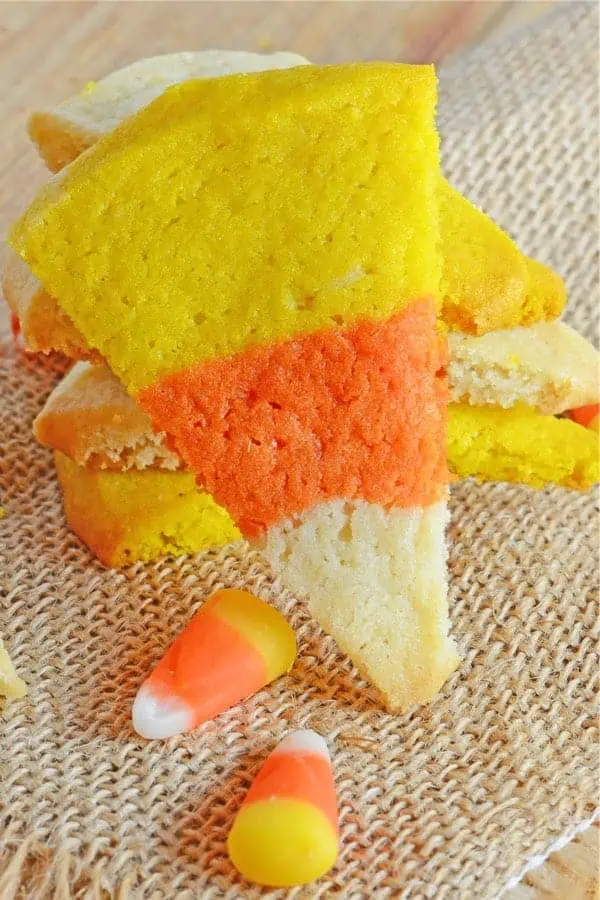
Source: Savory Experiments
#3. PEANUT BUTTER SPIDE COOKIES
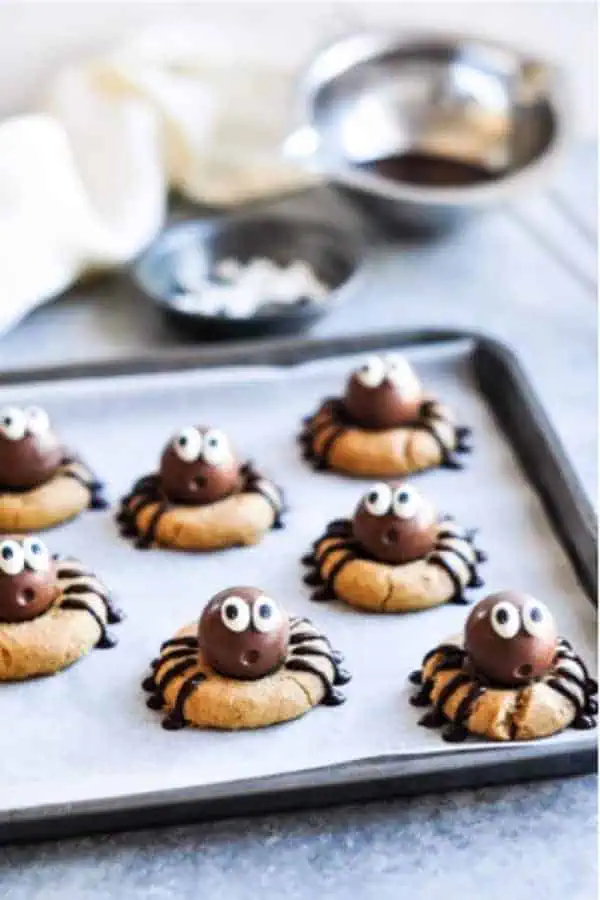
Source: Eat, Little Bird
#2. HALLOWEEN FUDGE COOKIE BITES
Source: Simply Made Recipes
#1. OATMEAL CREAM PIES
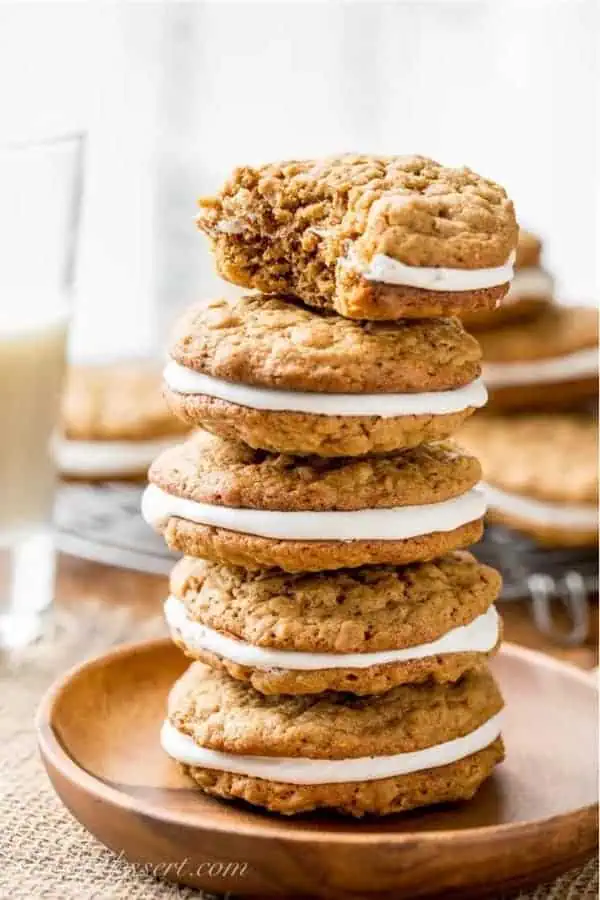
Source: Saving Room For Dessert
What equipment do I need to bake Halloween cookies?
Essential equipment includes:
1. Mixing bowls
2. Measuring cups and spoons
3. Electric mixer (or hand mixer)
4. Rolling pin
5. Halloween-themed cookie cutters
6. Baking sheets
7. Parchment paper or silicone baking mats
8. Cooling rack
How do I prepare the cookie dough?
1. In a medium bowl, whisk together flour, baking powder, and salt.
2. In a separate large bowl, beat the butter and sugar together until light and fluffy.
3.Add the eggs and vanilla extract to the butter mixture, mixing until well combined.
4. Gradually add the dry ingredients to the wet ingredients, mixing until a dough forms.
5. If desired, divide the dough and add food coloring to create different colored doughs.
6. Wrap the dough in plastic wrap and refrigerate for at least 1 hour.
What tips can help ensure the best cookies?
1. Make sure the butter is at room temperature to ensure even mixing.
2. Chill the dough before rolling to prevent it from becoming too sticky.
3. Use a light touch when rolling out the dough to avoid overworking it.
4. Keep an eye on the cookies while they bake to prevent overbrowning.
5. Let the cookies cool completely before decorating to ensure the icing adheres properly.
How can I store the cookies after baking?
Store decorated cookies in an airtight container at room temperature for up to 1 week. If the cookies are not decorated, they can be frozen for up to 3 months. Place a piece of parchment paper between layers to prevent sticking.
Can I customize the cookies for other holidays or events?
Absolutely! The basic cookie dough recipe can be used for any occasion. Simply change the cookie cutter shapes and decorations to match the theme of your event.