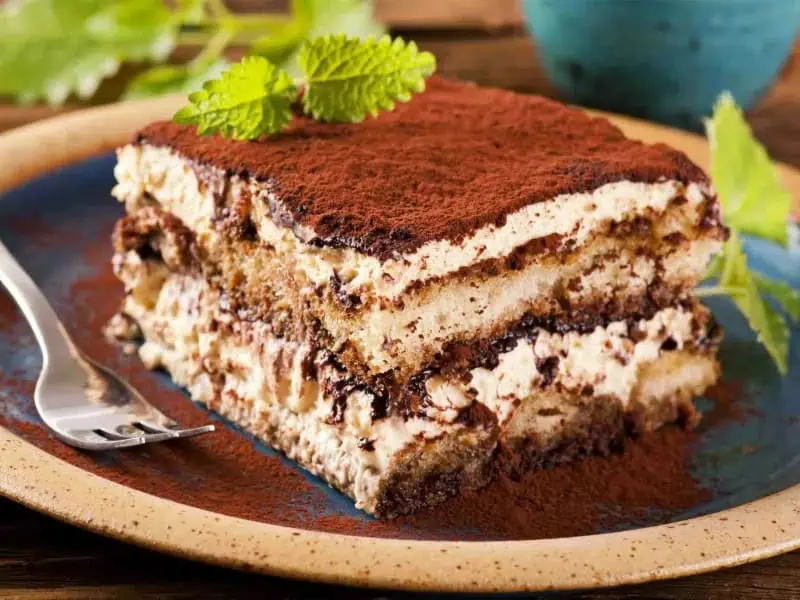
You don’t need to go to an Italian restaurant for some amazing Tiramisu! This dessert, which translates literally to “pick-me-up,” is made of coffee-soaked ladyfingers layered in a creamy and rich mixture of sugar, mascarpone, and cocoa. The sweetness is perfectly balanced out by the strong espresso flavor, and it makes for a truly amazing dessert. Tiramisu can satisfy your sweet tooth with aplomb!
Ingredients
- 1 1/4 cups espresso, very strong, warm or room temperature
- 6 tablespoons Grand Marnier®
- 40–45 ladyfingers
- 2 cups mascarpone, cold or at room temperature
- 1/4 cup dark rum
- 4 large eggs, egg white and egg yolks separated
- 1/2 cup granulated sugar, divided
- 2 cups heavy cream
- 1/2 teaspoon pure vanilla extract
- 1/8 teaspoon salt
- unsweetened natural or dutch-process cocoa powder, to taste, for topping
Directions
Step 1 –Mix the espresso and the Grand Marnier into a bowl.
Step 2 –One at a time, dip both sides of the ladyfingers in the espresso mixture. Don’t leave the ladyfingers in the espresso mixture for too long because the ladyfingers will taste soggy. The goal is to have them soak in the flavors but remain relatively firm. Don’t soak all of the ladyfingers at this time. Only do enough to fit the bottom of your baking tray.
Step 3 –Place the soaked ladyfingers in a baking tray, making one solid layer. If needed, cut some of the ladyfingers to fill in any empty spaces.
Step 4 –Reserve the remaining espresso mixture and the ladyfingers for another layer.
Step 5 –Using a mixer with a paddle or whisk attachment, mix the mascarpone and the rum together at medium speed until it is smooth. Set it aside.

Step 6 –Set a double broiler or a heatproof bowl over a small pot of simmering water over medium-low heat. Don’t let the water touch the bottom of the bowl.
Step 7 –In the double broiler or heatproof bowl, whisk the egg yolks and 1/4 cup of the granulated sugar until it is light, about 5 minutes.
Step 8 –Remove the mixture from the heat and immediately pour it into the mascarpone mixture.
Step 9 –Beat on medium speed until combined.
Step 10 –With a handheld or stand mixer fitted with a whisk attachment, beat the heavy cream and the vanilla extract on medium-high speed until medium peaks form, about 3-4 minutes.
Step 11 –Fold the whipped cream into the mascarpone mixture.
Step 12 –With a mixer fitted with a clean whisk attachment, mix the egg whites and the salt together on a medium-high speed until it is foamy, around 1 minute.
Step 13 –Raise the mixing speed to high and then slowly pour in the remaining 1/4 cup of the granulated sugar.
Step 14 –Whisk the egg white mixture until stiff peaks form, about 4-5 minutes.
Step 15 –Fold the egg white mixture into the mascarpone cream, being careful not to knock the air out of it.
Step 16 –Spread 1/2 of the mascarpone cream evenly over the bottom layer of the ladyfingers.
Step 17 –Dip the remaining ladyfingers into the remaining espresso mixture and arrange them one by one over the mascarpone layer. Lightly press each ladyfinger down so they are compact.
Step 18 –With an offset spatula, spread out the remaining mascarpone mixture on top.
Step 19 –Refrigerate the dessert uncovered for around 2-3 hours.
Step 20 –Generously dust the cocoa on top of the tiramisu.
Step 21 –Wipe down the rim of the dish and cover it with some plastic wrap or foil.
Step 22 –Refrigerate the tiramisu for at least 8-9 hours and up to 1 day.
Step 23 –With a sharp knife, slice the chilled tiramisu into serving-sized pieces. Wipe the knife between each slice for the cleanest layers and presentation.
Step 24 –Serve!


