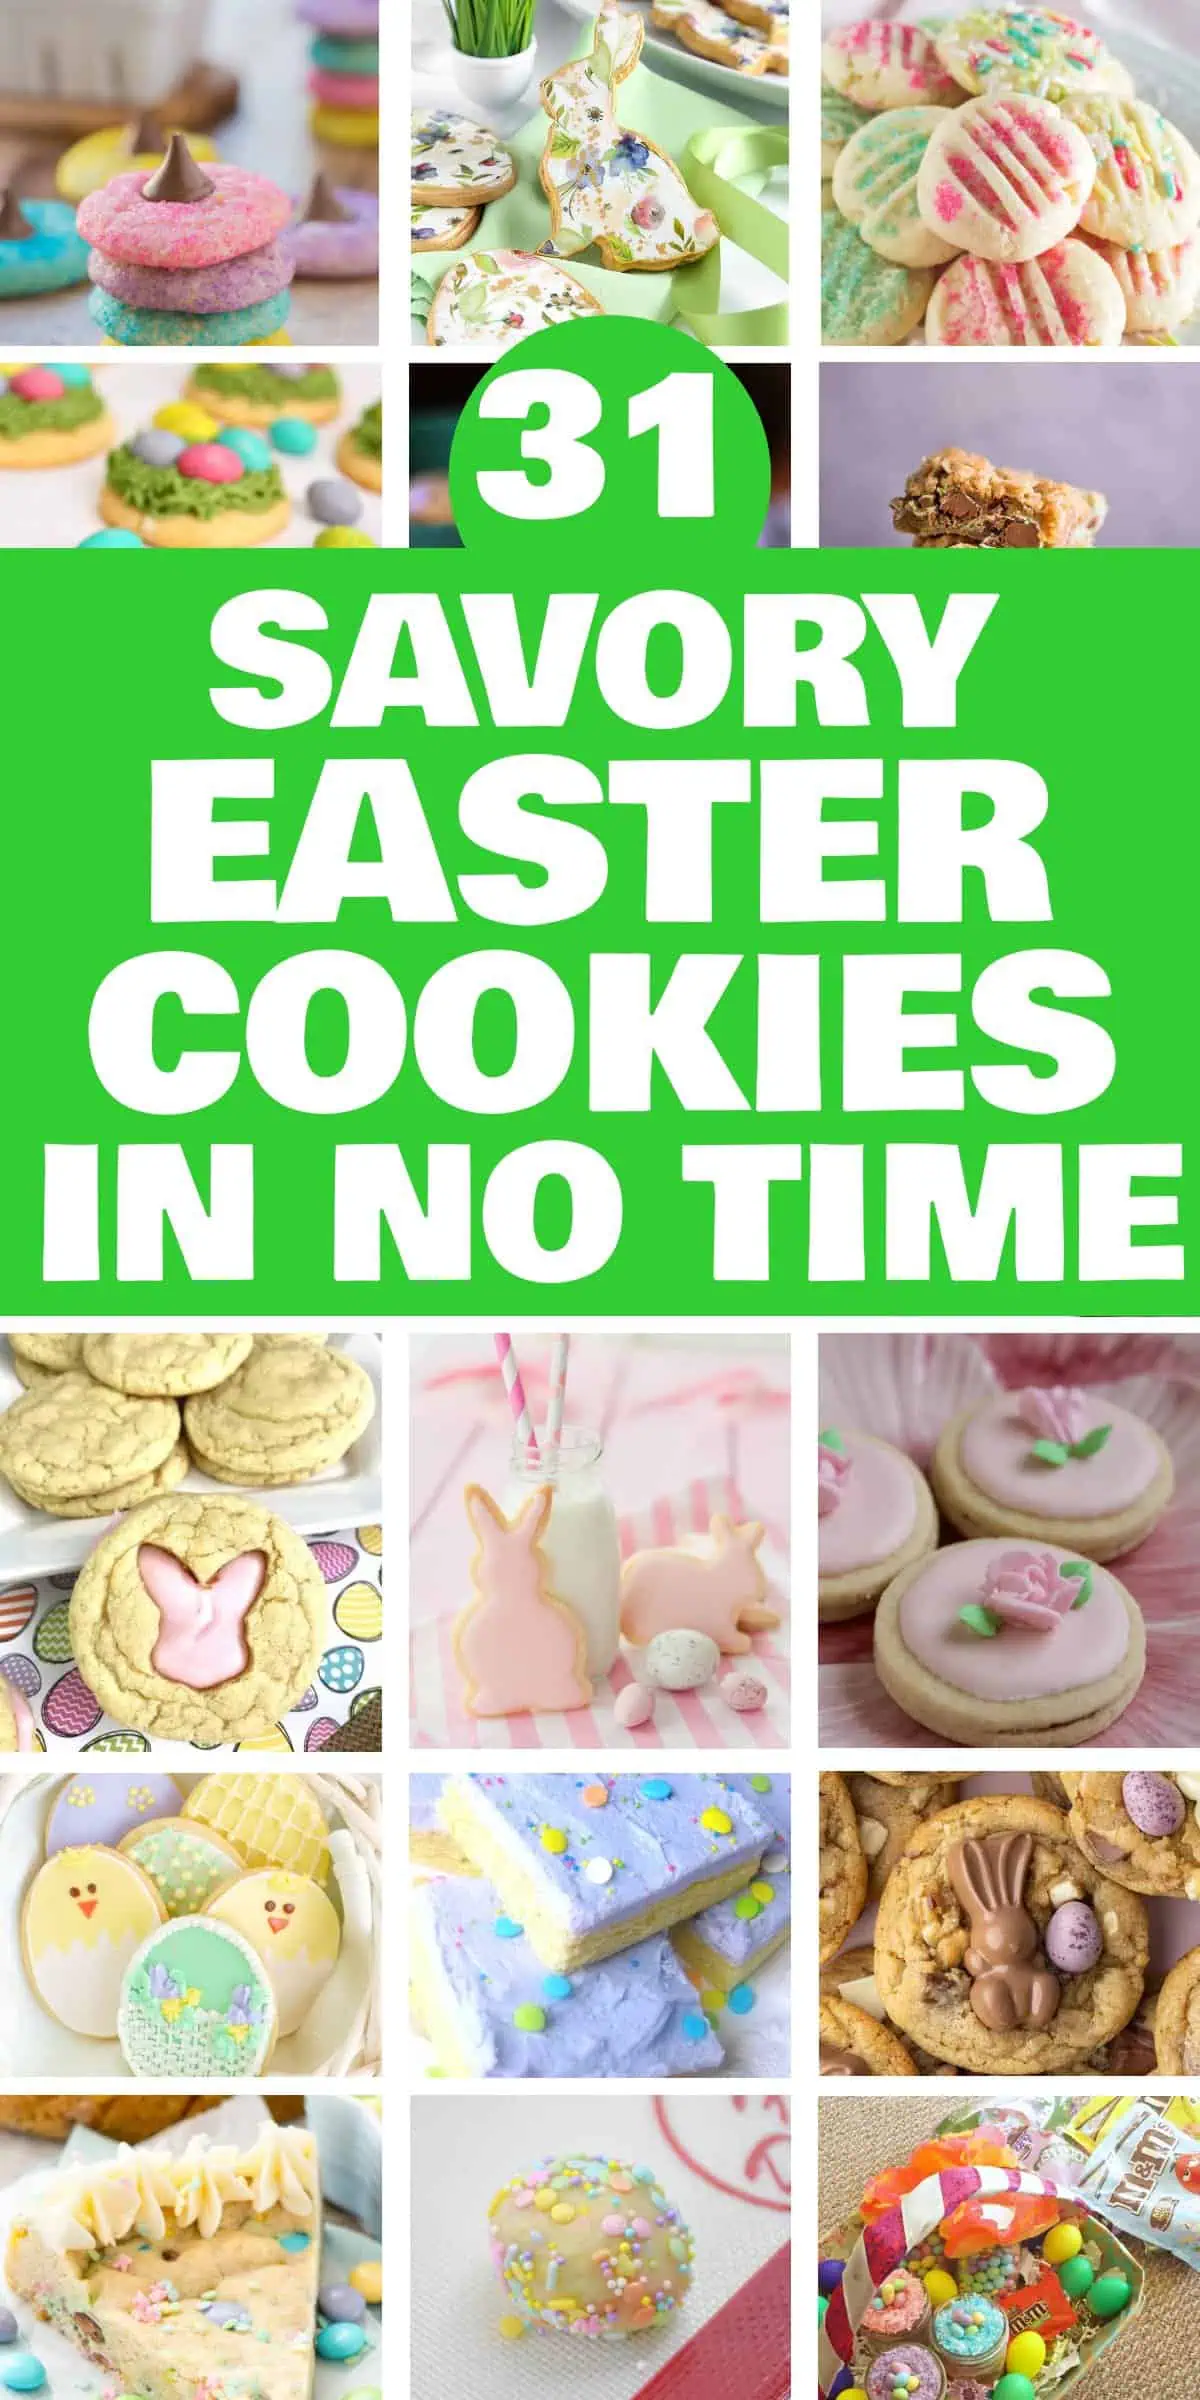
Delve into the Easter spirit with our simple yet delightful Easter cookies for children! From adorable bunny-shaped cookies to beautifully adorned egg cookies, we offer a variety of recipes that will add a festive flair to your holiday celebration. Whether you desire hassle-free treats for a swift nibble or creative decorating concepts for family enjoyment, our assortment of spring cookies is ideal for crafting cherished memories. Prepare to stock your Easter gift baskets with our homemade springtime delights!
As the soft petals of spring begin to unfurl and the air fills with a gentle warmth, there’s a certain magic that blankets the world. And amidst this enchanting season comes a cherished tradition that delights both young and old alike – the making and devouring of Easter cookies.

Easter cookies are more than just delicious treats; they’re a labor of love. Whether it’s a cherished family recipe passed down through generations or a new creation dreamed up on a whim, each batch is infused with care and attention to detail. And as they bake to golden perfection in the oven, they fill the kitchen with warmth and anticipation, promising a moment of pure bliss with every bite.
So, as the Easter season approaches, why not embrace the time-honored tradition of baking Easter cookies? Whether you’re a seasoned baker or a novice in the kitchen, there’s no better way to celebrate the spirit of the season than with these delightful treats. So gather your loved ones, roll up your sleeves, and let the magic of Easter cookies brighten your home and your heart.
Experiment with Pastel Gradients: Pastel colors are a staple of Easter, but instead of using solid colors, try creating gradients on your cookies. Blend two or more pastel shades to create a smooth transition from one color to another. This can be done using food coloring sprays, airbrushes, or even blending with brushes or sponges. The subtle shifts in color will add depth and sophistication to your cookie designs.
Utilize Edible Metallic Accents: Add a touch of glamour to your Easter cookies with edible metallic accents. Gold, silver, and bronze edible paints or powders can be used to highlight certain areas of your design, such as the edges, patterns, or intricate details. This technique can elevate the overall look of your cookies, making them appear more luxurious and eye-catching.
Incorporate Textures for Visual Interest: Play with different textures to make your cookies stand out. You can use embossed rolling pins, textured mats, or stencils to create interesting patterns on your cookie dough before baking. After baking, add further texture with icing techniques like ruffles, rosettes, or piped details. The contrast between smooth and textured surfaces will make your designs more dynamic.
Use Negative Space Creatively: Negative space is the area around and between the subjects of an image. In cookie decorating, you can use this concept to create striking designs. Instead of covering the entire cookie with icing or decorations, leave some areas bare to highlight the design elements. This minimalist approach can be very effective and visually pleasing.
Add Dimension with Layered Icing: Create a 3D effect on your cookies by layering icing. Start with a base layer and then add additional layers of icing to build up the design. For example, you can pipe flowers or other decorations on top of a smooth base layer. Allow each layer to dry before adding the next to maintain clear, defined shapes. This technique gives your cookies a professional, intricate appearance.
Experiment with Different Icing Consistencies: Using different consistencies of icing can produce various effects. Thicker icing is great for detailed piping and creating raised designs, while thinner icing is perfect for flooding and creating smooth, even surfaces. Experiment with different consistencies to achieve the desired look and texture for your designs.
Recommended Products


Best Easter Cookies Ideas
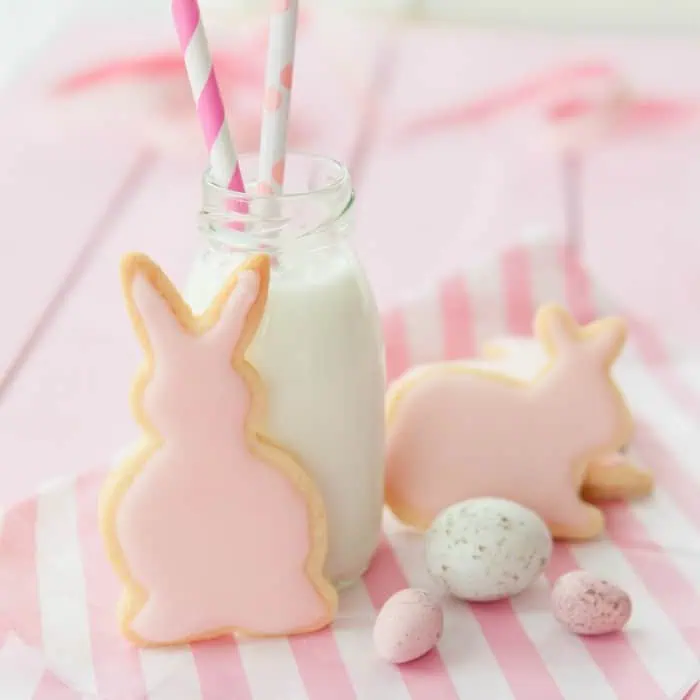
#31. Fondant Bunny Sugar Cookies
#30. Stained Glass Bunny Cookies

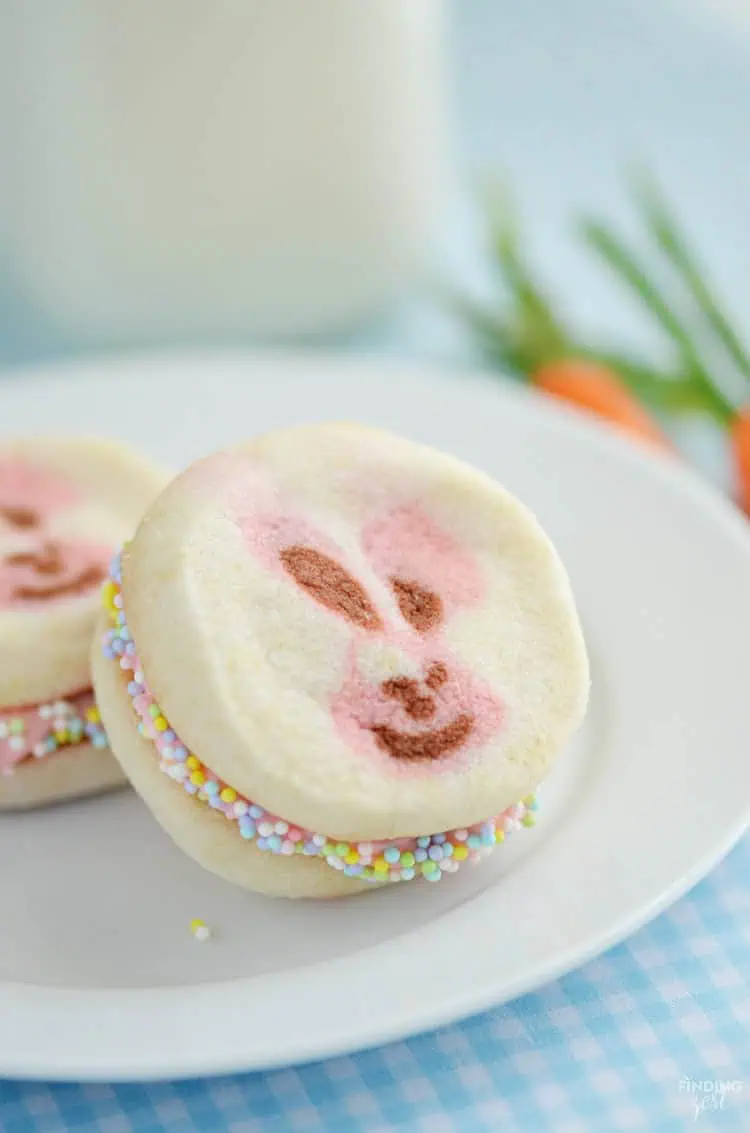
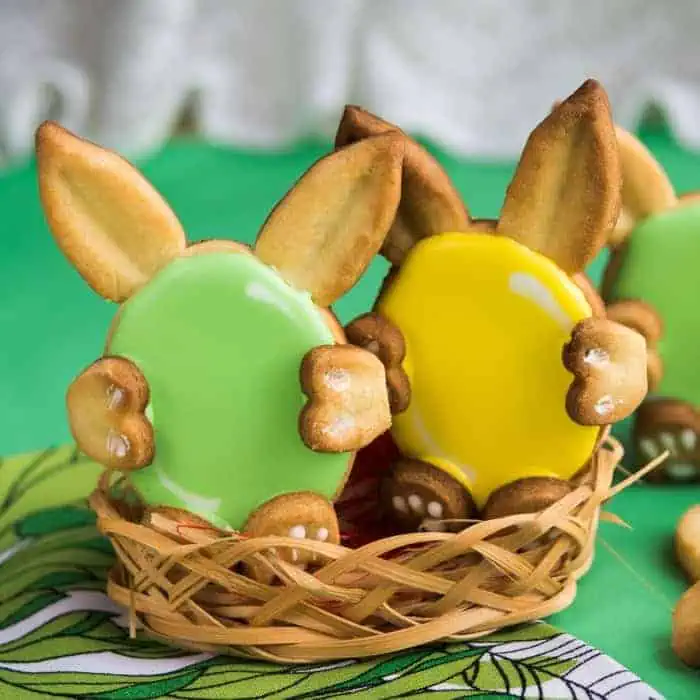
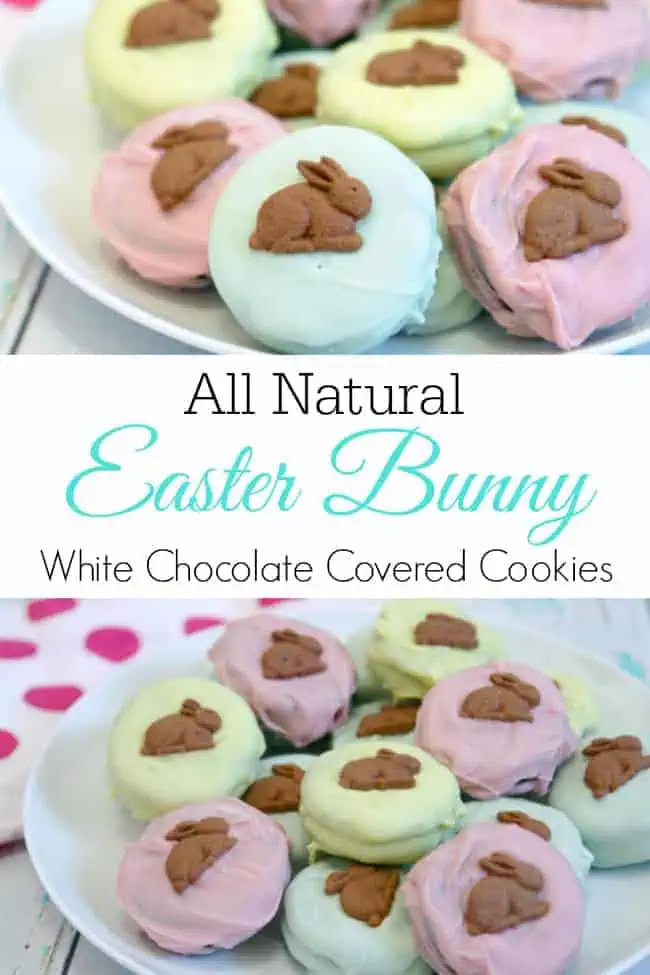
#29. Easter Bunny Cookie Sandwiches
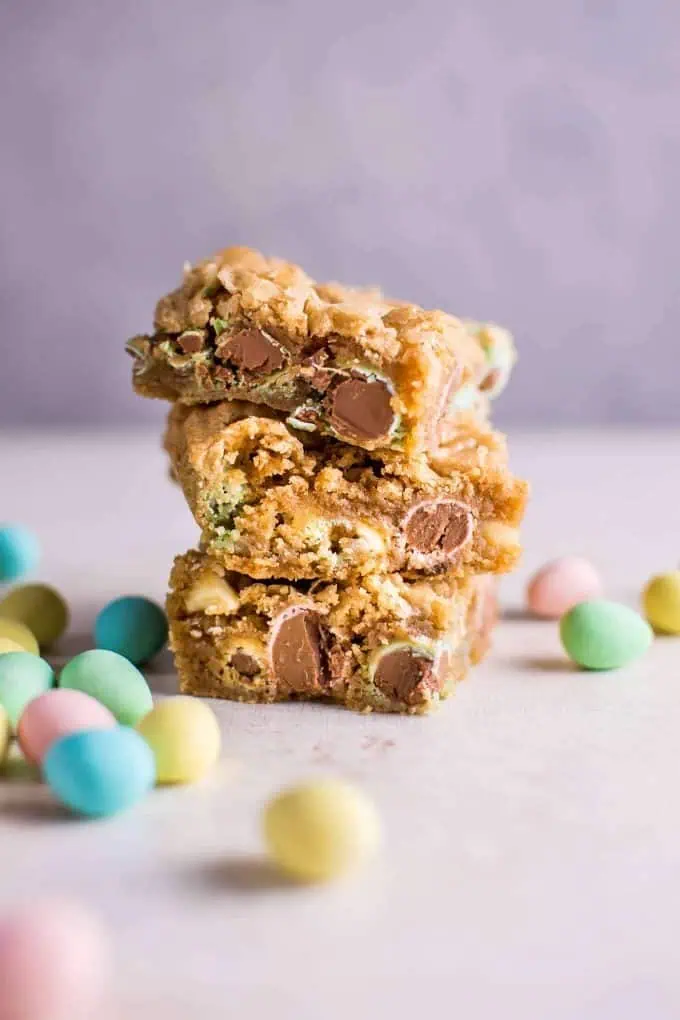
#28. Easter Mini Egg cookie bars
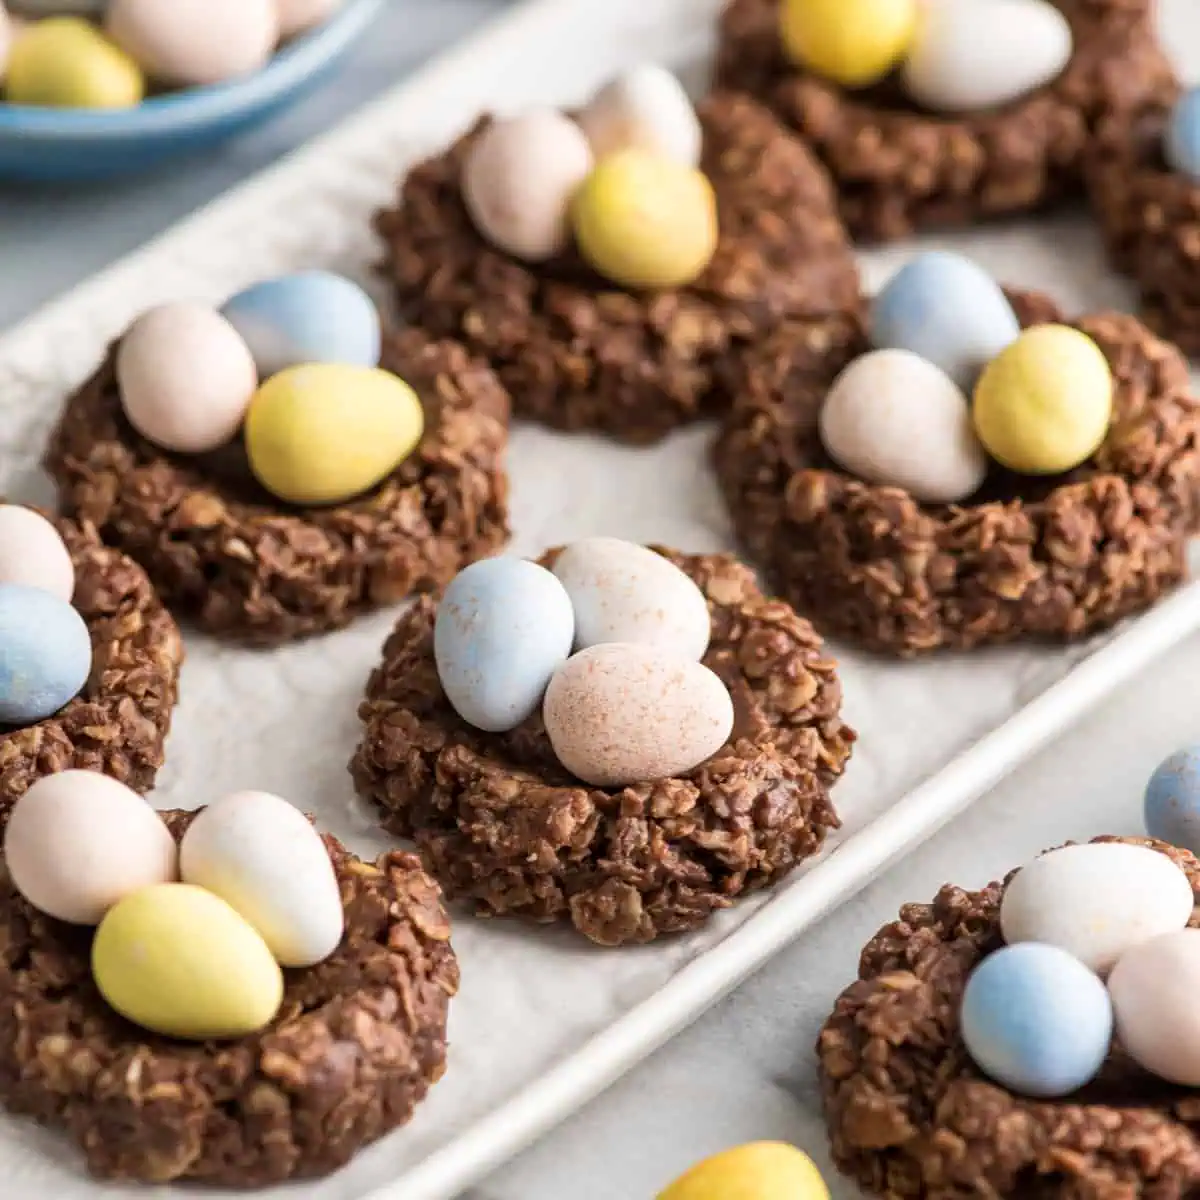
#27. Healthy Easter Nest Cookies
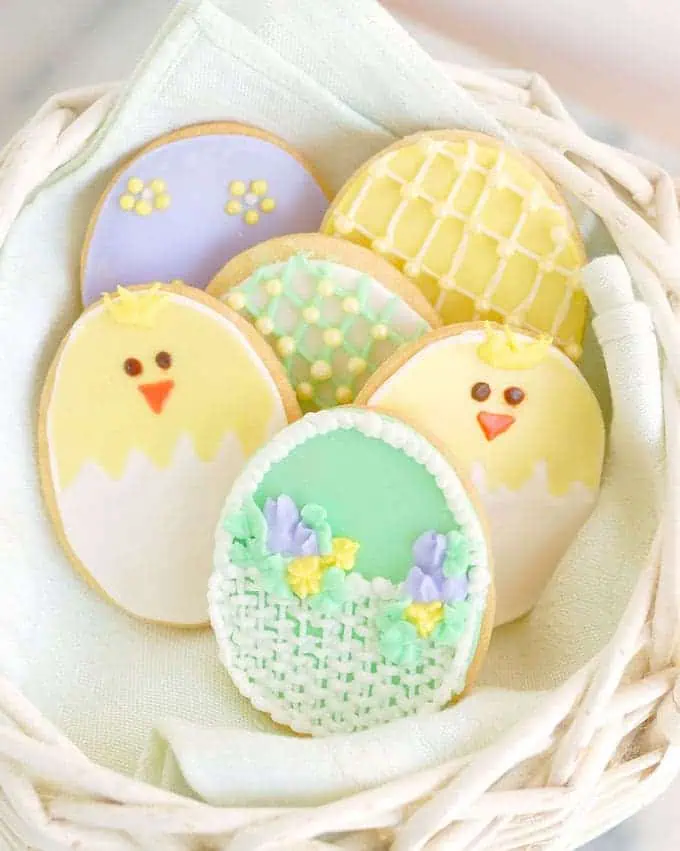
#26. Easter Decorated Sugar Cookies
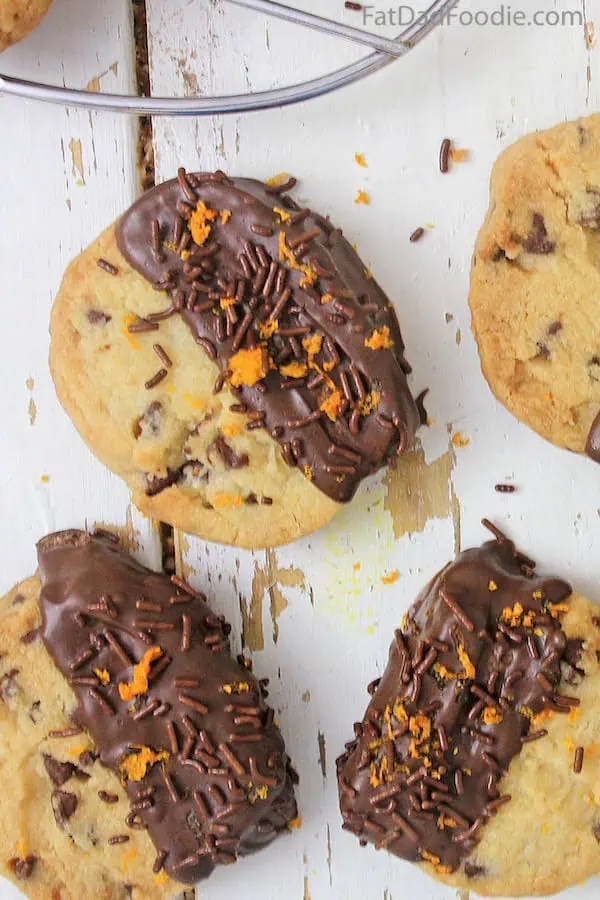
#25. Chocolate Orange Shortbread Cookies
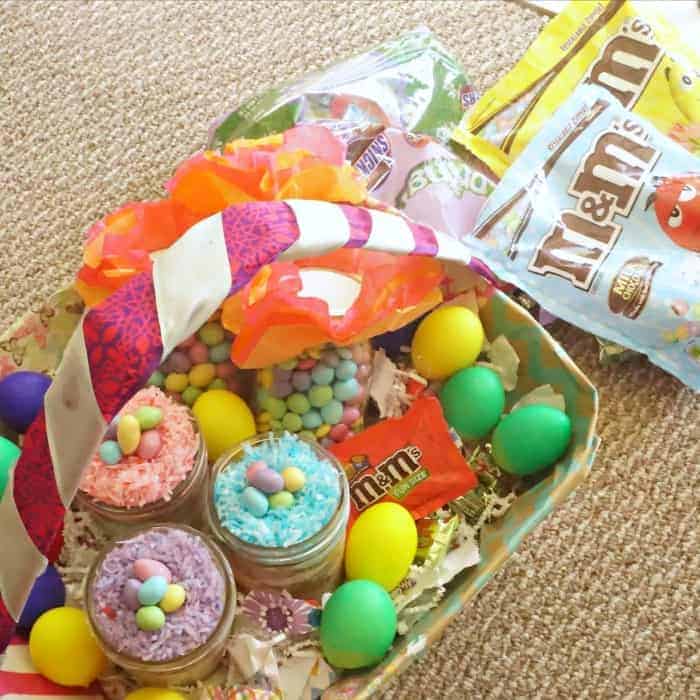
#24. Sugar Cookie Cake in a Jar
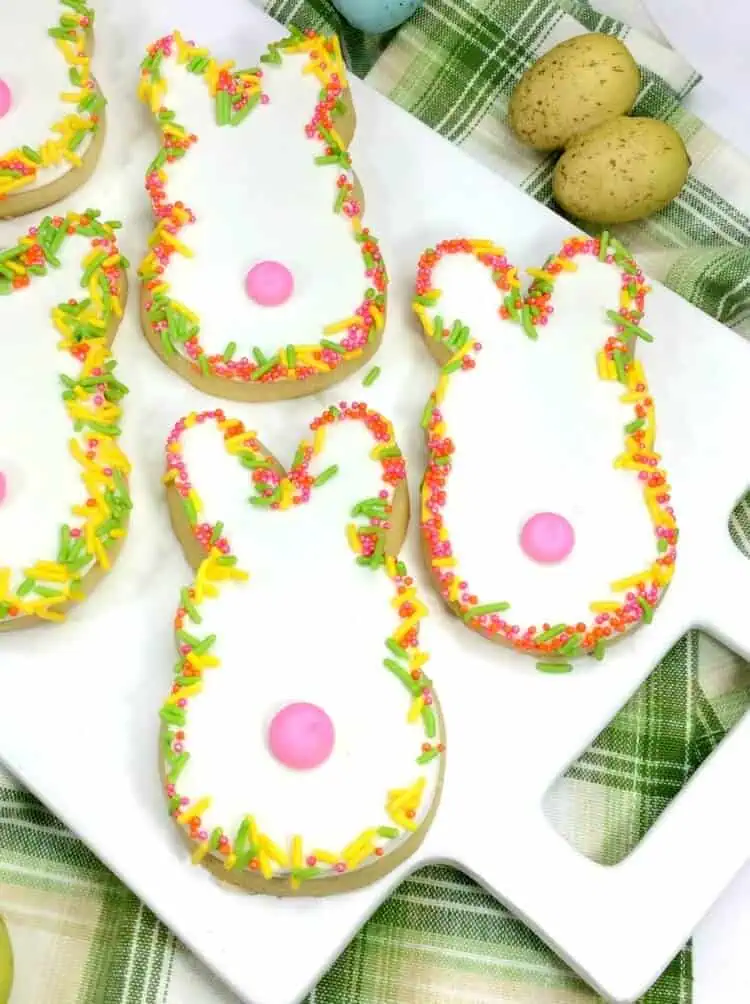
#23. Easter Grass Sugar Cookies
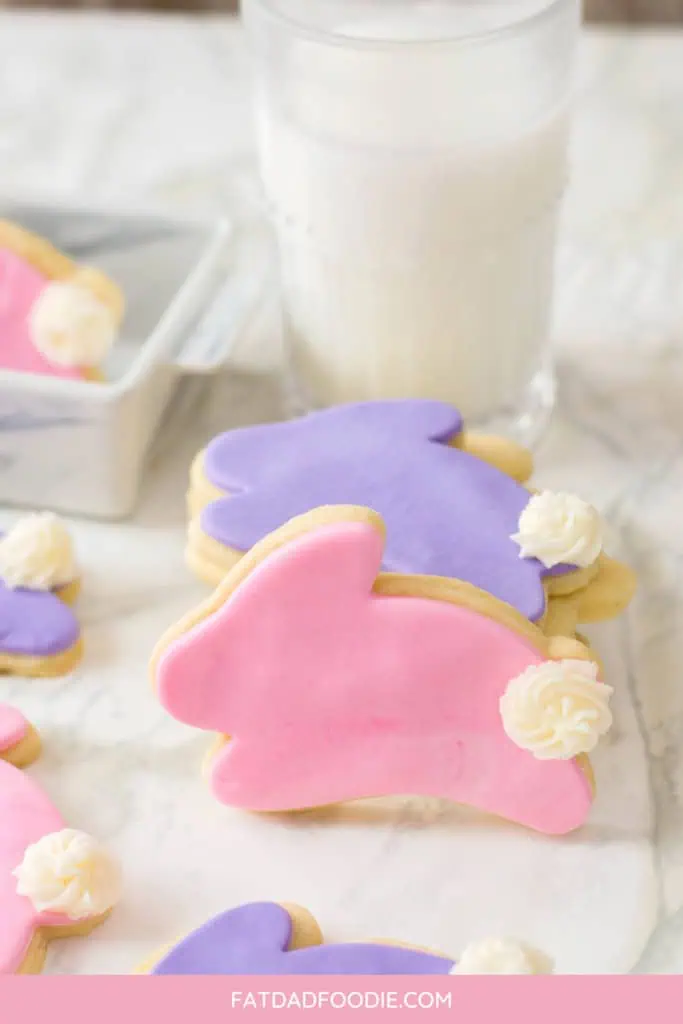
#22. Easter Bunny Cut Out Cookies

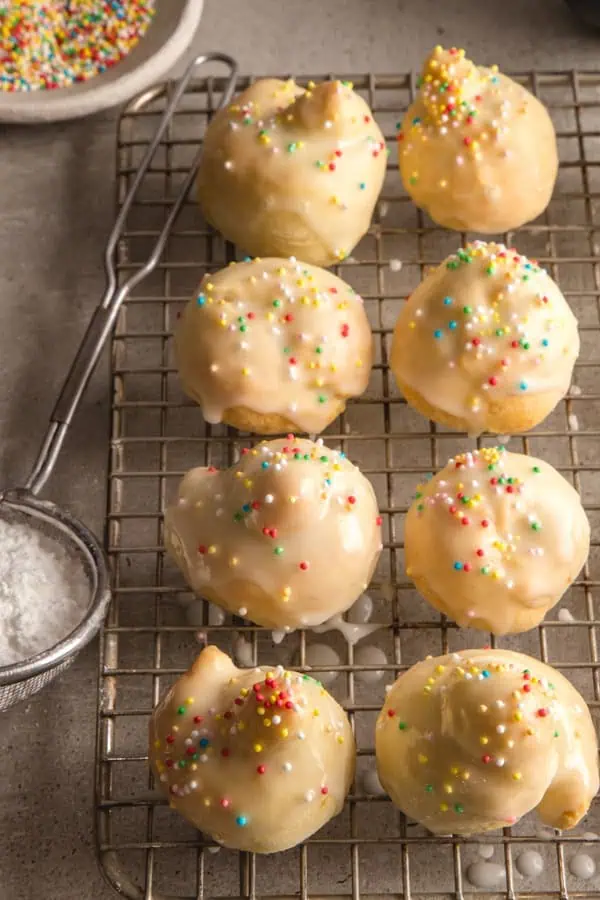
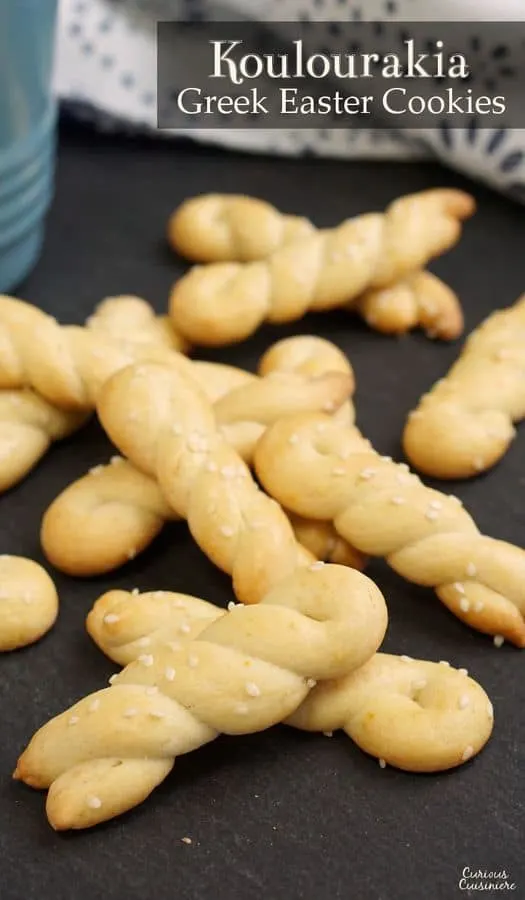
#21. Italian Easter Cookies
#20. Strawberry Sugar Cookie Bunnies
#19. Vegan & Gluten-Free Bunny Sugar Cookies
#18. Koulourakia (Greek Easter Cookies)
#17. Sugar Cookie Bars

#16. Easter Egg Sugar Cookies
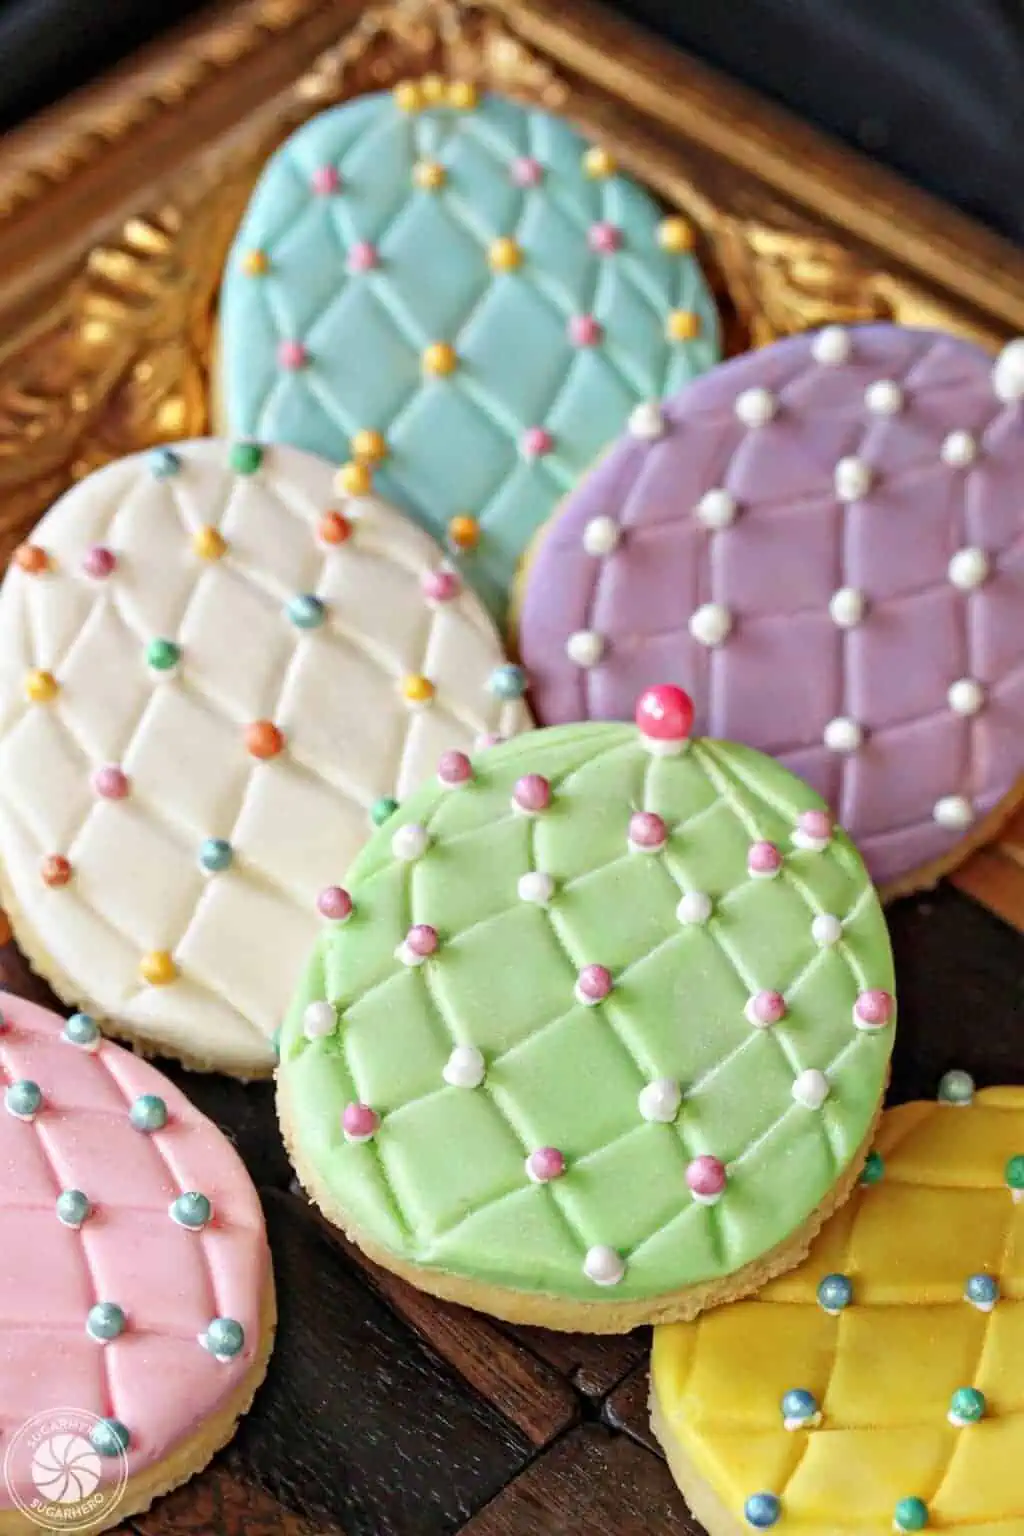
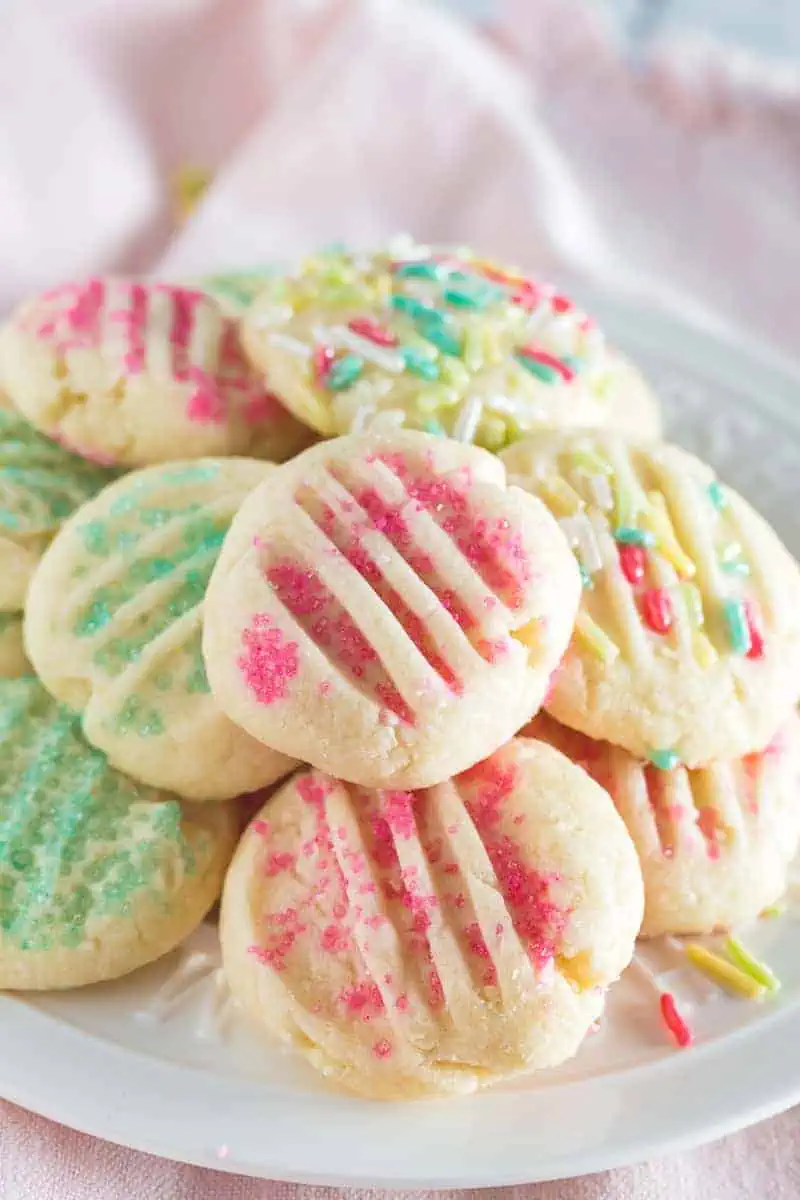
#15. Pastel Springtime Cookies
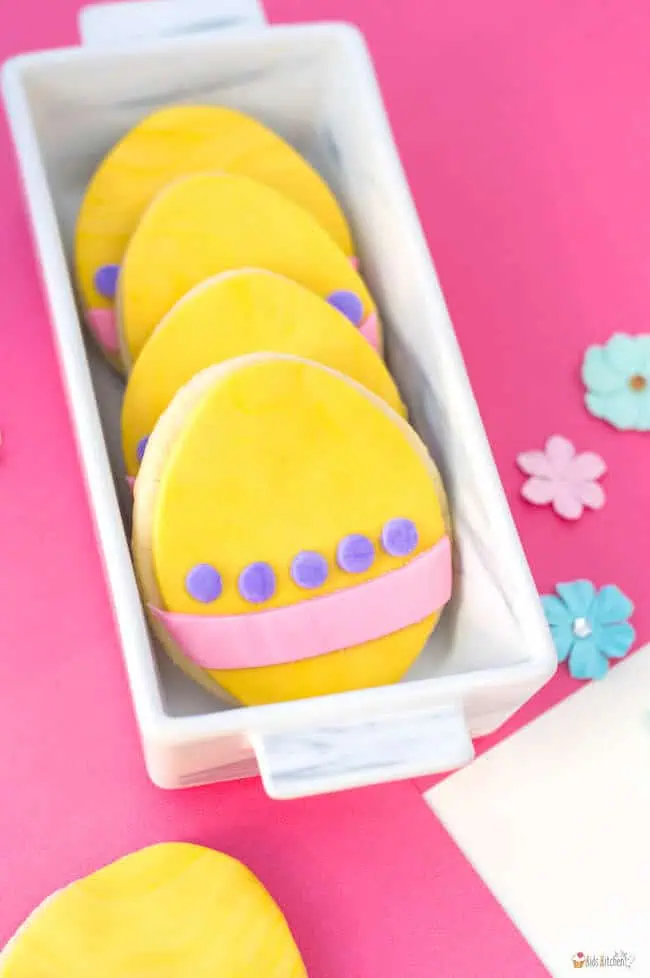
#14. Easter Egg Cookies
#13. White Chocolate Covered Easter Cookies
#12. Easter Cookies

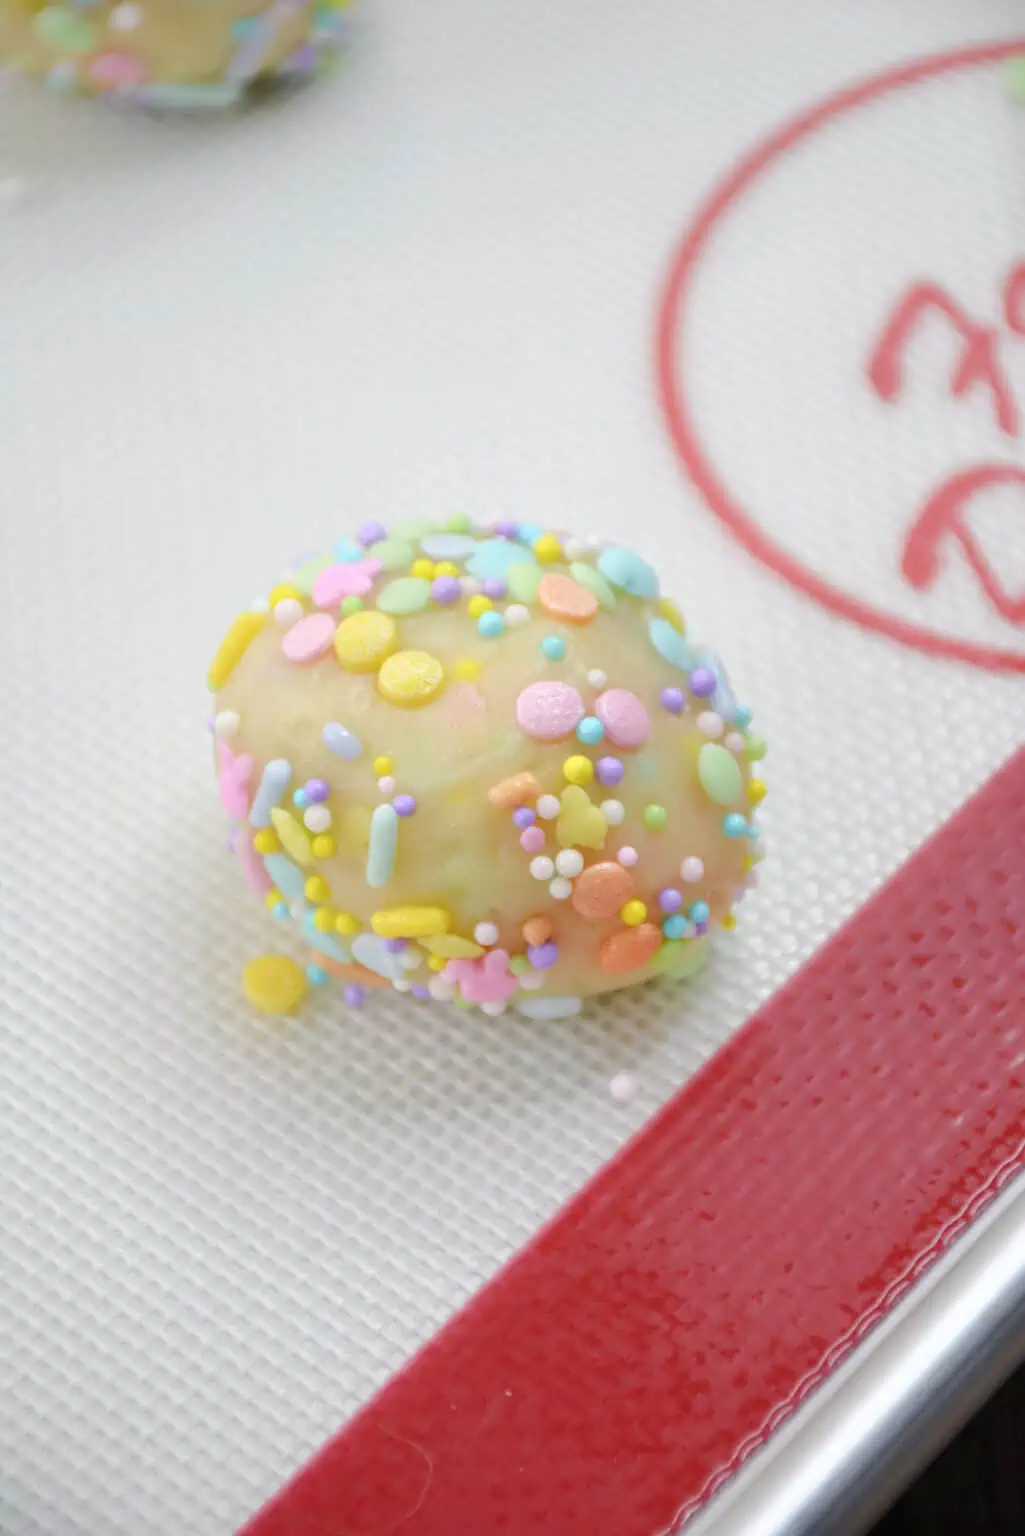
#11. Easter Bunny Sprinkle Cookies
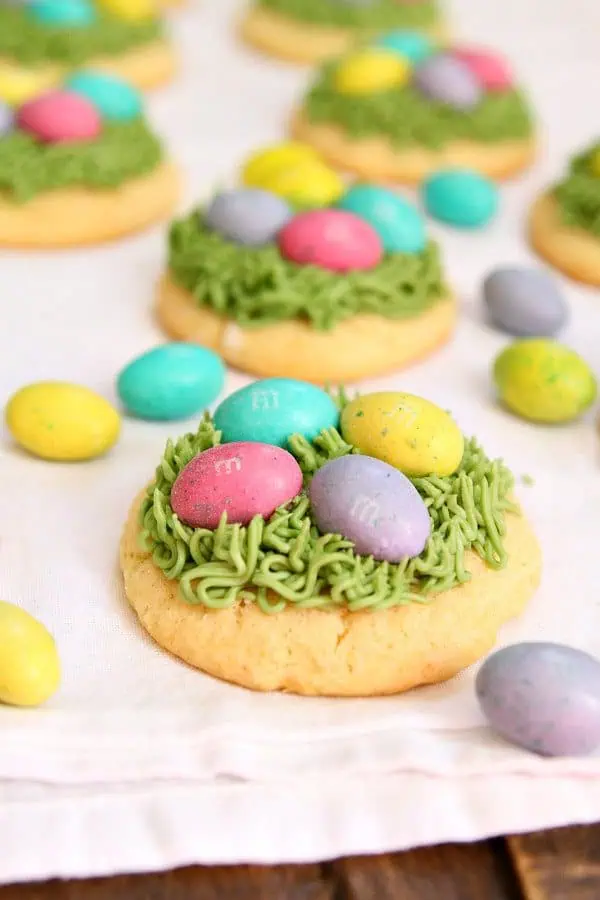
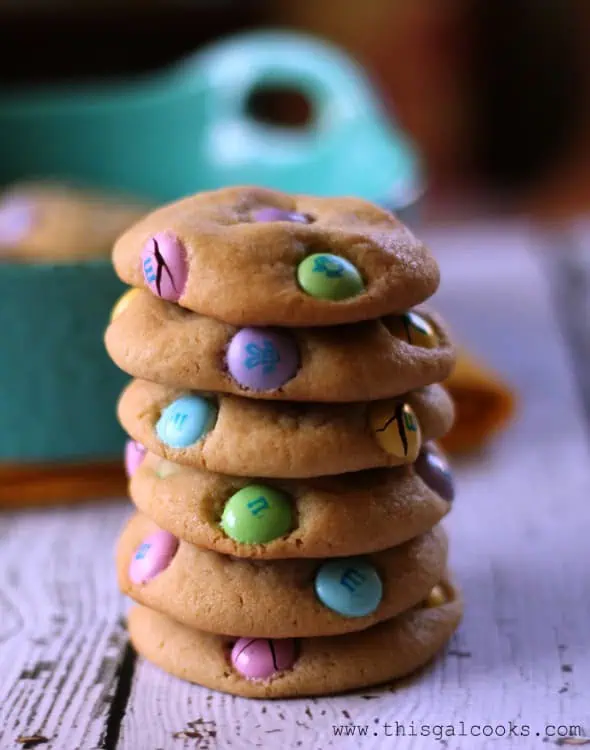
#10. M&M Easter Cookies
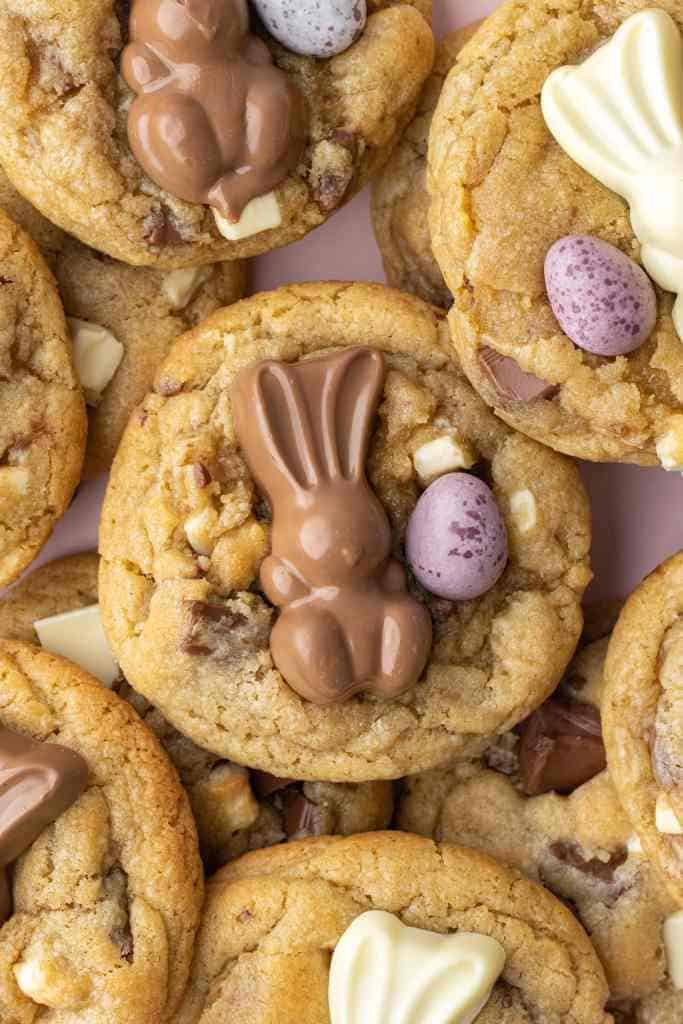
#9. Easter Cadbury Cookies

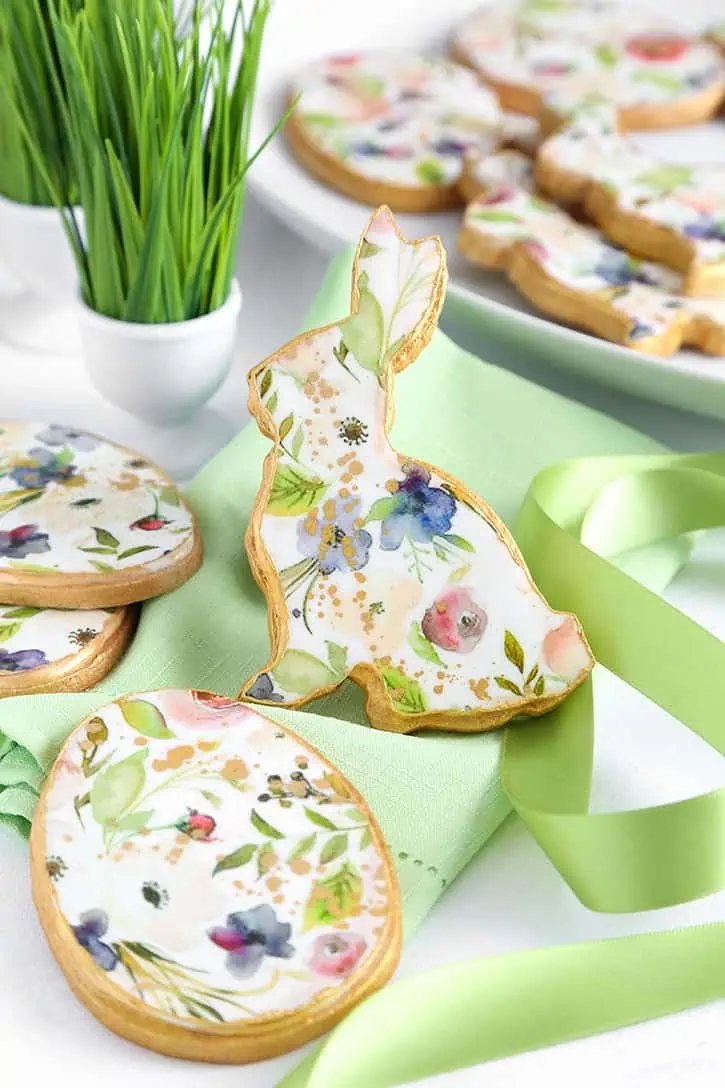
#8. Floral Bunny and Egg Sugar Cookies
#7. Easter Chocolate Cookies
#6. Easter Whoopie Pies
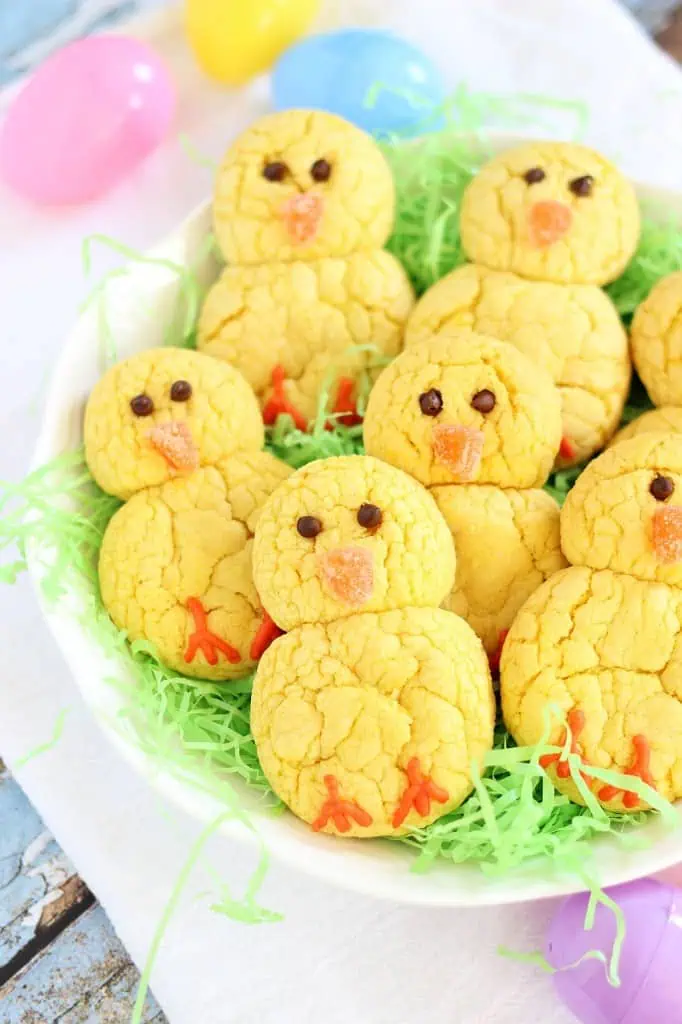
#5. Easter Chicks Lemon Cookies
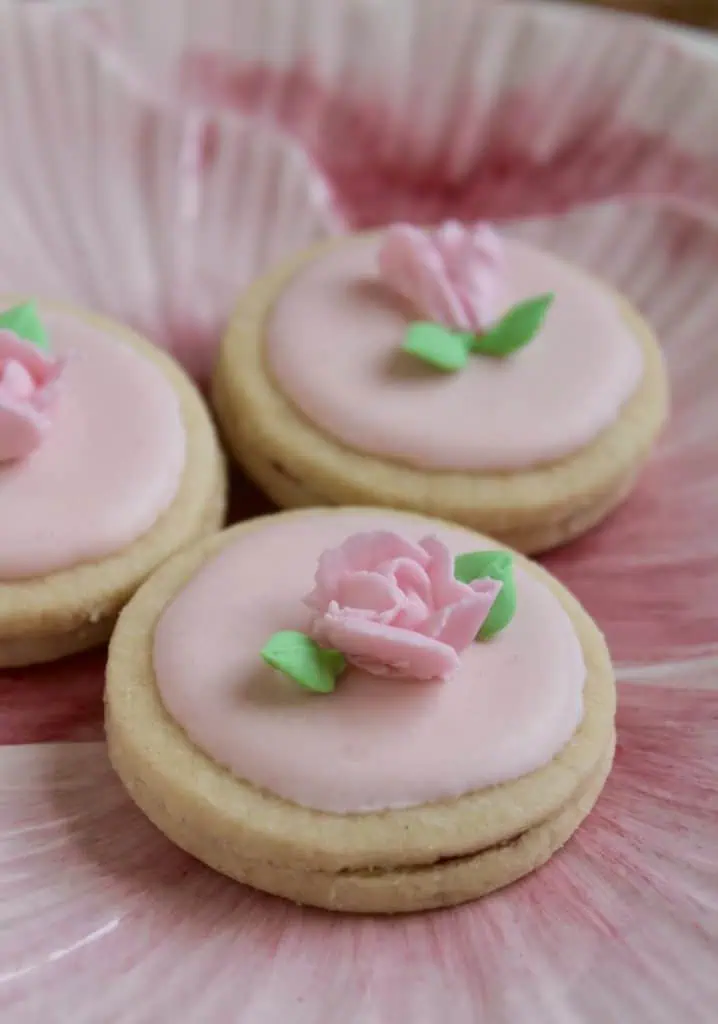
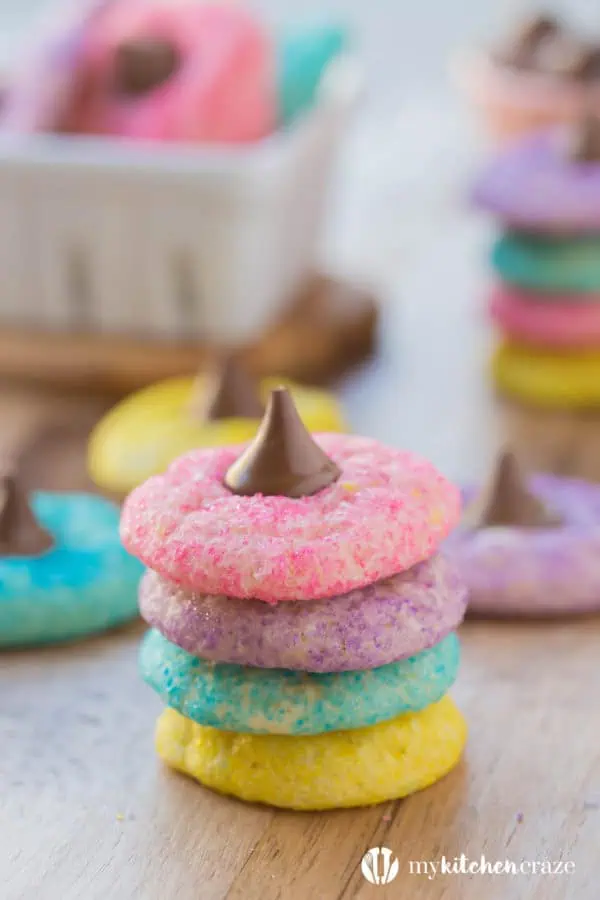
#4. Easter Blossom Sugar Cookies
#3. Easter Sugar Cookie Cake
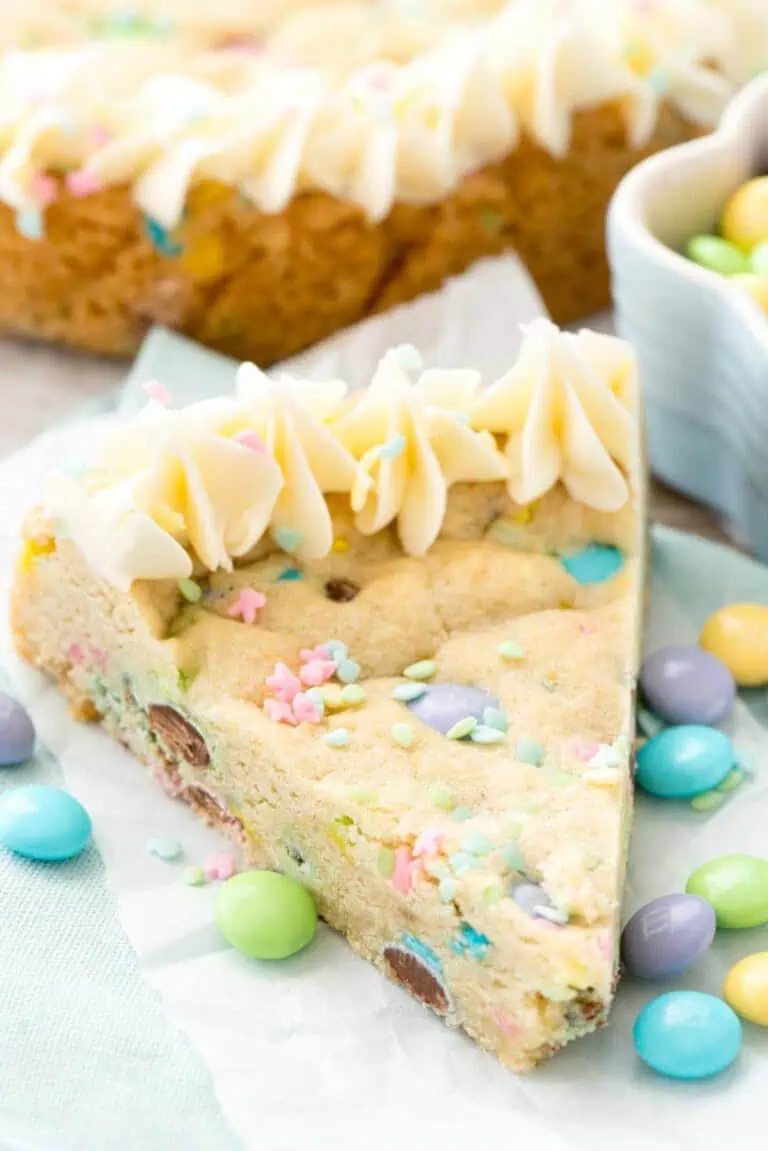
#2. Easter Cookie Cups with Buttercream Frosting

#1. Easter Shortbread Cookies
What type of cookie dough works best for Easter cookie designs?
Sugar cookie dough is ideal for Easter cookie designs because it holds its shape well during baking. You can also use shortbread or gingerbread dough for a different flavor profile, but make sure the dough is firm enough to retain detailed shapes.
How do I achieve vibrant colors for my cookie designs?
Use gel or paste food coloring rather than liquid food coloring to achieve vibrant, non-watery colors. Add the coloring to your royal icing or dough gradually until you reach the desired shade. Remember to mix thoroughly to ensure an even color.
What are some popular shapes for Easter cookies?
Common Easter cookie shapes include Easter eggs, bunnies, chicks, flowers, and butterflies. You can use cookie cutters or make templates out of cardboard if you want custom shapes.
What is the best way to make royal icing for decorating?
To make royal icing, beat together powdered sugar, meringue powder (or egg whites), and water until stiff peaks form. Adjust the consistency by adding more water for flooding (covering large areas) and more powdered sugar for piping (outlining and detailing).
How can I create intricate designs with royal icing?
Start with outlining the design using thicker royal icing and a piping bag with a small tip. Once the outline is dry, flood the inside with thinner icing using a squeeze bottle or a piping bag. Use a toothpick or a small brush to guide the icing into corners and smooth out any bubbles.