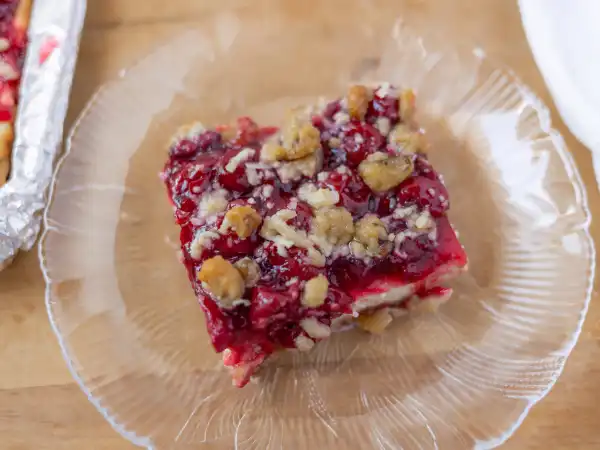
Ready to give your taste buds the royal treatment? Well, let us present to you Royal Cherry Bars! You’ll be bowing down to these nutty, crusted treats that are bejeweled with a creamy filling and crowned with a beautiful ruby red cherry burst. Cheers to the throne! Or to the Royal Cherry Bars, we shall say! We deem them the best of the best in the royal dessert family!
Ingredients
For the crust:
- 1 1/4 cups all-purpose flour
- 1/2 cup brown sugar, packed
- 1/2 cup butter-flavored shortening
- 1 cup walnuts, chopped, divided
- 1/2 cup sweetened coconut, shredded
For the filling:
- 2 (8-ounce) packages cream cheese, softened
- 2/3 cup sugar
- 2 large eggs, room temperature
- 2 teaspoons vanilla extract
- 2 (21-ounce) cans cherry pie filling
Directions
Step 1 –Preheat the oven to 350 degrees F.
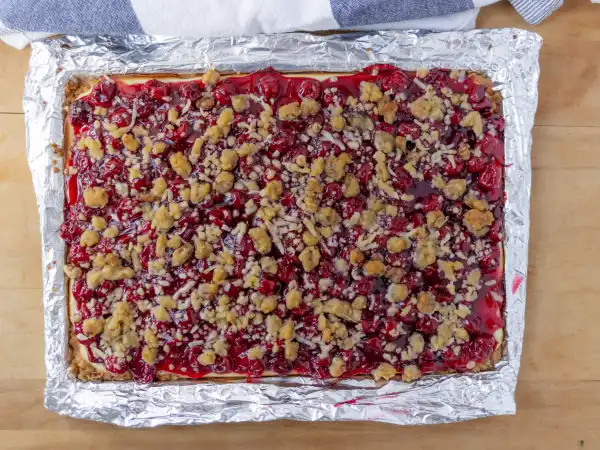
Step 2 –Line a 13×9-inch baking pan with foil, letting the ends extend up the sides. Grease the foil.
Step 3 –In a bowl, combine the flour and the brown sugar.
Step 4 –Cut the shortening into the flour mixture until fine crumbs form.
Step 5 –Stir 1/2 cup of the walnuts and the coconut into the crumb mixture.
Step 6 –Reserve 1/2 cup of the crumb mixture for the topping, then press the remaining crumb mixture into the prepared baking pan.
Step 7 –Bake the crust until it lightly browns, about 12-15 minutes.
Step 8 –While the crust is baking, in a large bowl, add the cream cheese, the sugar, the eggs, and the vanilla and use an electric hand mixer to beat until it is smooth.
Step 9 –Spread the cream cheese mixture over the hot crust.
Step 10 –Bake for 15 minutes.
Step 11 –Spread the cherry pie filling over the top of the cream cheese mixture.
Step 12 –In a small bowl, combine the remaining walnuts and the reserved crumb mixture and sprinkle it over the cherry pie filling.
Step 13 –Bake the cherry bars for 15 minutes.
Step 14 –Let the cherry bars cool completely on a wire rack.
Step 15 –Refrigerate the cherry bars until they are completely chilled.
Step 16 –Use the foil to lift the cherry bars from the pan, then cut into bars.
Step 17 –Serve, refrigerating the leftovers.