Taking screenshots is an essential skill for any Mac user to master. A screenshot captures and saves the visible items displayed on your Mac’s screen as an image file. Screenshots are extremely useful for documenting information, creating tutorials, collaborating on projects, etc.
On a Mac computer, there are several options to take full screenshots (capturing the entire screen) and partial screenshots (selecting a portion of the screen). The fastest and easiest method is using keyboard shortcuts like Command-Shift-3 or Command-Shift-4. However, MacOS also has built-in screenshot tools like Grab and Preview that offer more flexibility and editing capabilities. Additionally, third-party screenshot apps are available for even more advanced features.
This article will cover the four main methods for taking screenshots on a Mac – keyboard shortcuts, the Grab app, the Preview app, and third-party tools. With just a few clicks or taps, you’ll learn to capture any part of your screen and save it as an image to share or edit. Let’s get started!
Method 1: Keyboard Shortcuts
How to take a full screenshot with keyboard shortcuts
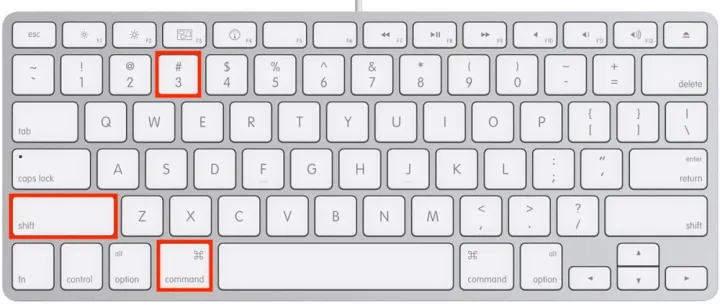
The fastest way to take a screenshot of your entire screen on a Mac is by using the keyboard shortcut Command + Shift + 3. Hold down the Command and Shift keys and hit the 3 key to use it. This will immediately capture the contents of your full screen and save the screenshot as a .png file on your desktop.
The screenshot will be named with the date and time to keep your screenshots organized chronologically. This keyboard shortcut is the quickest and easiest way to grab a full screenshot without opening applications. The resulting image file can then be shared, edited, or annotated.
How to take a partial screenshot with keyboard shortcuts
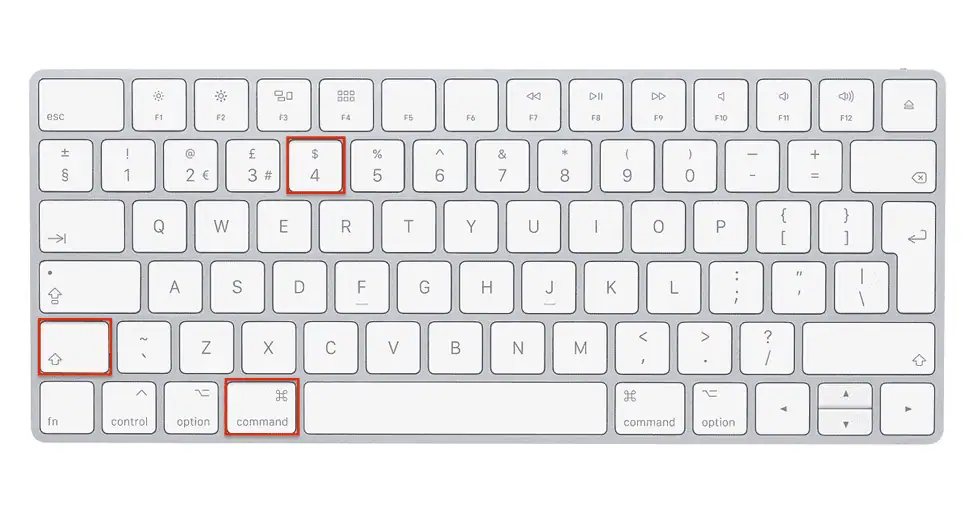
To capture just a portion of your screen, use the keyboard shortcut Command + Shift + 4. Hold down Command and Shift and press 4 to enter crosshair selection mode. Your cursor will change to a crosshair, and you can click and drag to select the area you want to screenshot. Release your mouse or trackpad once the desired area is highlighted.
The screenshot will be taken of just that selection and saved as a file on your desktop. To screenshot only a single open window instead of a selected area, once in crosshair mode, you can press the Spacebar, then click on the window to capture just that window. This allows you to screenshot a portion of your screen or a single window for easy sharing.
Tips for using keyboard screenshot shortcuts
There are some useful tips when using the Command-Shift-3 or Command-Shift-4 keyboard shortcuts to take screenshots on your Mac. First, you can change where the screenshot file is saved by default. Hold the Control key when taking the screenshot; it will save the file directly to your clipboard instead of the desktop. You can then paste it where needed.
Additionally, to change the default save location from your desktop, open System Preferences > Keyboard > Screenshots and select a new location like Documents or Pictures. This will update where all screenshot files are saved by default using keyboard shortcuts.
Method 2: Grab Utility
Introduction to Grab and how to access it
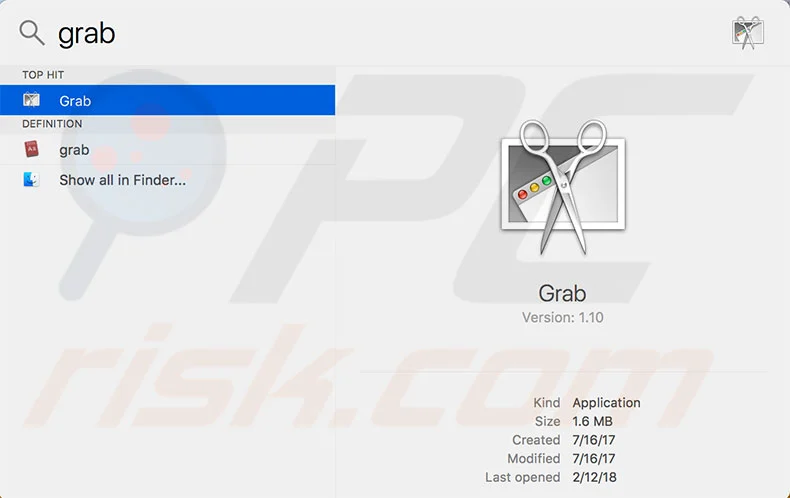
MacOS has a utility called Grab that provides more advanced screenshot capabilities. Grab is built directly into your Mac operating system. To find and open Grab, go to your Applications folder or use Spotlight Search and type “Grab” to launch the app. When opened, Grab will show a screenshot toolbar that allows you to capture full screenshots, select an area to screenshot or screenshot an individual window.
Grab also includes helpful options like adding a timer, showing a mouse pointer, and more. The Grab utility is a handy built-in tool for taking customized screenshots that every Mac user can access without downloading additional software.
Taking full screenshots with Grab
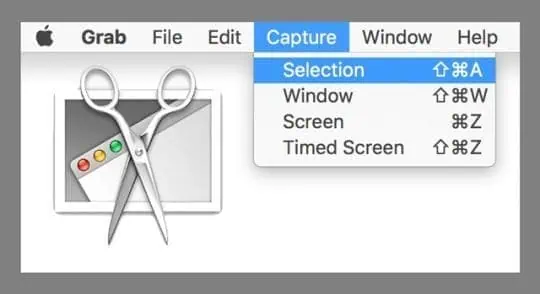
The Grab app makes it easy to screenshot your entire screen. Just open Grab, and under the Capture menu, choose Screen. This will immediately take a screenshot of your full screen and save it as an image file, just like using the keyboard shortcut Command-Shift-3. The screenshot will save to your desktop by default. Grab also gives you a few options for your full screenshots.
You can show or hide the mouse pointer, set a timer to prepare for the shot, and copy the file to your clipboard instead of saving to a file. Though not as fast as a keyboard shortcut, Grab’s Screen capture option provides flexibility when taking full screenshots on your Mac.
Taking partial screenshots with Grab
In addition to full screenshots, Grab allows you to capture just a portion of your screen. Under the Capture menu, choose Selection to enter crosshair selection mode, just like Command-Shift-4. You can click and drag to select the area you want to capture. Grab will screenshot just that selection.
The Window option lets you screenshot a single open window by clicking on the window after selecting Window mode. You can customize your selection by adding a border, resizing or moving the selection, and copying to your clipboard. Grab gives you more controls than keyboard shortcuts when you need to capture just a section of your screen or a specific window on your Mac.
Other Grab features
Grab provides customizable options for screenshots on Mac. You can set a timer to prepare for the screenshot and toggle the visibility of the mouse pointer. Grab also lets you record videos of onscreen activity, not just static screenshots. These features give more control than basic keyboard shortcuts.
Method 3: Preview Screenshot Tool
Accessing Screenshot tool in Preview app
MacOS comes with a Preview app that includes handy screenshot capabilities. To access the screenshot toolbar in Preview, go to File > New Screen Recording to open the screen capture options. You can also use the keyboard shortcut Shift-Command-5 to pull up the screenshot toolbar within Preview.
Here, you will see options to capture the entire screen, select a portion to screenshot, record a video, and more. Preview’s built-in screenshot tool allows you to take screenshots and screen recordings without using keyboard shortcuts or opening the Grab app. The Preview screenshot toolbar provides an integrated screenshot experience on any Mac.

Capturing full screenshots
Taking a full screenshot of your screen is quick and easy using the Preview app. Open the screenshot toolbar in Preview and click the Capture Entire Screen button. This will immediately take a screenshot of your full display. Preview also gives you a few handy options for full screenshots.
You can set a timer which provides a countdown before the screenshot is taken. There is also an option to temporarily hide desktop icons and open windows while taking the shot. Preview’s full-screen capture feature provides a straightforward way to grab a screenshot of everything visible on your Mac’s screen, with a few customizations available.
Capturing partial screenshots
The Preview app allows you to take screenshots of just a portion of your screen. Open the screenshot toolbar in Preview and click the Select Area to Capture button. Your cursor will change to a crosshair. Click and drag to select the part of the screen you want to capture. Preview will take a screenshot of just that selected area when you release.
You can customize the selection by changing the highlight shape and adjusting the size. Preview makes it quick and easy to screenshot the full screen and a specific section you define. This is useful for capturing a menu, window, or area to demonstrate just a part of your Mac’s screen.
Other Preview screenshot capabilities
Preview can record video of your screen in addition to screenshots. It also allows annotating and editing screenshots with shape tools, text, and more. Preview provides robust tools for capturing and enhancing screenshots on your Mac.
Method 4: Third Party Apps
Popular third-party screenshot apps
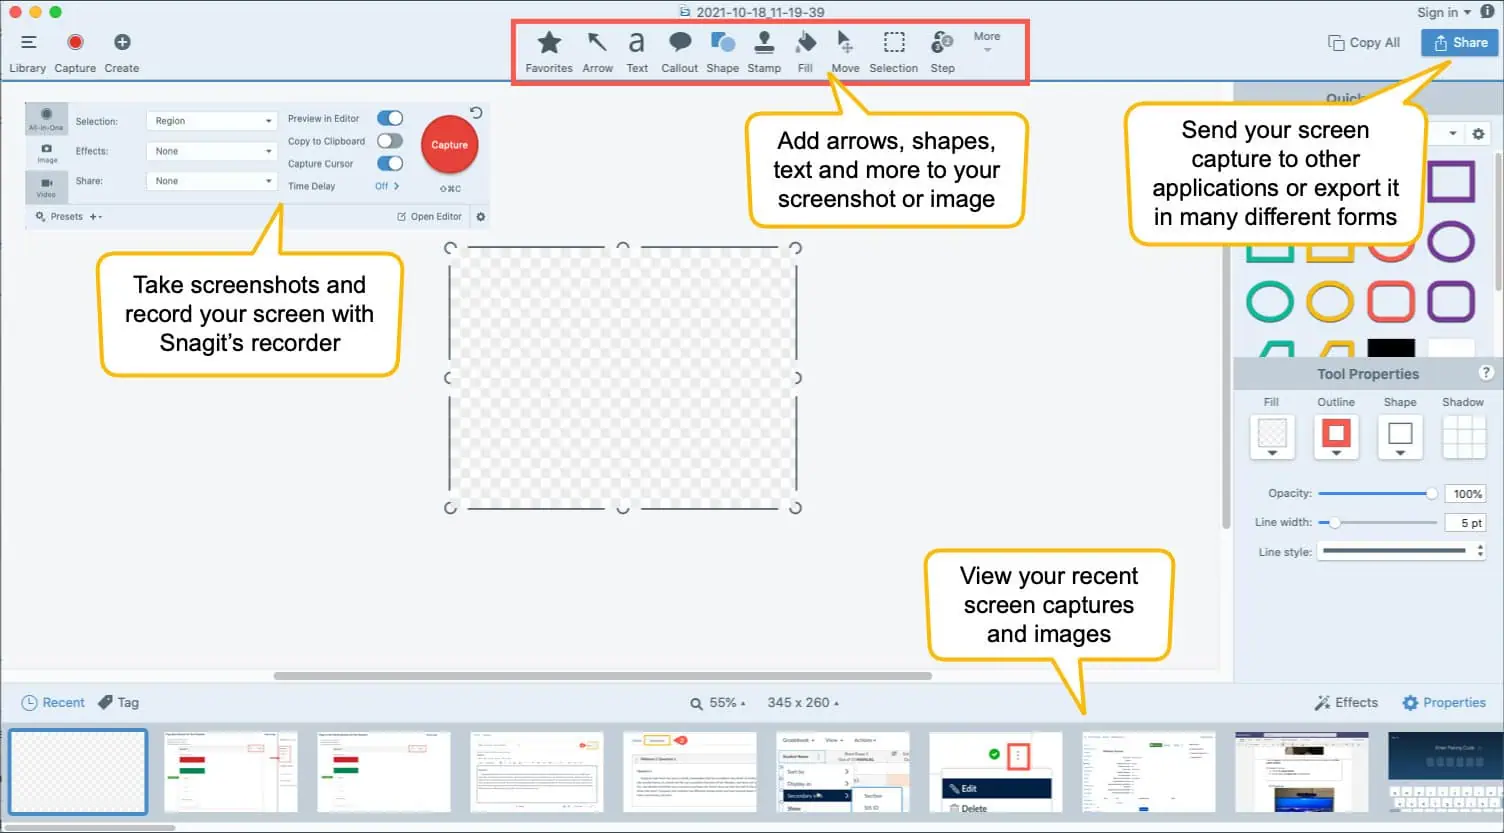
In addition to the built-in tools, third-party apps offer advanced screenshot capabilities. Some popular options include Snagit, Skitch, Lightshot, and CleanShot X.
These tools make it easy to annotate, edit, and share screenshots. Snagit has features like scrolling capture, panoramic screenshots, and screen recording. Skitch allows adding arrows, text, and shapes to your screenshots. Lightshot has customizable shortcuts and sharing options.
The main benefit of third-party screenshot apps is that they provide more robust features beyond what’s available in Mac’s default screenshot tools. They give users greater flexibility and control.
Choosing a third party screenshot app
When selecting a third-party screenshot app, consider your specific needs and workflow. If you want to capture scrolling screens or wide panoramas, choose an app like Snagit with those capabilities. If you primarily annotate and draw on screenshots, Skitch has great markup tools.
For fast and easy fullscreen grabs, Lightshot has customizable hotkeys. For comprehensive features, choose CleanShot X or Snagit. If you need to record a video, look for screen recording capability. Pick an app that integrates the specific features you need. Evaluate free trials to test out the workflow. Choosing the right app can optimize your screenshot process.
Configuring and using third party apps
Third-party screenshot apps integrate with macOS by installing regular apps. They can be configured with hotkeys, save locations, formats, etc. in System Preferences. Once set up, access and use them through the app or assigned hotkeys to capture screenshots.
Conclusion
There are four main options for taking screenshots on a Mac. The keyboard shortcuts Command-Shift-3 and Command-Shift-4 provide the fastest way to capture full-screen or partial shots. However, they have limited customizations.
For more flexibility, use the built-in Grab and Preview apps. They allow timing shots, toggling the mouse pointer, and recording video. Their limitation is needing to open the app first.
Third-party tools like Snagit or CleanShot offer advanced features like annotations, scrolling capture, and sharing options. But they can have a learning curve and cost money.
For quick one-off shots, keyboard shortcuts are best for speed and ease. To control the process, use Grab or Preview’s capabilities. If you need specific features, consider a third-party app.
This range of screenshot methods lets you capture anything on your Mac display.