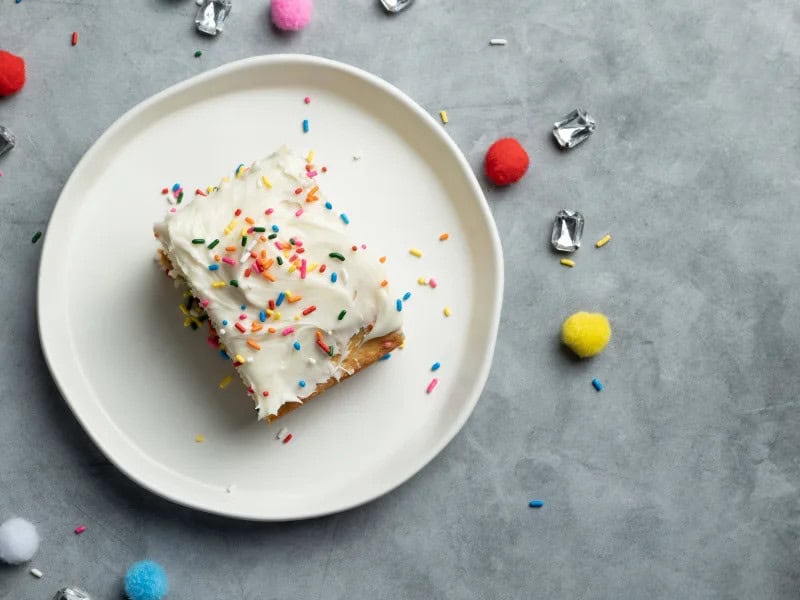
“Celebrate good times, come on!” Whether it’s a birthday, a promotion, retirement, or you’re just happy to be with your people, Celebration Cake brings sweet vibes and fun times! Slide your fork into this moist, sugary vanilla cake to let the good times roll! Each bite has a pop of confetti, within the cake and atop the creamy, rich vanilla icing. How can you not take part in the festivities when Celebration Cake is the life of the party?! Bring your good times and your laughter, too, you’re in for quite the treat!
Ingredients
- 2 1/2 cups cake flour
- 1 teaspoon baking powder
- 1/2 teaspoon baking soda
- 1 1/2 teaspoons salt
- 1 1/4 cups sour cream, at room temperature
- 1/3 cup milk, room temperature
- 1/4 cup butter, soft, pliable, and room temperature
- 1 1/2 cups sugar
- 3 eggs, room temperature
- 1 tablespoon vanilla extract
- 1/4 teaspoon almond extract
- 3/4 cup sprinkles, plus more for garnish
- preferred icing, to taste
Directions
Step 1 –Preheat the oven to 350 degrees F.
Step 2 –Coat a 9×13-inch baking dish with cooking spray.
Step 3 –In a bowl, sift the cake flour, the baking powder, the baking soda, and the salt.
Step 4 –In another bowl, whisk the sour cream and the milk together.
Step 5 –Using an electric mixer with the paddle attachment, cream the butter and the sugar until light and fluffy.
Step 6 –Add the eggs, one at a time, to the sugar mixture, beating well after each addition. Add the vanilla extract and the almond extract with the last egg.
Step 7 –Alternately add the dry ingredient mixture and the milk mixture into the egg mixture, starting and ending with the dry ingredient mixture.
Step 8 –Fold the sprinkles into the batter.
Step 9 –Pour the batter into the prepared baking dish.
Step 10 –Bake until a toothpick inserted in the center comes out clean, about 25-30 minutes.
Step 11 –Allow the cake to cool and then evenly spread the icing all over.
Step 12 –Garnish with more sprinkles, as desired.
Step 13 –Slice and serve.