Exact Answer: 24 to 48 Hours
Building a house is certainly a huge responsibility. If you are building a house, there is a lot to be taken care of. First, you will have to acquire the land, build a foundation, start rising the walls. Finally, after the building’s exterior is done, you will start working on the interiors.
Getting the interiors done is no easy job. It includes plumbing and electrical works, insulation, painting, and much more. But, one among these multiple mini interior jobs, is laying out the tiles. Laying out tiles on floors and walls is very common and is much preferred by many.
When laying out tiles, there comes a process called grouting. There is a certain time ago between the installation of tiles and grouting. The answer to that question is after laying out tiles, you can grout about twenty-four to forty-eight hours after.
How Long After Tile To Grout?
| Name of the Process | Time tiles take to dry | Time Gap between laying out tiles and grouting | Total duration to finish the process altogether |
| Laying out floor and wall tiles | At least 3 hours if you are constructing. But if you are the house owner, you can wait for at least two days. | 24 to 48 hours | At least five days to a week |
Laying tiles is a great way to decorate the interiors of your house. Tiles are available in various colors, styles, and patterns. Good tile work is all that a home requires to get a warm and cozy feel.
But, installing tiles is a process that takes a while to finish. The drying process takes up time, even if the installation is fast. After the tiling process is done, grouting takes place.
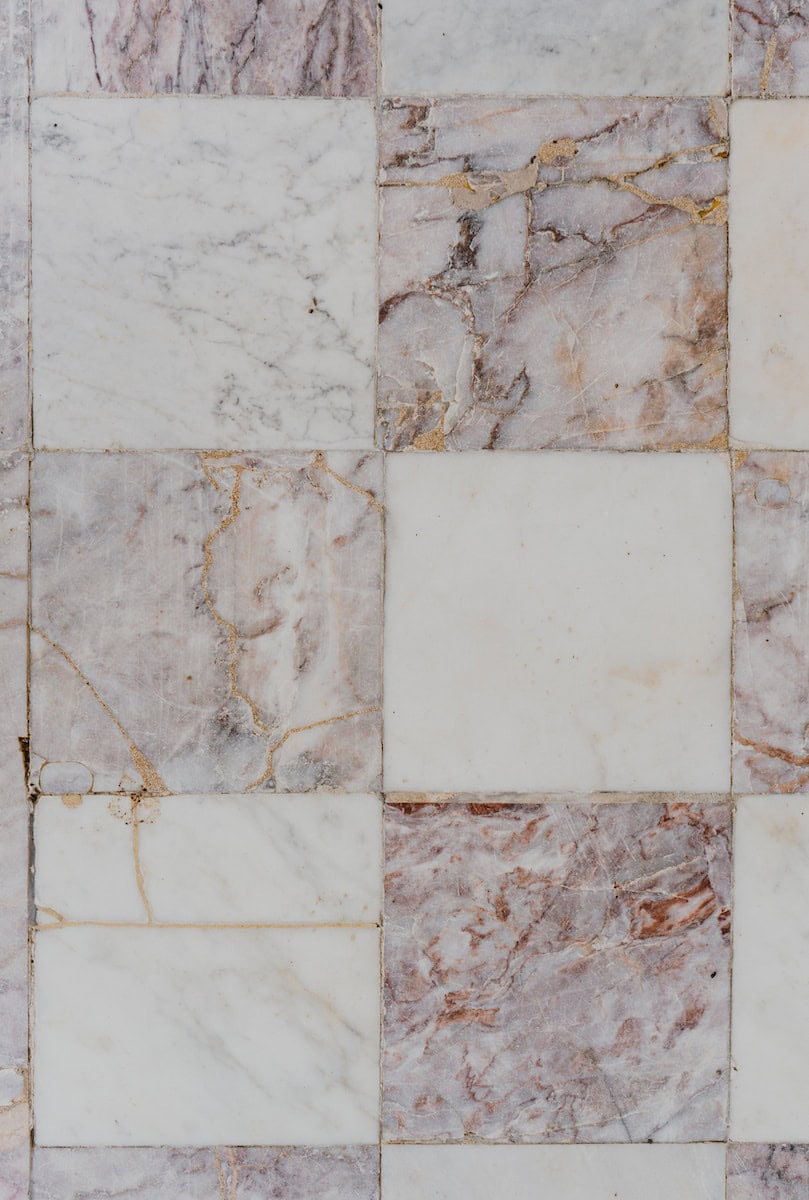
Grout is actually applied to the tile gaps after the drying of thin-set mortar. Grout is basically the mixture of water, sand, and either lime or cement. It is used to fill up the gaps between the tiles in a neat manner. This will also fix up the tiles more firmly and give you a clear, sealed look.
Why Does It Take A While To Grout After Tiling?
The mortar that is used to place tiles on various surfaces is the thin-set mortar. Mortar is cured just like concrete if you want to be effective and highly adhesive. If you use the right mortar, install the tiles properly, and let them cure properly, the tiles you install will be very durable.
After the curing of mortar, grout is applied. But, if you don’t let the mortar cure for the allotted time, say at least 24 to 48 hours, the tiles might crack, crumble and loosen up.
The drying time of the thin-set mortar depends upon various factors like the amount of moisture in the room, area or the place where the tiles are fixed, humidity, and temperature.
Mortar is preferably applied at an air temperature of about 50-100 Fahrenheit. The temperature of the room must remain within this limit for at least 72 hours after that and should receive ample ventilation.
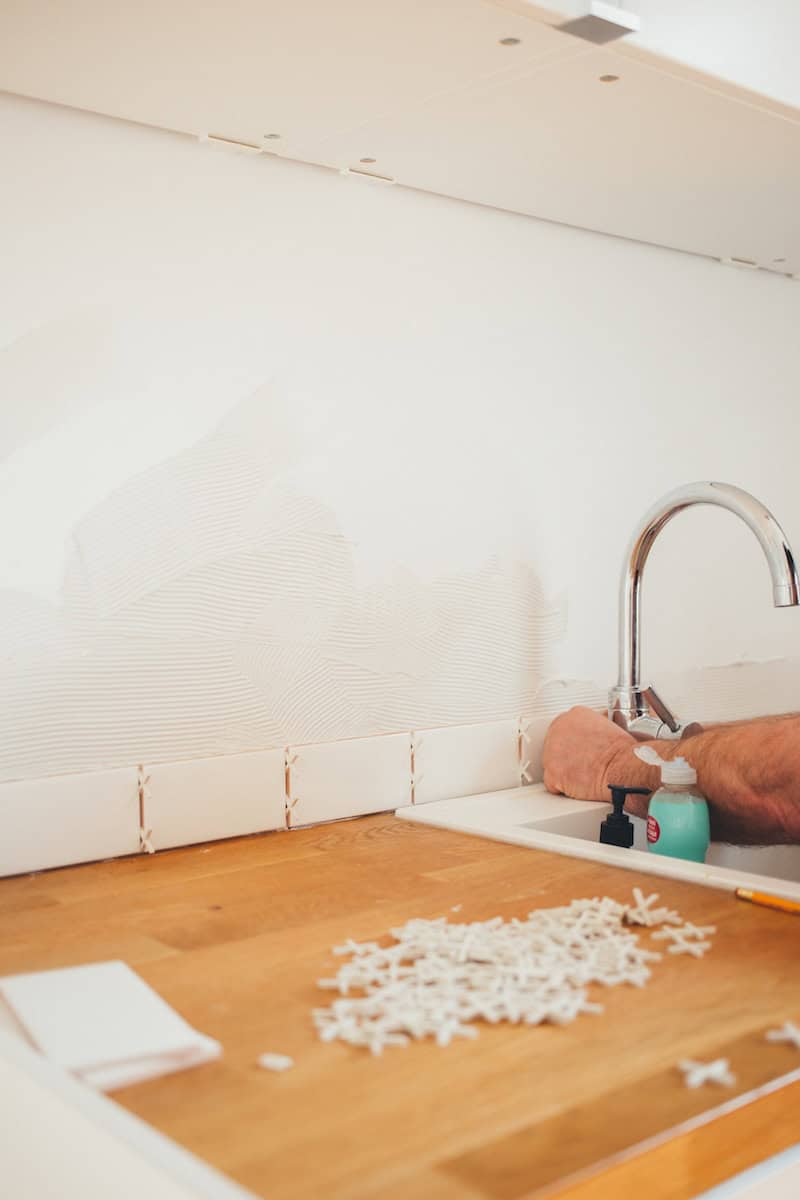
Let the mortar set well, and cure enough. The setting is different from curing. After the tiles are completely cured, apply the right grout and even out gaps between the tiles. If your grout, the tiles will fix more firmly, dust and dirt particles of the dried up mortar will not fly around.
Dust will not settle if you grout your tiles, will be easier to clean them, and finally will give you a crisp look. The edges of tiles will be neat and the tiles will be durable for decades if grouted. It maintains rigidity and strength, only if the right grout is selected and applied properly.
Conclusion
The different types of grout include sanded grout, unsanded grout, and epoxy grout. The type of grout depends upon various external factors like the tiles, the mortar, and such. If you want your tiles firm, grouting is a must.
If you do not let the mortar set and cure well before grouting, the tiles will come off. The grout will also not fix itself well enough to hold the tiles in place. There are various techniques for applying grout, and make sure you follow them well.
References
https://pubs.acs.org/doi/abs/10.1021/acsenergylett.9b01847
https://www.sciencedirect.com/science/article/pii/S0030399298000395




Proper application of grout will indeed ensure a crisp, clean look. This explanation makes it clear why it takes time.
The results are certainly worth the effort.
The right grout makes all the difference in the result.
I don’t have much time on my hands for home improvement projects. This seems very time-consuming.
It’s definitely a challenge, but it’s worth it for the quality and durability of the result.
The scientific references add credibility to the article. Very well researched.
Yes, it’s great to have that scientific backing.
I believe it is very important for the tiles to have enough time to set before grouting, so they don’t come off. It’s crucial the process is followed to the letter.
I completely agree with you. The process is crucial for the durability of the tiles.
The article provides a good explanation of the process and its necessity. It’s very informative.
Yes, it provides a comprehensive understanding of the topic.
Letting the mortar cure properly before grouting is crucial. There’s no room for shortcuts.
The article makes that very clear.
Anyone taking on this process should be prepared for the time commitment it requires.
The importance of following these guidelines is clear. These steps can’t be skipped.
Absolutely, details matter here.
Indeed, quality work requires precision.
Not allowing adequate time for the mortar to set could lead to a disaster. It’s good to have a clear explanation of the process.
Absolutely, understanding these details is crucial for any DIY home project.
It sounds like a very tedious process. Great explanation, but time-consuming nevertheless.
Yes, it’s certainly meticulous work.
Well, it’s not a process to rush through.
Is the entire process really necessary? Couldn’t it be done differently?
It’s about ensuring the longevity of the result. Cutting corners wouldn’t be wise.