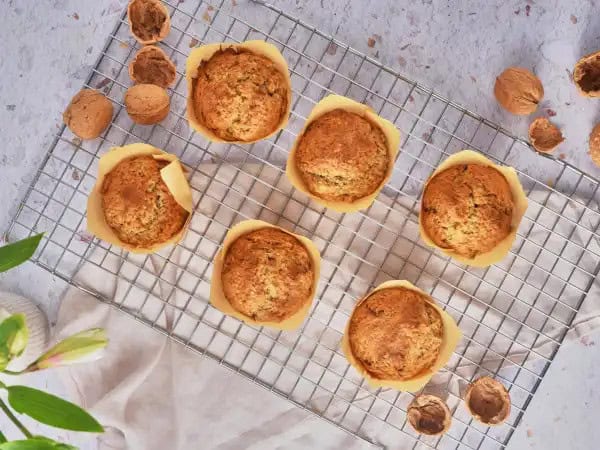
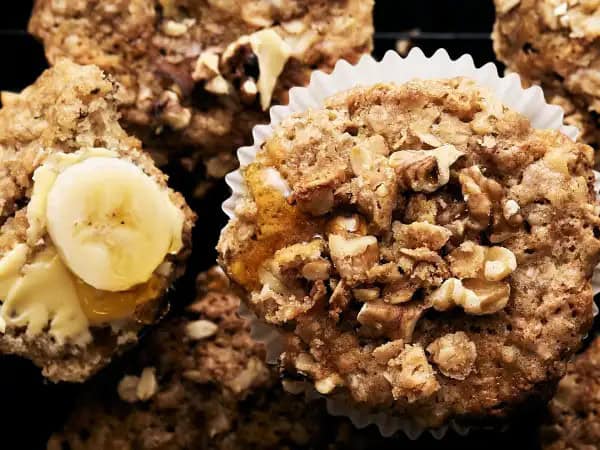
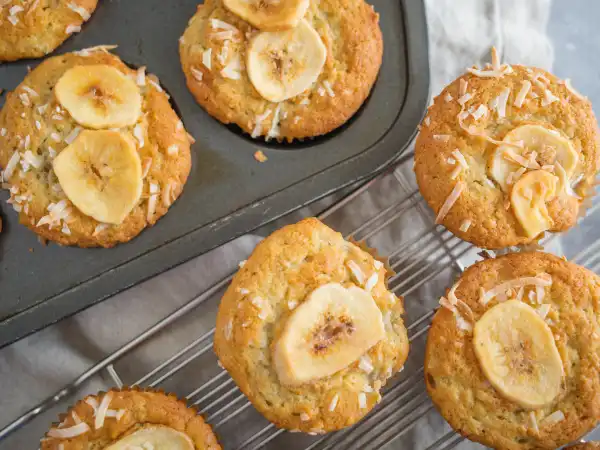
There’s a delicious contrast within these Banana Crunch Muffins that will leave you wanting more. The muffins themselves, soft and moist, are filled with the creamy, tropical flavor of banana, with bits of ripe bananas interspersed to really bring home the taste. On the other hand, also hiding inside these Banana Crunch Muffins are some crunchy and nutty walnuts that create audible deliciousness! Sprinkled with a fantastic mix of crispy-crunchy toppings that enhance the banana flavor, these muffins are sure to please a crowd! So, revel in the contrast and get crunching!
Ingredients
- For the muffins:
- 3 cups all-purpose flour
- 2 cups sugar
- 2 teaspoons baking powder
- 1 teaspoon baking soda
- 1/2 teaspoon salt
- 1/2 pound unsalted butter, melted and cooled
- 2 extra-large eggs
- 3/4 cup whole milk
- 2 teaspoons pure vanilla extract
- 2 cups ripe bananas, 1/2 mashed and 1/2 medium-diced, divided
- 1 cup walnuts, small-diced
- 1 cup granola
- 1 cup sweetened shredded coconut
Optional, for serving:
- dried banana chips, to tastes
- weetened shredded coconut, to taste
- granola, to taste

Directions
Step 1 -Preheat the oven to 350 degrees F.
Step 2 -Line 18 large muffin cups with paper liners.
Step 3 -Sift the flour, the sugar, the baking powder, the baking soda, and the salt into the bowl of an electric mixer fitted with the paddle attachment.
Step 4 -Add the melted butter to the flour mixture and blend to combine.
Step 5 -Combine the eggs, the milk, the vanilla, and 1 cup of the mashed bananas.
Step 6 -Add the banana mixture to the flour mixture, scraping the bowl and blending well, but not over-mixing.
Step 7 -Fold the remaining diced bananas, the walnuts, 1 cup of the granola, and 1 cup of the coconut into the batter.
Step 8 -Spoon the batter into the paper liners, filling each to the top.
Step 9 -Top each muffin with the dried banana chips, the extra granola, and the extra coconut.
Step 10 -Bake until the tops are brown and a toothpick comes out clean, about 25-30 minutes.
Step 11 -Allow the muffins to cool slightly before removing them from the pan.
Step 12 -Serve.


